In my previous posts I covered removing my Road Glide’s broken tour pack and relocating the license plate to accommodate the replacement’s configuration. In this post I’ll go through all the steps I followed to get my new Advanblack King tour pack installed, including a few ‘side trips’ for things that went wrong.
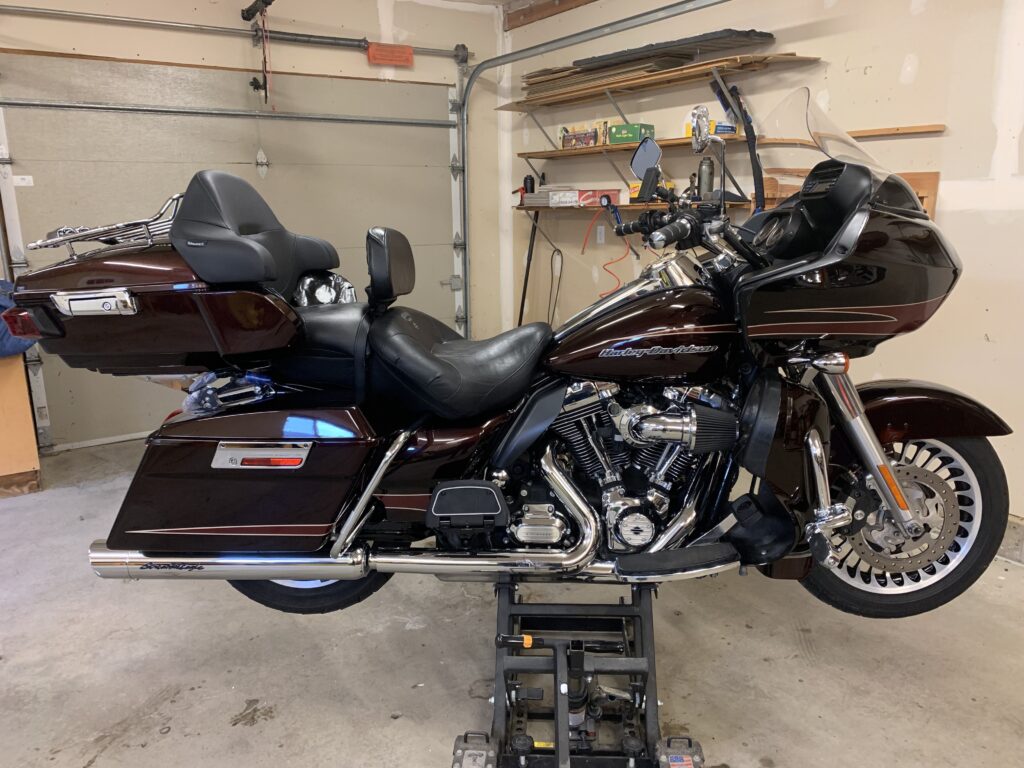
As a reminder, everything here relates to my OEM 2011 Harley Davidson Road Glide Ultra. If you have a 2014 or newer touring Harley then you have a different tour pack configuration with different mounting requirements. In fact, things would probably be easier for you to install or replace the tour pack: much of what complicated my work comes from needing to adapt my older bike to the newer configuration.
This is a pretty long post so I’ve included a table of contents at the start. You can click the links to jump directly to the headings that interest you.
Install replacement strut guards
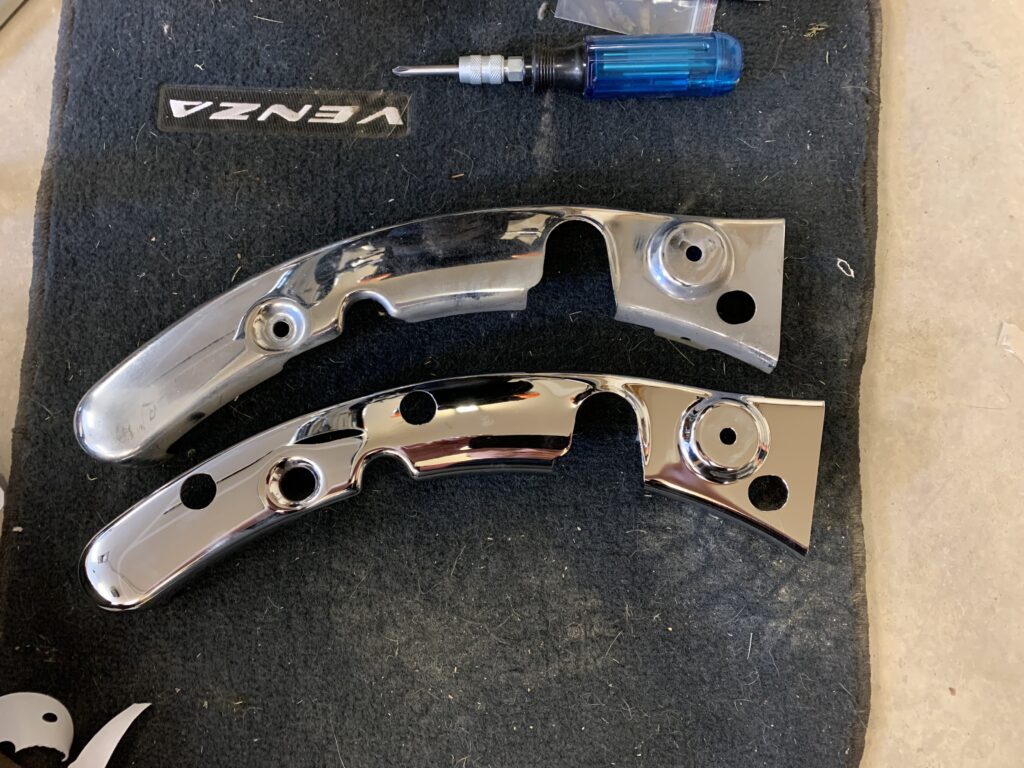
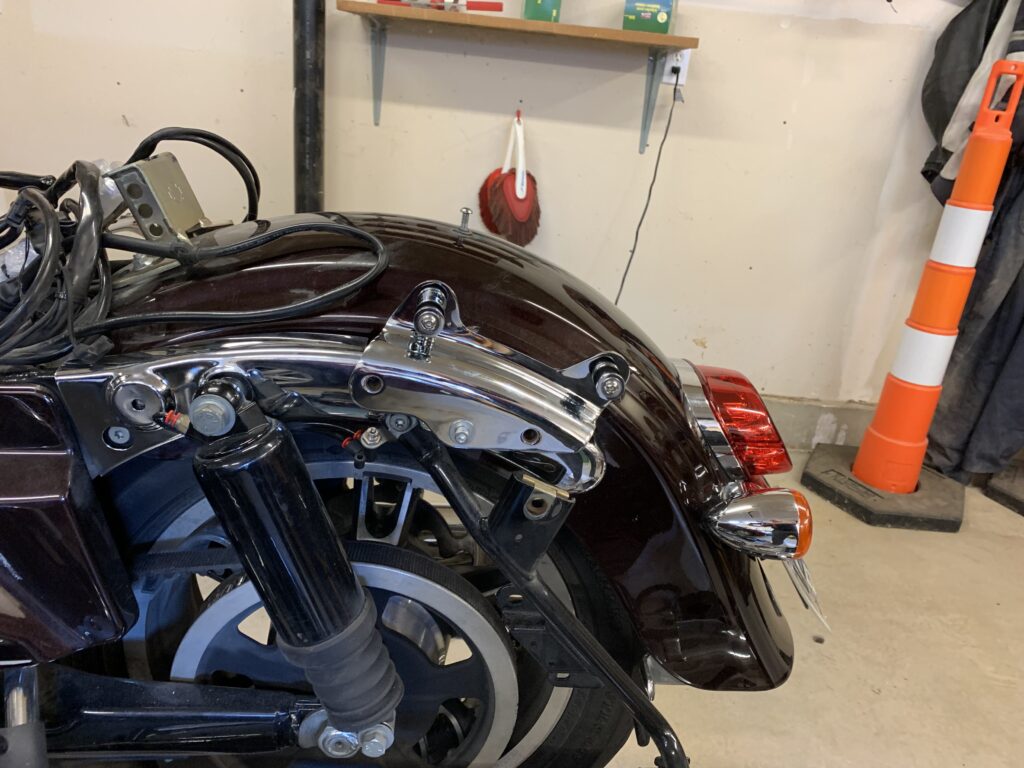
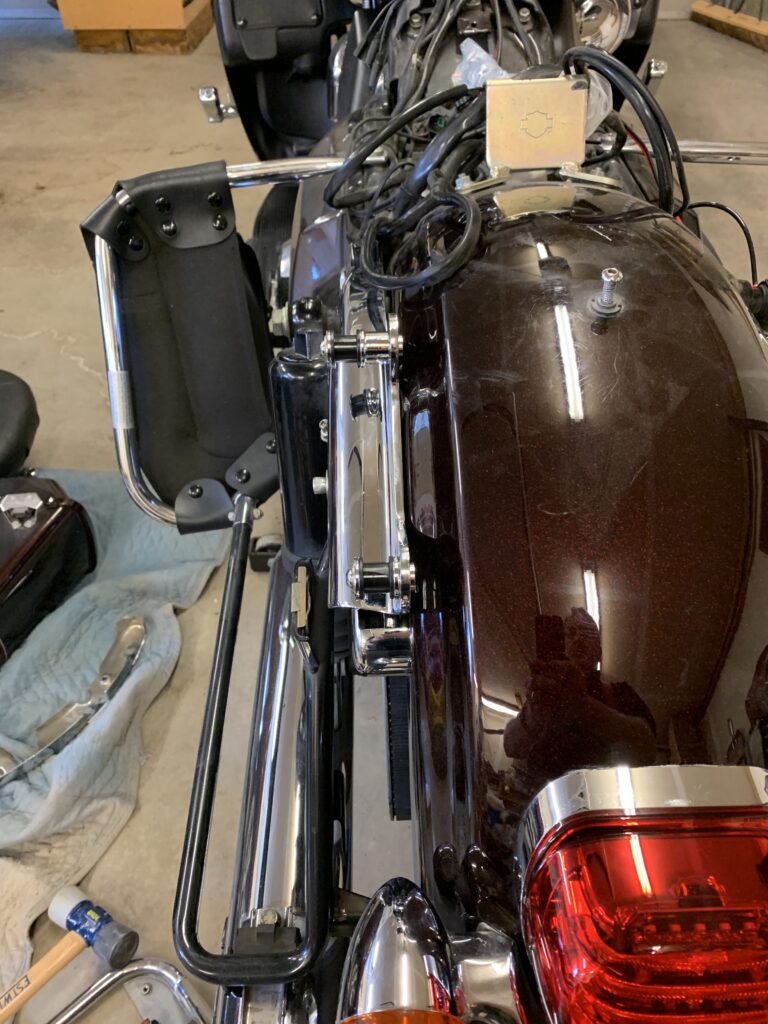
I realized I had a problem when I went to install the four point mounting bracket for the tour pack’s removable rack. There are chrome covers on the Road Glide that go over the rear end struts, and the ones on my ‘stock’ 2011 Road Glide Ultra don’t have the necessary holes for the four point mount to work. Note that the necessary threaded bolt holes are in the right spot on the struts themselves: just the covers are incompatible.
I suppose I could have left these strut covers off, but I was aiming to make my replacement look ‘correct’ so I wanted to have the proper strut covers. I also could have drilled holes in the stock covers: but they are curved and chromed, so I wasn’t confident I could do a decent job without a proper drill press. I ultimately went online to find suitable covers. I couldn’t find them through Harley directly, but I was able to establish that the covers I wanted were the same as used on the 2011 Road Glide CVO which had a similar four point removable tour pack mount.
I eventually found two options on E-Bay of all places: a company in China that manufactured “new” equivalent parts, and a couple of offerings from companies in the U.S. that parted out ‘scrapped’ motorbikes. I decided initially to go for the new covers, but the vendor in China contacted me a few days after I placed my order to say they had run out of the parts and it would be at least a month before they had more.
What I ultimately got was a pair of salvaged Road Glide CVO strut covers. They cost a bit more: about US$80 for the pair plus $30 for shipping, and arrived in about two weeks. They were in near-perfect condition, and had the requisite holes for the four point mount properly placed. I had to make a very small adjustment to the holes on one side with a dremel tool due to the tight fit of the four point mount, but otherwise the new covers were perfect.
Broken bolt for saddlebag mount
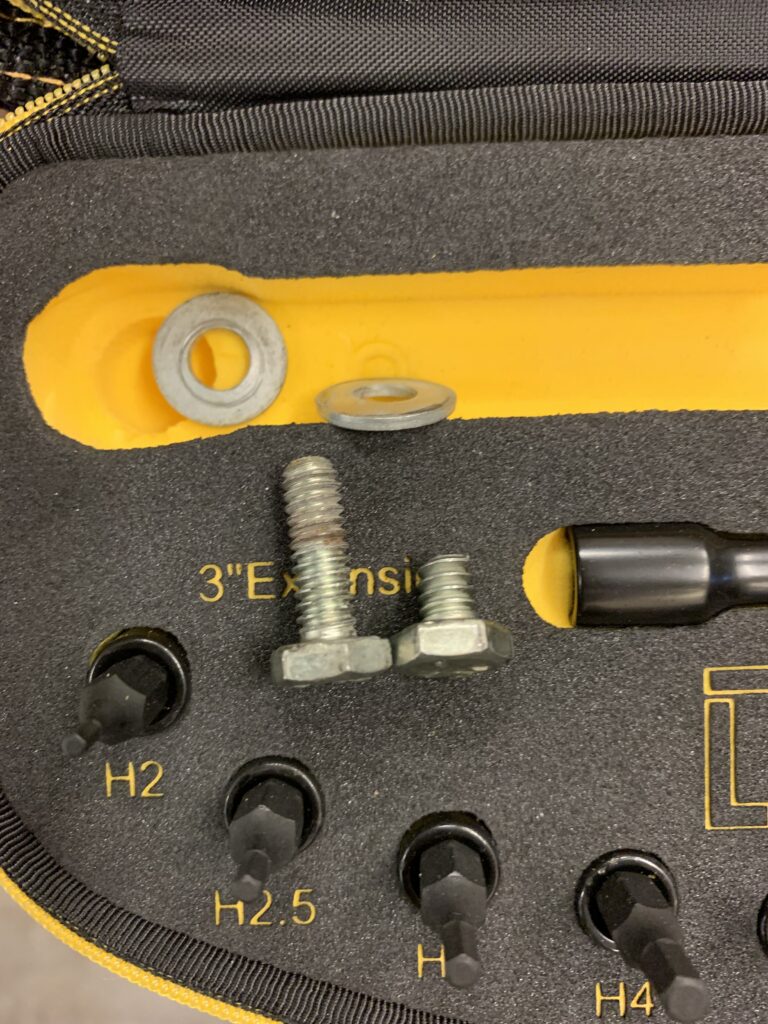
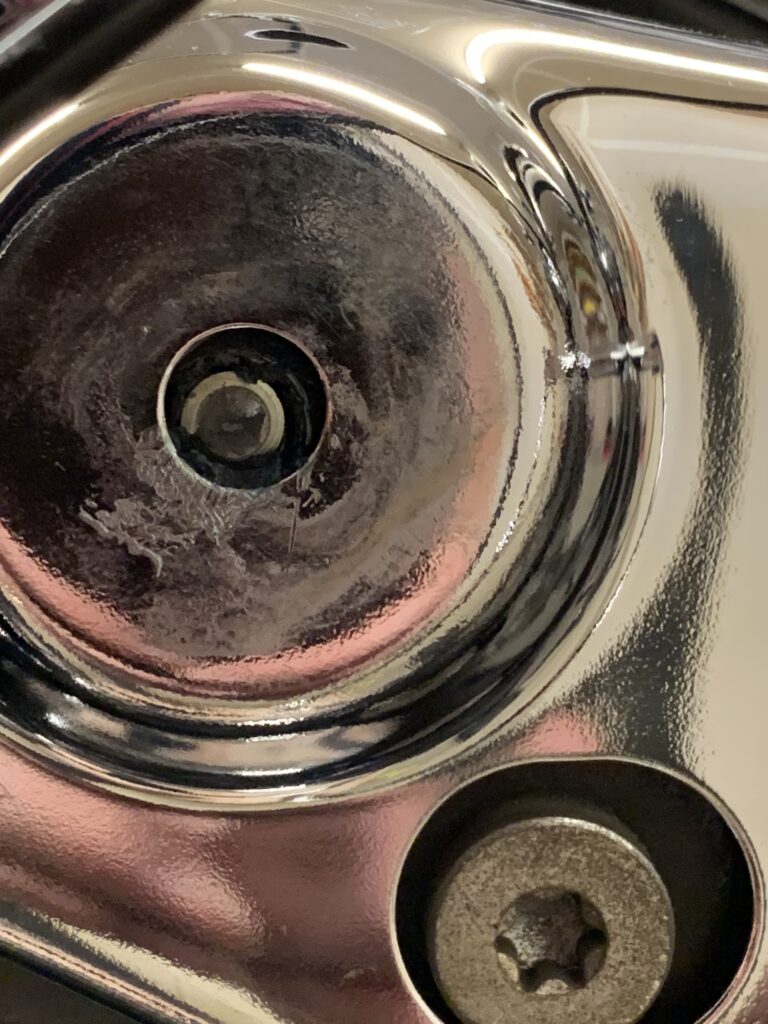
I broke one bolt while putting on the covers. This is the bolt that attaches the forward saddlebag mount bracket and also the bracket for the passenger hand strap.
Unfortunately I had no shop manual so I ‘guessed’ at the torque values for the bolt, using the values I had confirmed for the four point mount bracket. But these are actually smaller bolts, and the 17 foot-lb torque value for the four point mount was about twice what they were rated for.
After breaking the bolt I went online and found a standard reference for torque by bolt size and grade. The correct torque for a 1/4″ grade 5 bolt is 8 foot-lbs. So yeah, it was quite fair that it broke with 17 foot-lbs. I did some research on removing the bolt and replacing it, but I’ll cover that process a bit later in this post.
Install four point mount and tour pack rack
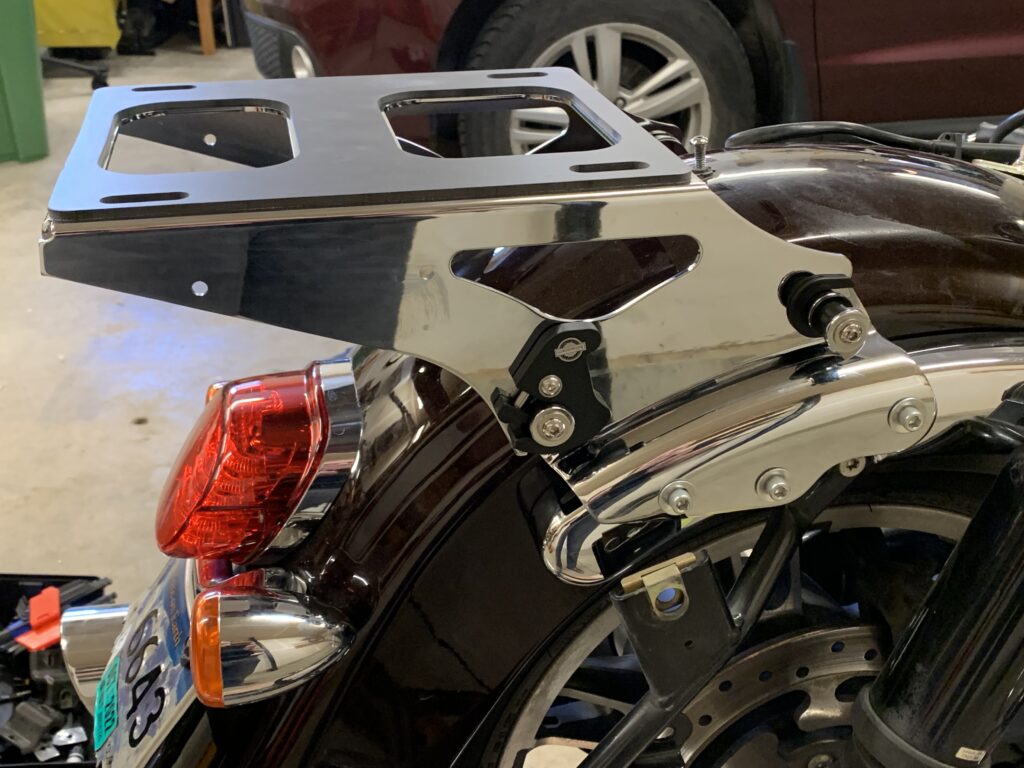
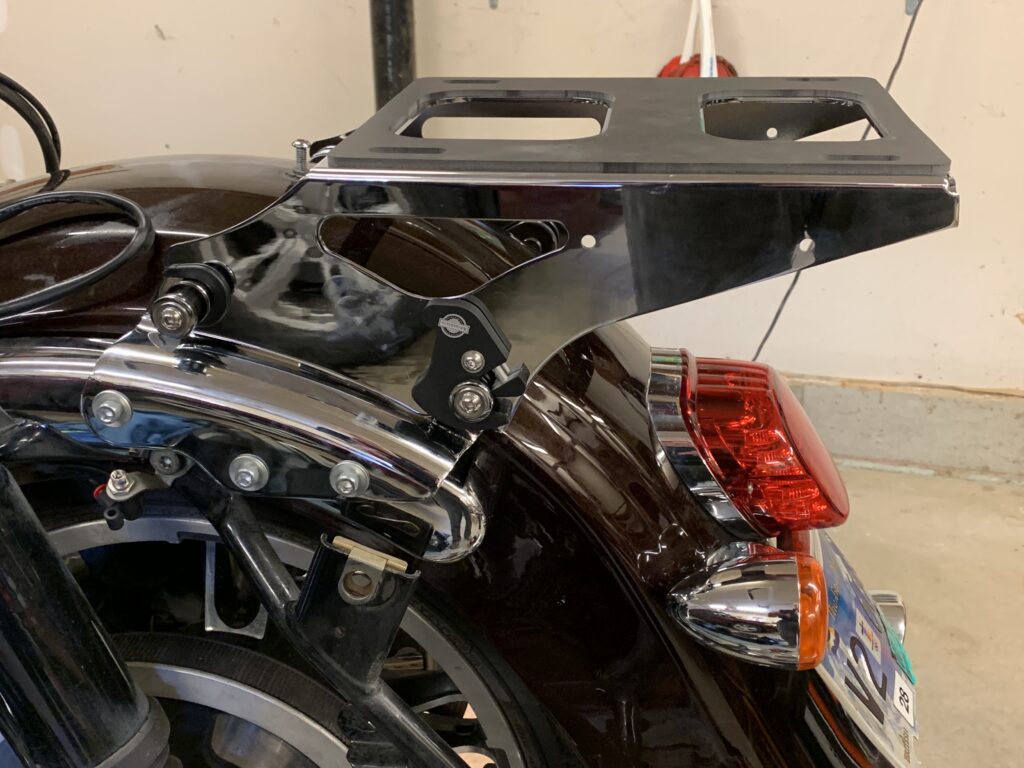
Getting the four point mount and the tour pack rack installed made me feel like I was finally making real progress. The major problems had all been resolved and the pieces were going into place as planned.
This mount is a ‘quick release’ mechanism that, in theory, would allow the trunk to be removed completely. I doubt that I will ever move the thing: the tour pack and rack comes off as a unit and requires a fair amount of wiring to be unhooked. The whole configuration weighs a good amount, probably 15 or 20 kilograms, and is both fragile and pretty expensive. I suppose if I used my bike as a ‘pub crawler’ or something and wanted the more sleek look of the bike without the tour pack it might be nice… but that isn’t my preferred way of riding.
I should note that getting the rack to properly fit into the four point mount was a bit of a pain. It is a tight fit and required a bit of percussive persuasion with a rubber mallet to finally get both latches to fully engage. This also discourages me from the idea of removing and replacing the ‘quick disconnect’ tour pack: I can’t imagine dealing with a resistant latch while balancing the whole fiddly (and rather fragile) tour pack in the mix.
Install tour pack
I referred to the guidance in the SIK Baggers video below for both the rack and tour pack installation. I didn’t follow it verbatim but it was helpful to have a visual reference for the process. They also describe installing the four point mount.
Tour pack rack support extensions
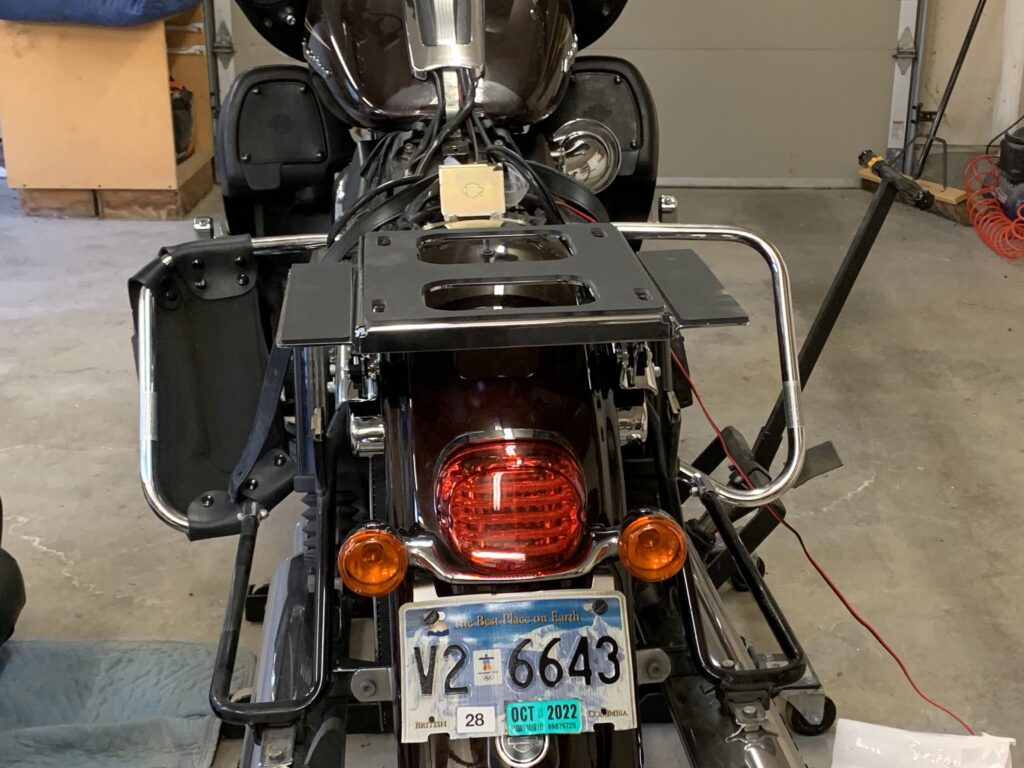
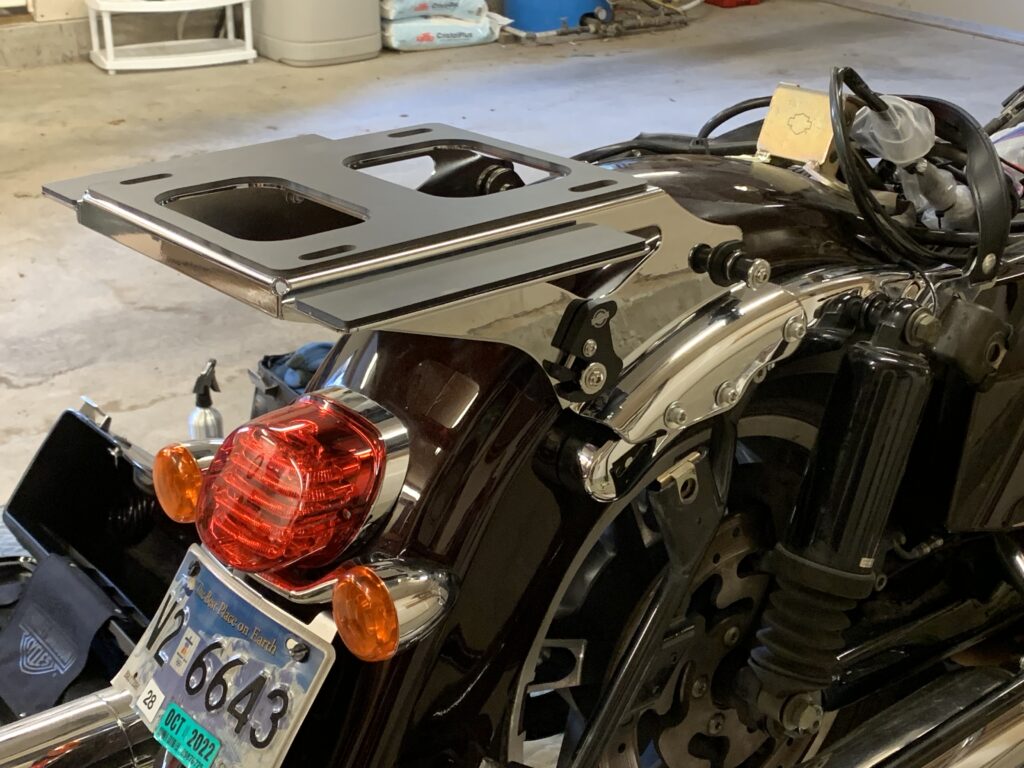
The Advanblack tour pack rack design includes support ‘wings’ or extensions to provide a stronger base for the tour pack itself. I like the design: the base of the 2014+ OEM and equivalent Advanblack trunk has a shape that matches the differing elevations that the wings provide. It makes sense from an engineering perspective that this arrangement should be stronger overall than fitting the trunk with just the centre part of the rack.
These wings bolt on easily in a few moments. The guidance video above indicates installing the extensions before installing the rack on the bike, but I didn’t find adding them after the fact to be a challenge.
Tour Pack
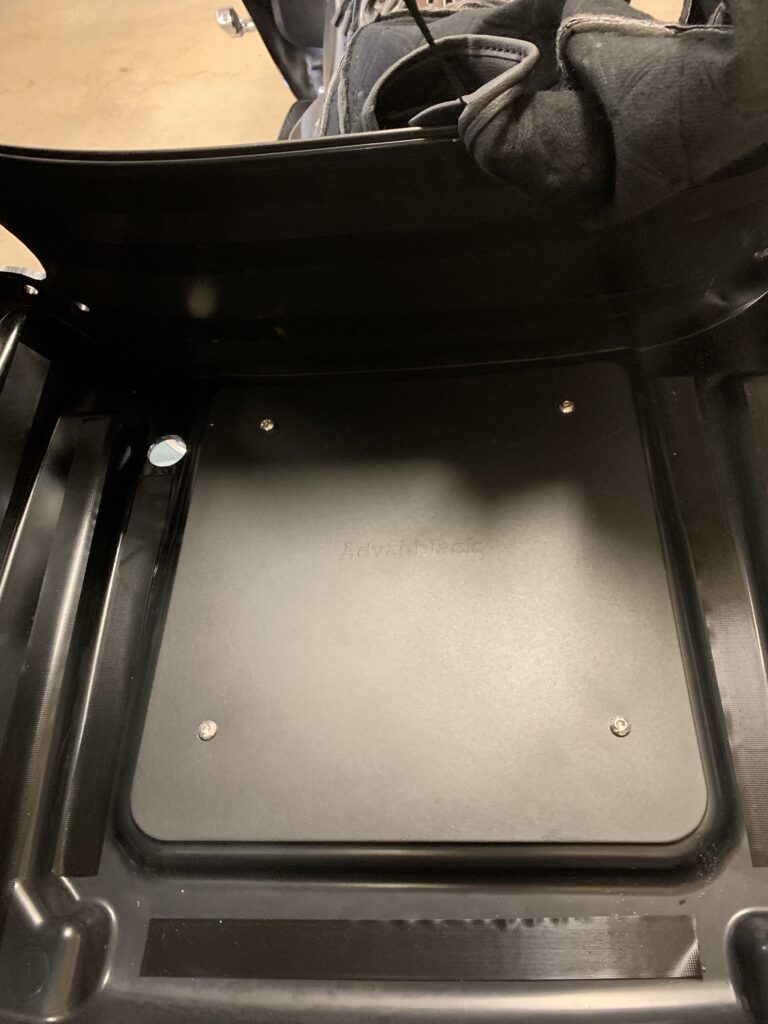
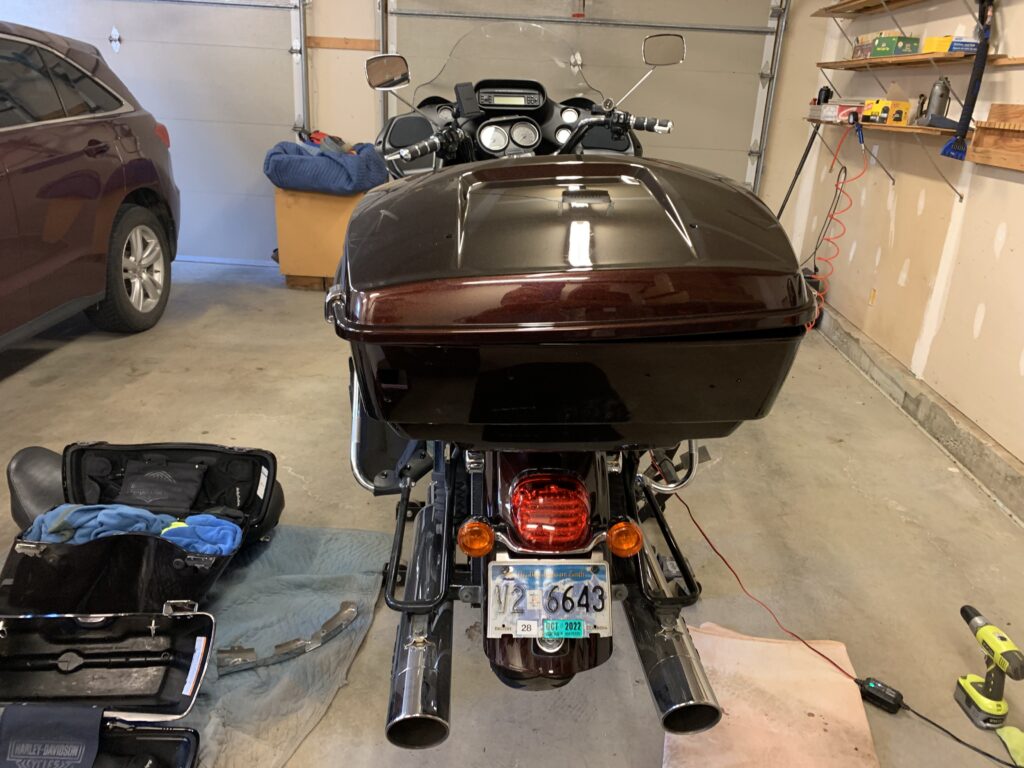
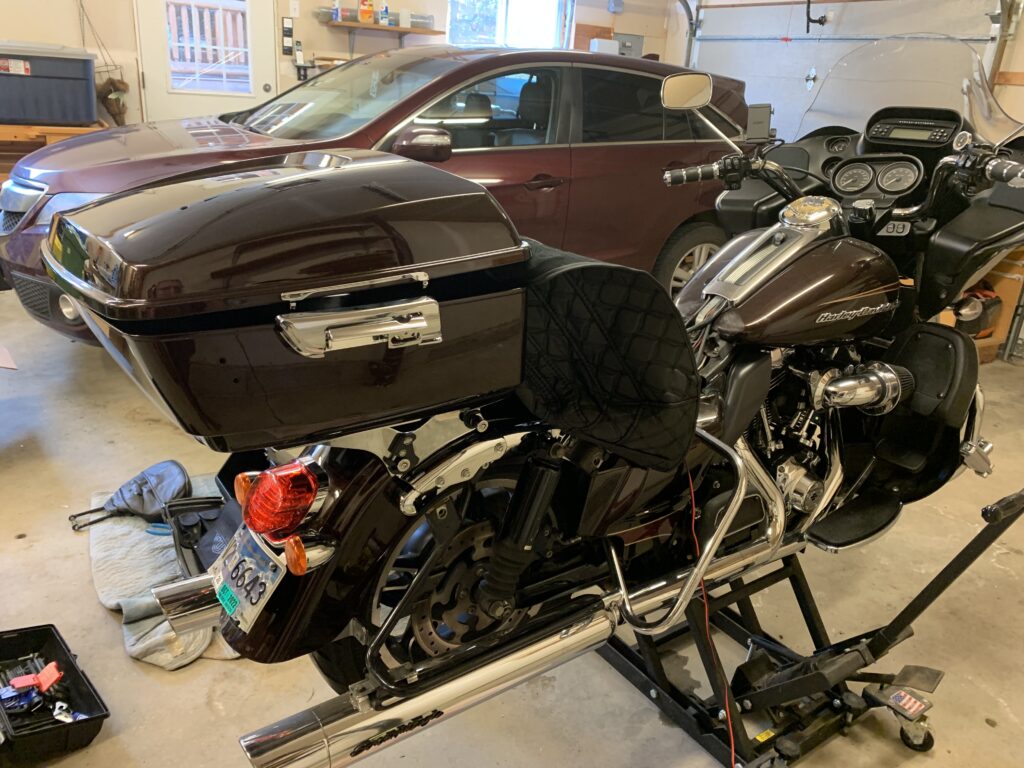
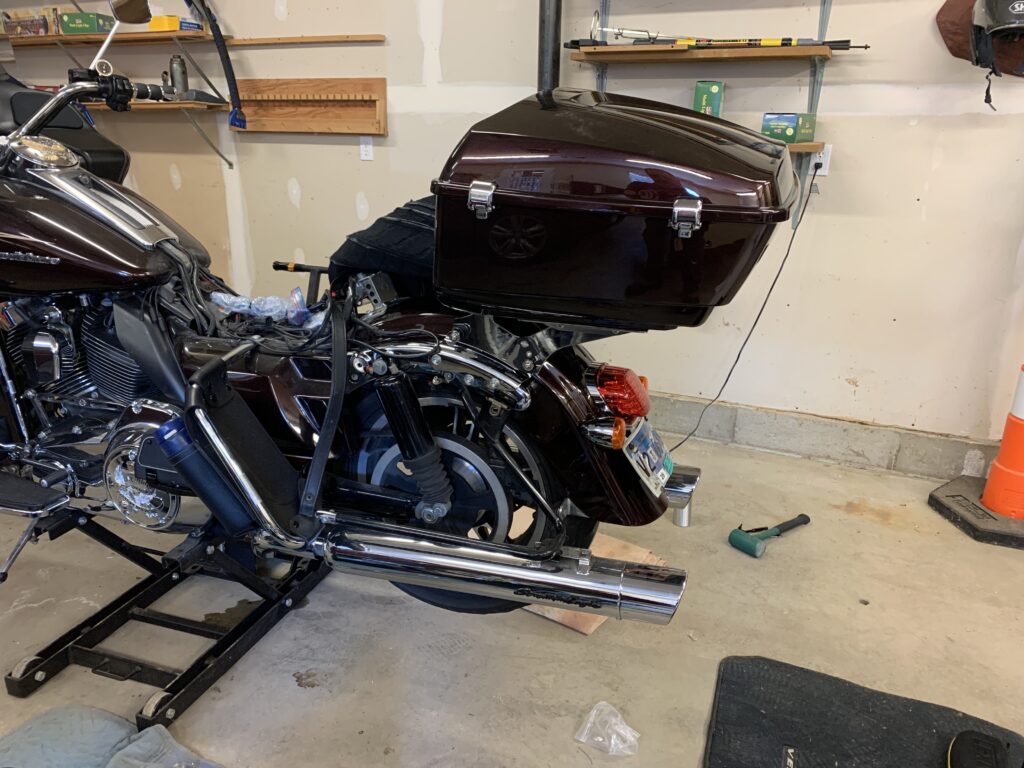
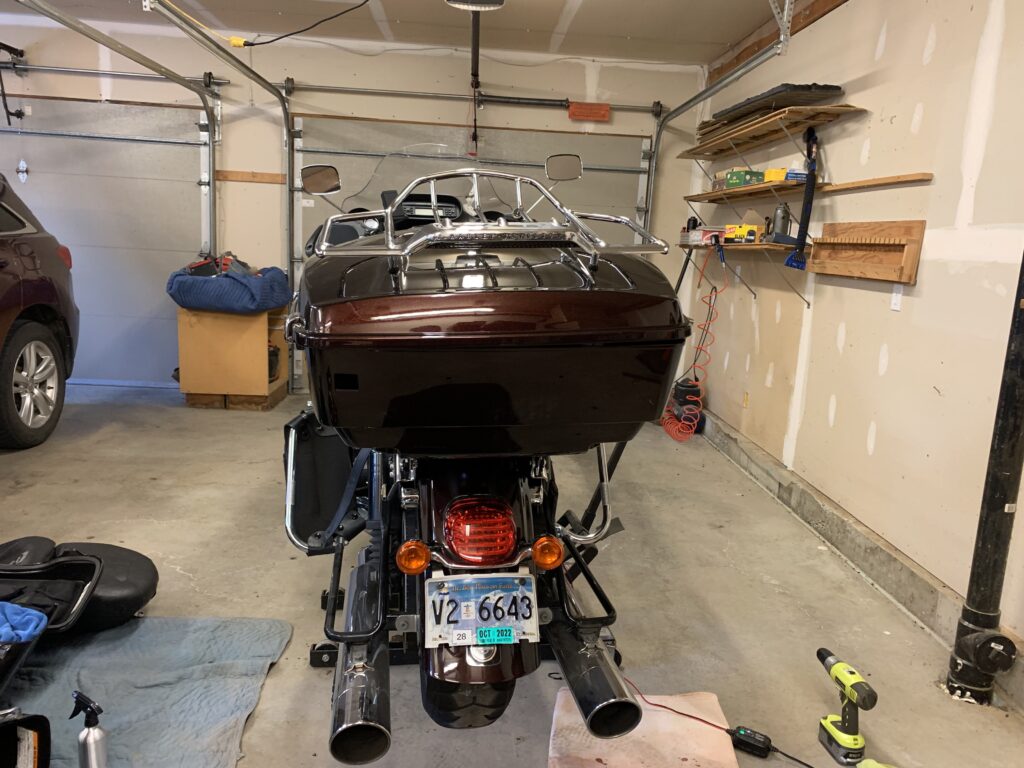
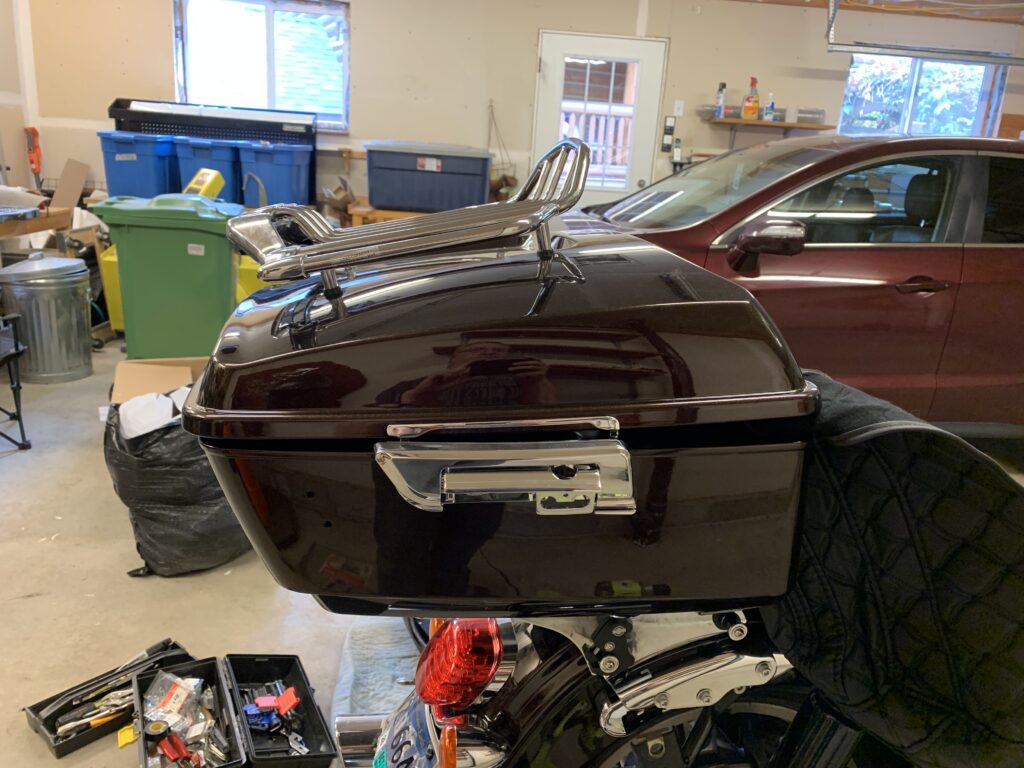
The tour pack rests fairly nicely on the rack before bolting it on, which I found reassuring. Beware, though, that opening the tour pack before bolting it on can cause it to tip off, crash to the floor, and completely ruin your day. You need to get the interior mounting plate installed with at least one bolt and nut in place before you open the tour pack to finish the remaining bolts: I did this by cracking open the lid a bit to get that first bolt in, but having a helper could also be handy.
The metal base plate acts as a kind of giant ‘washer’ to distribute the force from the bolts over the base of the pack. You’ll need to remove the lining during this phase if your pack came prefitted with one. On my tour pack the lid restraining strap mechanism had been ‘bolted through’ the lining, so instead of removing the lining completely I just sort of hung it over the edge of the pack (preventing the lid from completely closing) while I worked on the attachment.
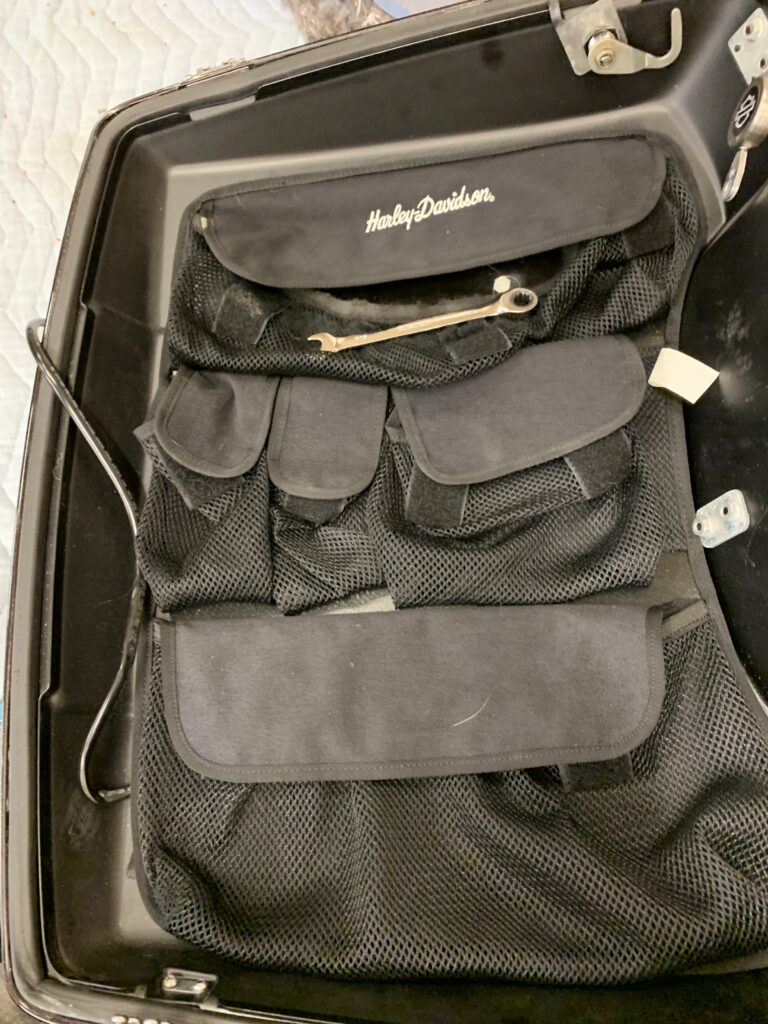
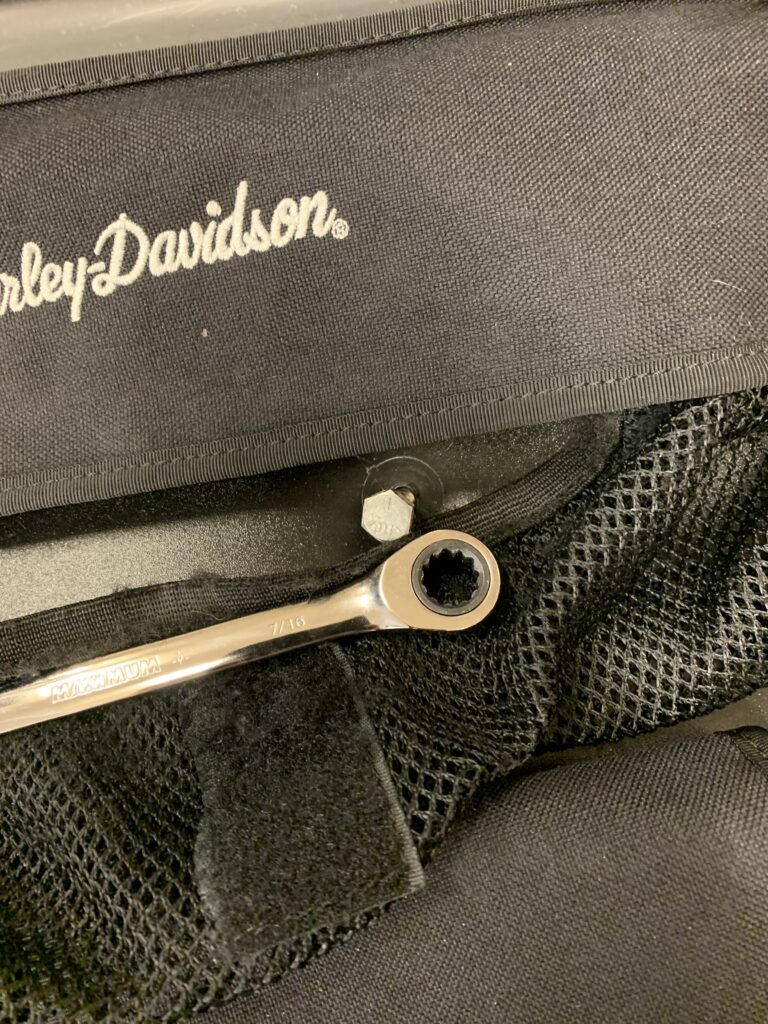
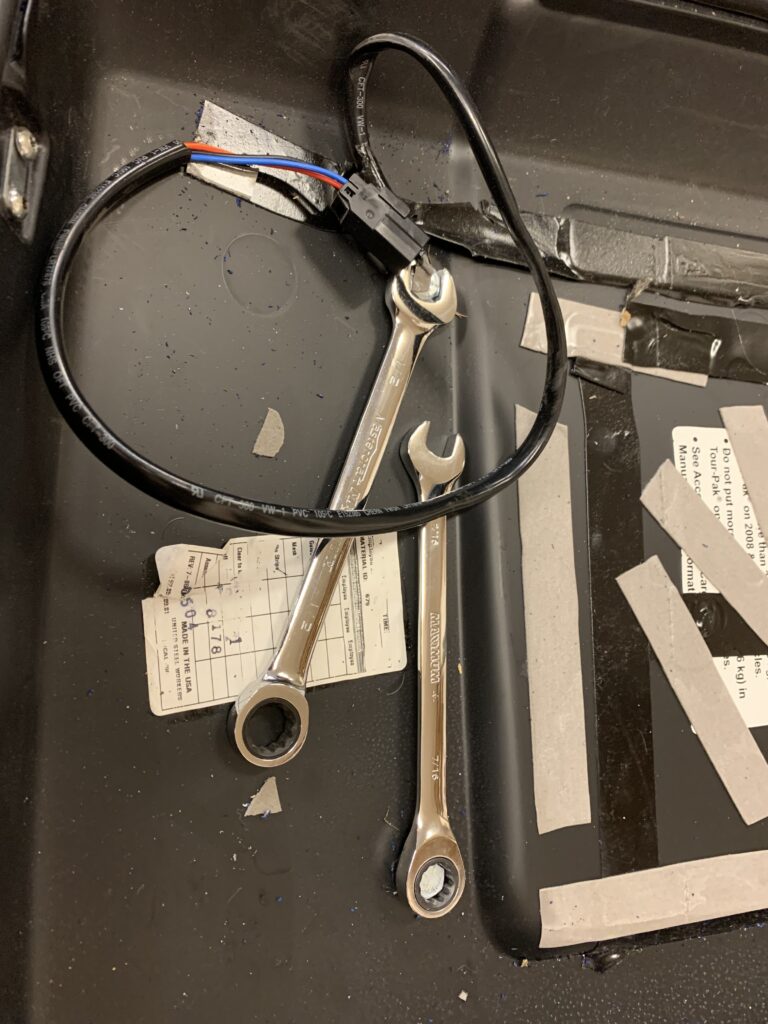
Luggage rack (from OEM tour pack)
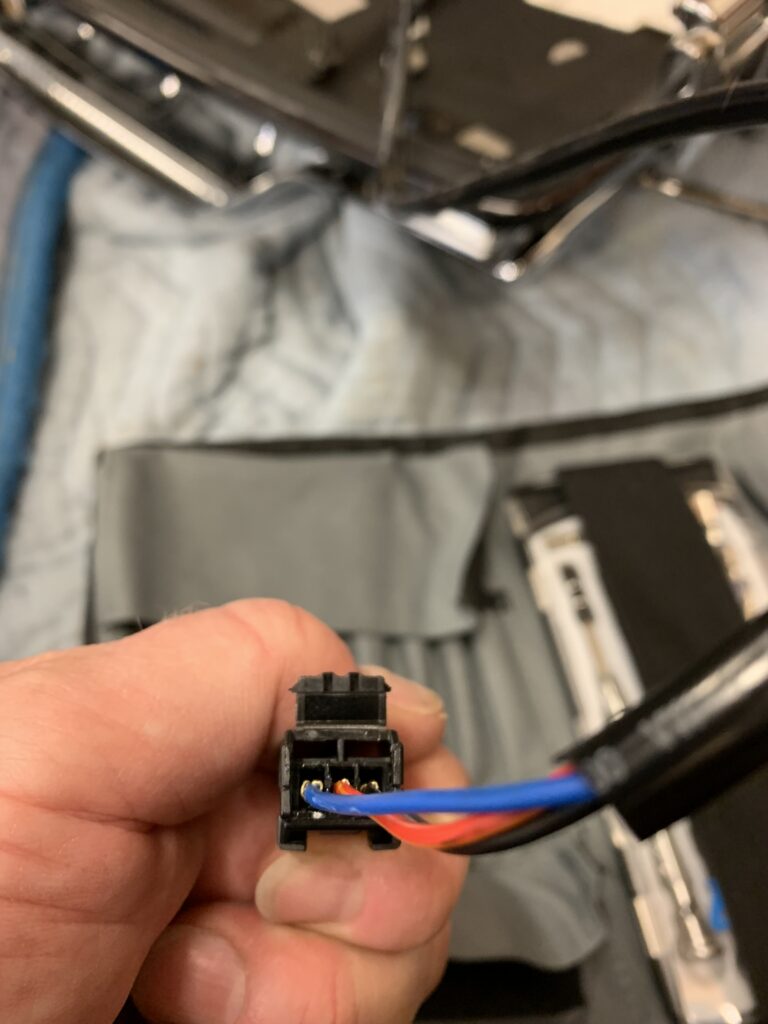
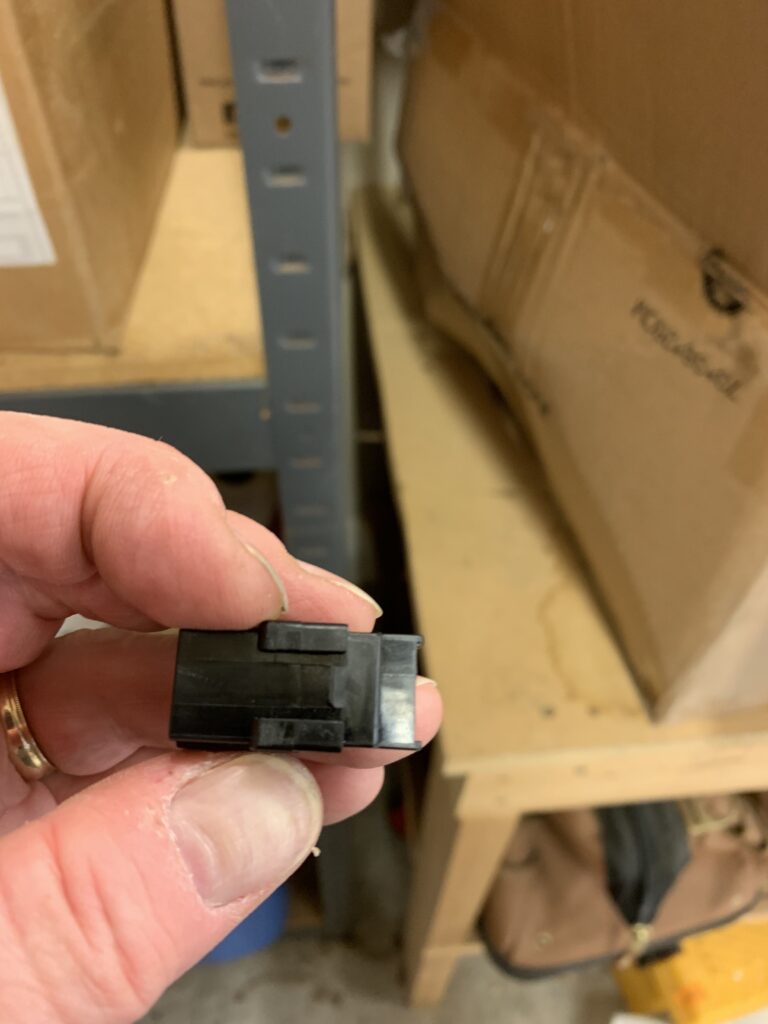
My original Harley tour pack had a luggage rack installed with a lighting kit. I wanted to re-use this, so I had to go back to the lid from my old tour pack and get it. I can’t really re-use the HD ‘organizer’ as my Advanblack liner includes a lid liner.
Install speaker pods
NOTE: from here on I don’t have pictures to document my progress, but the steps are pretty straight-forward
The OEM speaker pods from my 2011 Road glide have a different bolt pattern than the ‘new’ tour pack, so I’m glad I ordered the Advanblack pods. This, however, introduces a number of new problems.
Firstly, the 2014+ speaker pods are designed for a larger (6″ diameter vs 5″) speaker, so the stock speakers won’t work. Secondly, the passenger audio controls on my older bike are built in to the pods: not so with the newer bikes. Finally, the wiring and routing for the speakers and passenger audio controls in my older bike go through large holes in the pods which the new pods do not have.
Figuring out fixes for all of these differences is going to be a fussy process, so I decided to just install the empty pods and make getting the sound components installed a ‘winter’ project. This means having big odd-looking speaker holes providing a great place for water and wind to swirl, something I addressed later with a bit of an arts and crafts project to plug the holes. This latter bit of jury-rigging is not covered in this post.
Installing the Advanblack speaker pods is straight-forward if you have opted to have the tour pack ‘pre-drilled’ for them: basically three bolts, a plastic mesh between the pod and the tour pack, and some foam rings to seal the fitting. The video below covers the full install in the event that your pack wasn’t pre-drilled, which includes cutting some rather large holes.
Install back rest
Installing the back rest in the King tour pack involves three bolts in the lid of the pack. The holes are pre-drilled, and there is not much to go wrong here. The tour pack install video from Sik Baggers above covers the process for the smaller back rest, but it is essentially the same with the larger sized back rest for the King pack.
Install lighting kit
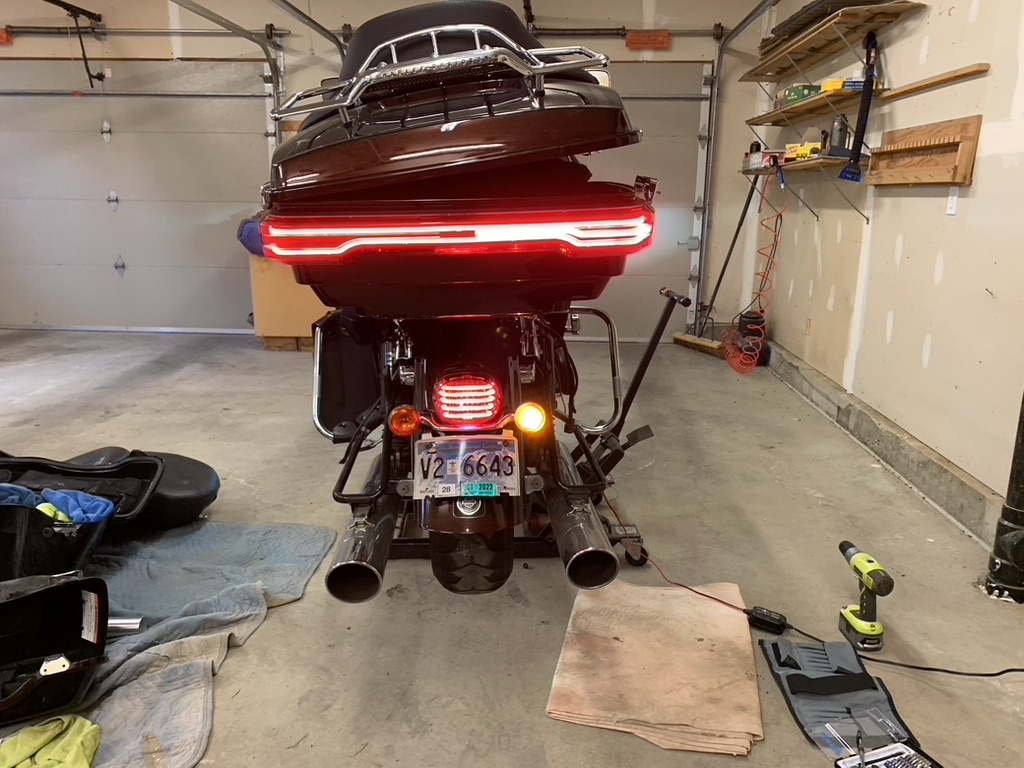
My tour pack was ordered pre-drilled for installation of the lighting kit, so physical install was quick and easy. The video below goes into some detail including using the template to cut out the holes I already had.
The challenge on my bike was the wiring. Harley changed the wiring harness when they changed the tour pack design in 2014, so my 2011 Road Glide’s connections for rear lighting were incompatible with the Reaper LED lighting kit.
Initially Advanblack said (paraphrasing) that I was screwed: the Reaper lights wouldn’t work on my old bike. But I did some digging on line and in the Advanblack Facebook forum. I was given guidance towards a different company that specializes in aftermarket lighting and electrical for Harley: Custom Dynamics.
I decided to avail myself of Custom Dynamic’s customer support and was very pleased with the excellent help and good answers I received. They directed me to a specific adapter cable: the Quick Disconnect for Harley-Davidson with 2014 Style Add-On tour pack [CD-TP-QD-HD14]. The support guy couldn’t guarantee it would work, but was pretty confident that it would.
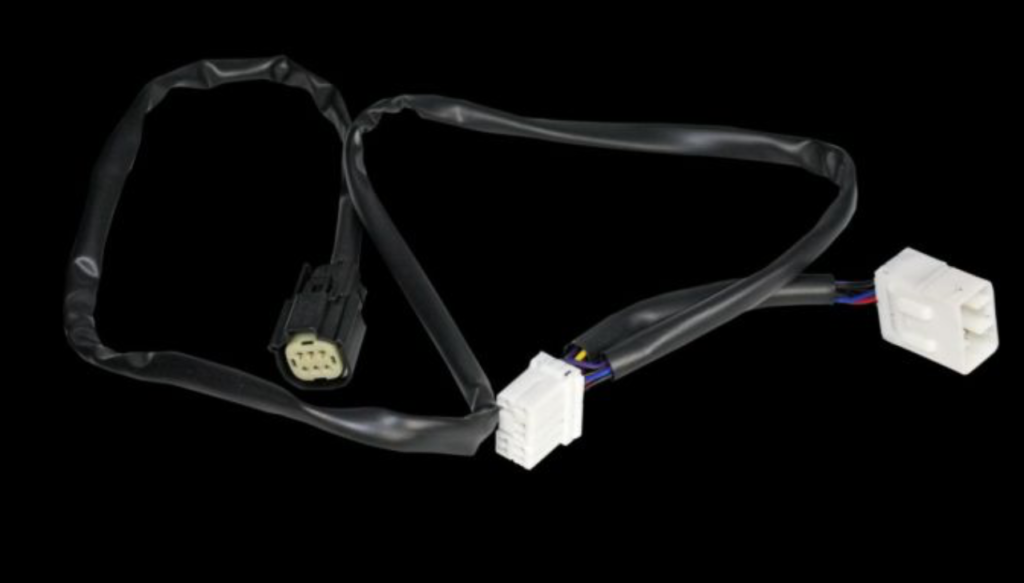
The Custom Dynamics CD-TP-QD-HD14 adapter worked perfectly. It literally took about 30 seconds to connect up for testing, and provided running lights, brake lights, and signal lights on my 2011 Road Glide using the Advanblack Reaper LED light.
Organize wiring (for now)
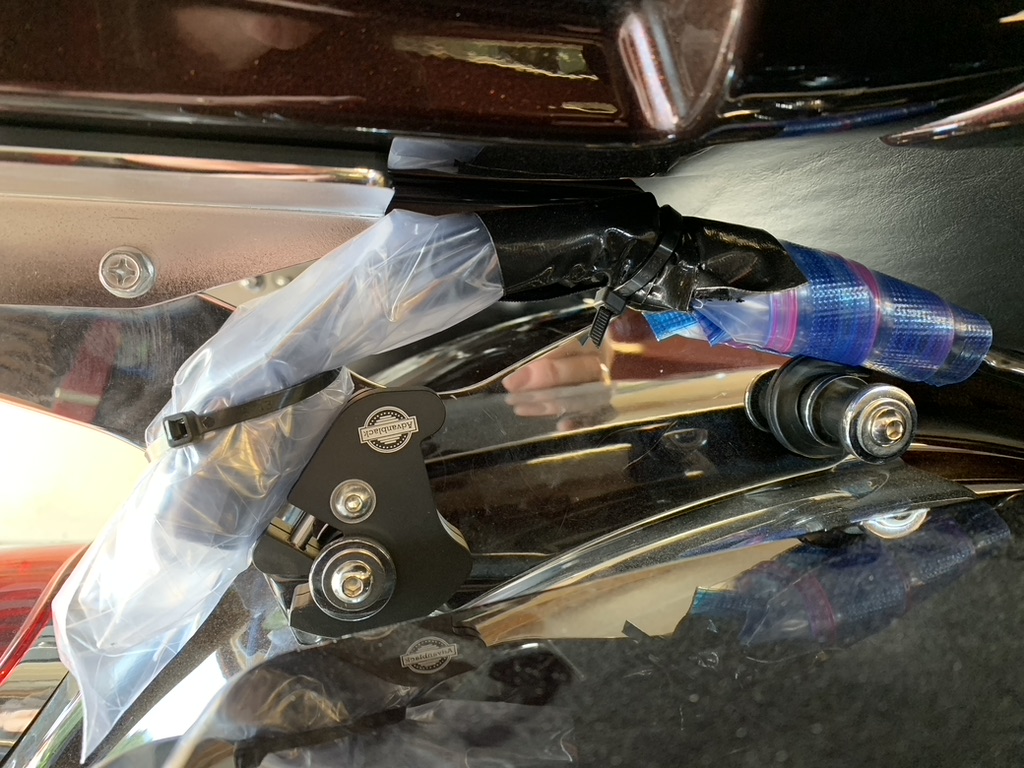
I was left with a lot of temporarily ‘orphaned’ wiring once the tour pack was mounted and the basic lighting wiring was taken care of. The orphans included the OEM speaker pod cables, CB and radio antenna wires, and electrical connectors for the luggage rack lights. The Advanblack tour pack has a single 2.5 cm/1″ hole for wiring and this was fully occupied with the lighting harness: the spare wiring would have to live outside the tour pack until I could address it as a winter project.
I did basically what I had done in 2023 when I removed the original tour pack: zip-tied the wires, wrapped them in plastic bags with duct tape to seal them, then zip tied the now ‘sealed’ wire bundles to my bike. Not exactly elegant, but reasonably secure until I decide to drill extra holes in the tour pack and finish the wiring of the remaining gubbins.
Re-mount saddle bags
Remove broken bolt and replace
The first thing I had to deal with before re-attaching the saddle bags was the broken bolt. My experiences dealing with broken bolts in the past were not good so I went in search of some guidance on Youtube and found the following video.
I purchased reverse (left-handed) drill bits, self-centering hole tappers, and screw extractors based on the guidance from the Ultimate Handyman video. As it turned out I only actually needed the reverse drill bits and some patience: the bolt came out beautifully.
Oh well: the tools were not expensive, and now I’m ready in case I stupidly break another bolt. I couldn’t find the official HD size for the broken bolt so I also got a bolt sizer gadget- basically a metal plate with example bolt holes and bolt threads. This allowed me to order the right size replacement bolt, although I wasn’t able to find the exact same grade (Grade 5) and ended up getting a stronger bolt (Grade 8).
For the record, the bolt in question (which connects the forward saddlebag mount with associated hand grip strap bracket) is: 1/4″-20 x 3/4-Inch coarse thread hex head, Grade 5 (Grade 8 is what I used).
Re-install seat (breakage of nut)
I thought I was almost done when I re-installed the seat. Surprise! The OEM nut that holds the tail end of the seat to the fender broke. I wasn’t applying any pressure to speak of, and it looked like stress fracture or possibly manufacturing defect to me. Or possibly 14 years of riding just tired the poor thing out.
The nut for the seat is a funny little thing being a ‘captive’ nut held on with a lock washer. But the worst part is trying to figure out how the heck to replace it without completely disassembling the rear end of the bike to remove the fender. Youtube came to the rescue again.
I ordered a replacement nut (which came with a new bolt as well) via Amazon and used the zip tie ‘trick’ the video above demonstrates. It worked well, and I breathed a sigh of relief as the last part of the re-assembly finally was in place.
Conclusion
I successfully merged a 2014+ style tour pack and quick disconnect rack, including associated lighting electrical bits, to a 2011 Road Glide. My bike is once again ‘complete’ in all its full-dress touring glory. A number of things went wrong, but ultimately Youtube, Advanblack, and Custom Dynamics came to my rescue.
I am skeptical that all of this work has been cost-effective for me personally. I plan on keeping my bike for a couple more years before I hope to trade it in on a Road Glide Trike, so really what I’m trying to do is keep my bike in fully functional state while maximizing its trade in value. Will I get $3,000 worth of value (roughly what everything cost) in terms of riding and trade-in when the time comes? I might not, but any dealer would be certain to notice the missing tour pack if I didn’t do something about it.
Regardless, I’m pretty happy with how the new tour pack looks and am particularly pleased that the lighting is all functional. I still have some ‘winter project’ work to do to get the sound system (rear speakers, radios, etc) working to some extent. But overall I feel a sense of accomplishment and my bike looks proper again.
Parts list
Advanblack
- Merlot Sunglo 6.5 Inch Speaker pods [TPSP-MS]
- Custom black stitching liner for King tour pack [KTPLI-BLB]
- Merlot Sunglo Rushmore King Tour Pack for ’97-’24 Harley Touring [SKU: KTPCR-MS]
- Mounting rack, ’09-’24 Chrome Touring detachable
- Pre-drill holes for luggage rack
- Pre-drill holes for speaker pods
- Pre-drill holes for tour pack LED
- Latch & hinge colour: chrome
- ‘Reaper’ Red Tour pack LED running/brake/turn signals light [TPLL-R]
- Chrome 4-point docking hardware kit for Harley Touring [TDK09-CR]
Custom Dynamics
- Quick disconnect wiring harness for ’97-’13 touring with ’14-current add on pack [CD-TP-QD-HD14]
Broken Nuts and Bolts
Saddlebag bolt
- Replacement bolt: 1/4″-20 x 3/4-Inch coarse thread hex head, Grade 5 (Amazon- Grade 8)
- Nut and bolt size checker (Amazon)
- Reverse / left-handed drill bits- set (Amazon)
- Screw remover bit- set (Amazon)
- Self-centering hinge tappers- set (Amazon)
Seat nut
- Quick-release seat bolt kit (Amazon)



Leave a Reply