
I started looking for a way to get my broken tour pack repaired shortly after removing it in 2023. My preference was to find a specialist who regularly performed body work on motorcycles, preferably on Harley-Davidson bikes.
I finally found a motorcycle dealer with a body shop in Kelowna, Konquer Motorcycles, but the news was not good. They didn’t recommend trying to repair the hinge side of the trunk. It was a repair they had performed before but with very mixed results. The stress on that area made even the best repair questionable. Instead, the recommended replacing the trunk entirely, and in terms of price it would not really be much more expensive than trying to repair it. Konquer also kindly directed me to aftermarket suppliers they had experience with since Harley didn’t make trunk replacement parts for my 14 year old bike any longer.
Thus began a whole new adventure: buying and installing a aftermarket tour pack. What fun! In this post I’ll provide a bit of background on the replacement tour pack I ordered and then dig into one of the first ‘extra’ things I had do: relocating the license plate.
Aftermarket tour pack
Konquer pointed me in the direction of the Hogworks products to price out a Harley Davidson colour-matched tour pack replacement. After some digging around on my own I found another supplier that seemed to have a better reputation: Advanblack. The prices were comparable, but I ultimately decided to go with Advanblack. I also decided to do the installation myself instead of paying for the service: I hoped to learn some things in the process.
Boy, did I ever learn some things. In terms of parts required, the tour pack is just the beginning. And the prices even for the ‘base’ components are somewhat deceptive- the ‘starting from’ prices are for plain black with colour matching adding a couple of hundred U.S. dollars. A new tour pack rack is needed as no one makes tour packs that fit the old pre-2014 style HD racks. And the packs are unlined, and I wanted lining. And of course I want lighting on the pack These are just the ‘obvious’ things that can complicate the purchase.
Then there were the surprises. Shipping something the size of a tour pack from the U.S. is distressingly expensive: over $400. Then I received the parts, removed the original equipment tour pack rack, and started figuring out how the new tour pack rack attaches. Oops, I need to order four point quick-detach mounts. Those arrived and I got a good look at how the four point mount attaches: somewhat surprisingly this requires removing some chrome strut covers that I barely knew existed. And those stock strut covers won’t work with the four point brackets- you need covers with extra holes like the Road Glide CVO had. Further, it turns out that the license plate bracket on the 2011 Road Glide Ultra is attached to that tour pack rack that was removed a few sentences ago.
Which brings us to today’s topic: creating a new home for the license plate. Don’t worry: I will write another post later where I detail all the other steps above including all the part numbers and so forth.
Relocating the license plate
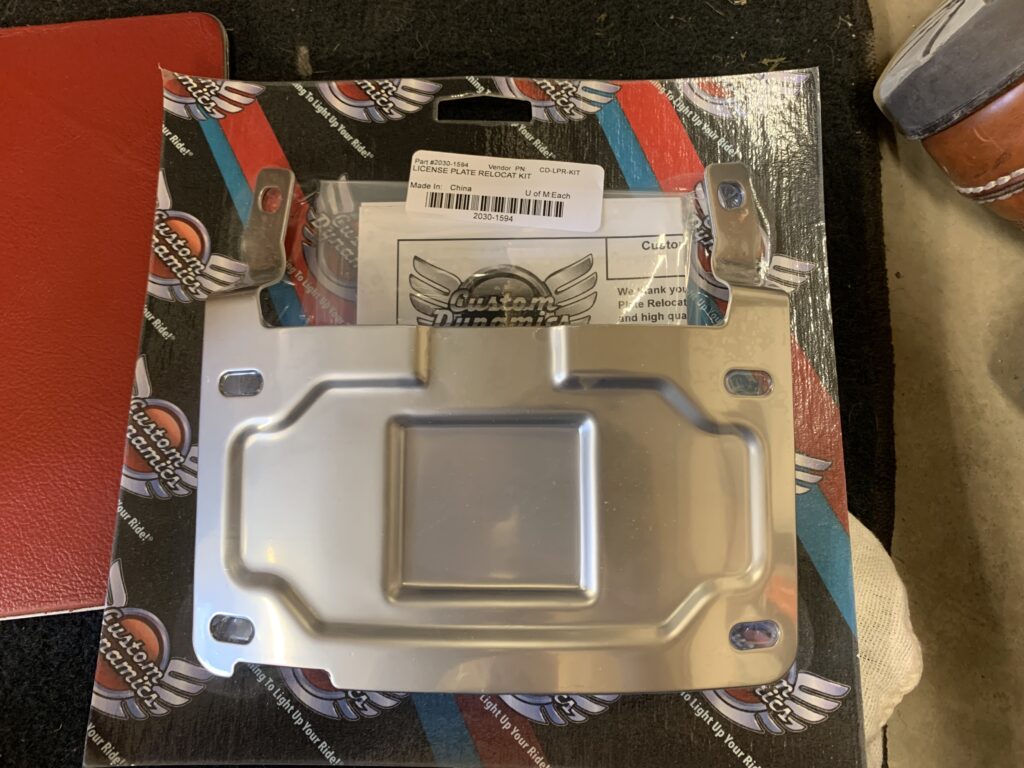
I began doing some research to find a license plate relocation kit. The one I found is from Custom Dynamics. This time I used the vendor’s support services and I’m glad I did. Cheryl at Custom Dynamics was extremely helpful- they confirmed fitment which was a concern due to the product entry referring to the ‘pan’ (flat) type signal lights which does not match what my bike has.
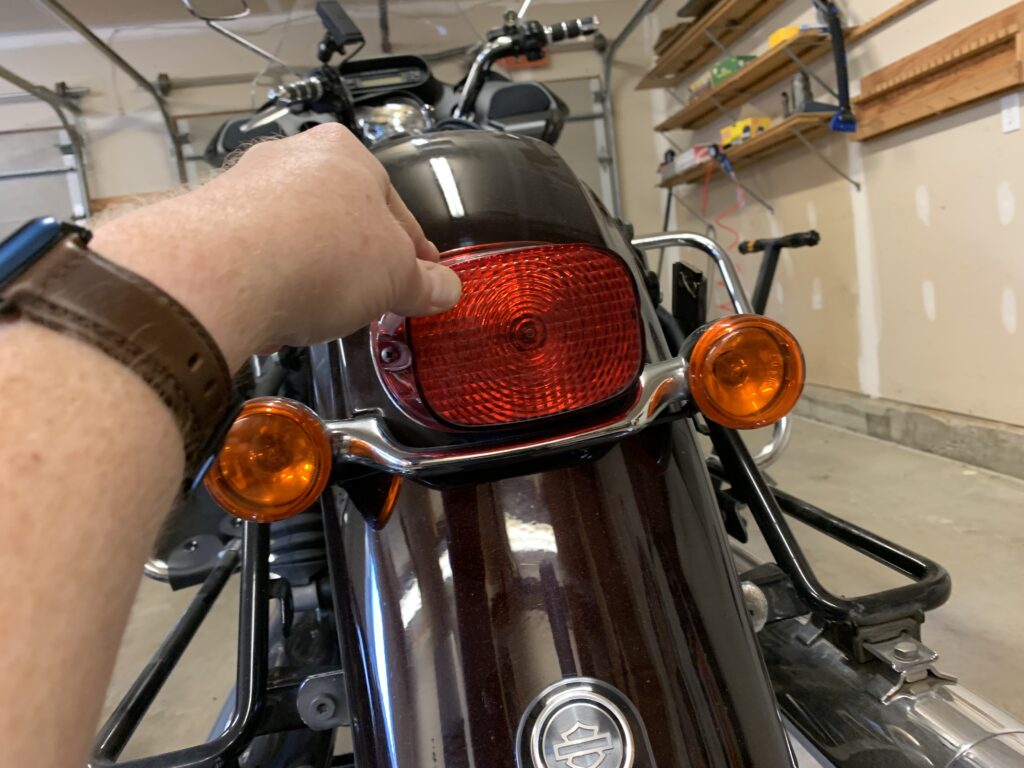
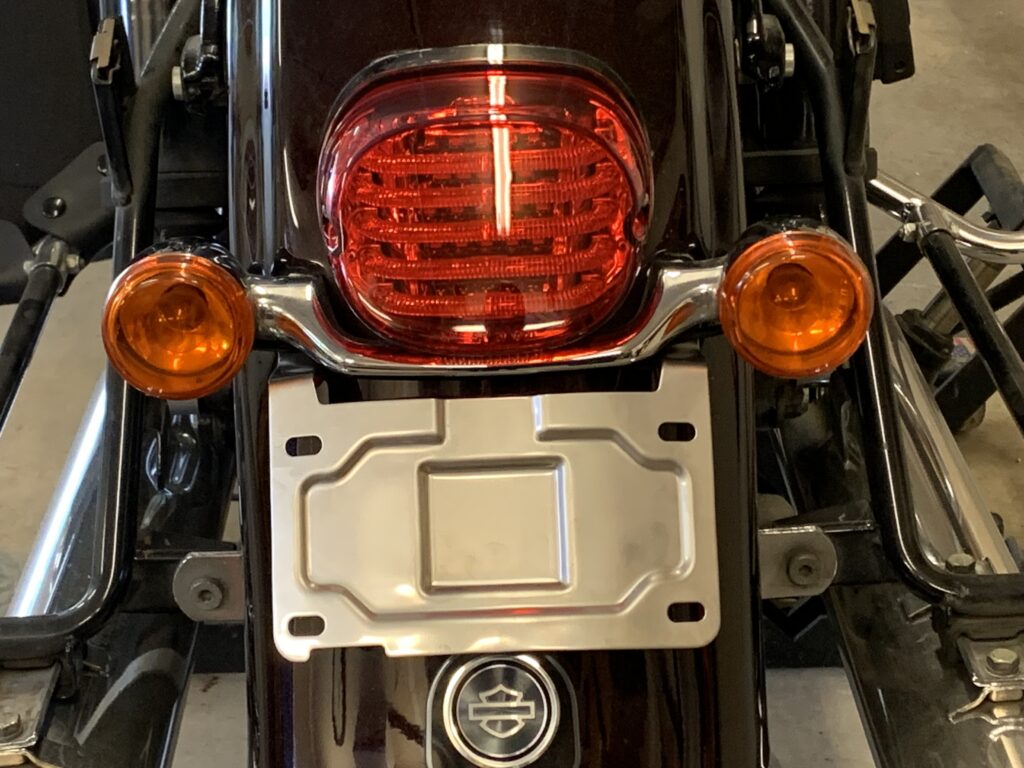
I also elected to replace my bike’s tail light: the stock light has a top-side plate illumination window which would be wrong for the relocated plate. It didn’t hurt that the replacement tail light is an LED unit and I have been replacing lights with LEDs on my bike whenever the opportunity arises.
Parts used
- License plate relocation mount for Harley Davidson turn signal bar (CD-LPR-KIT)
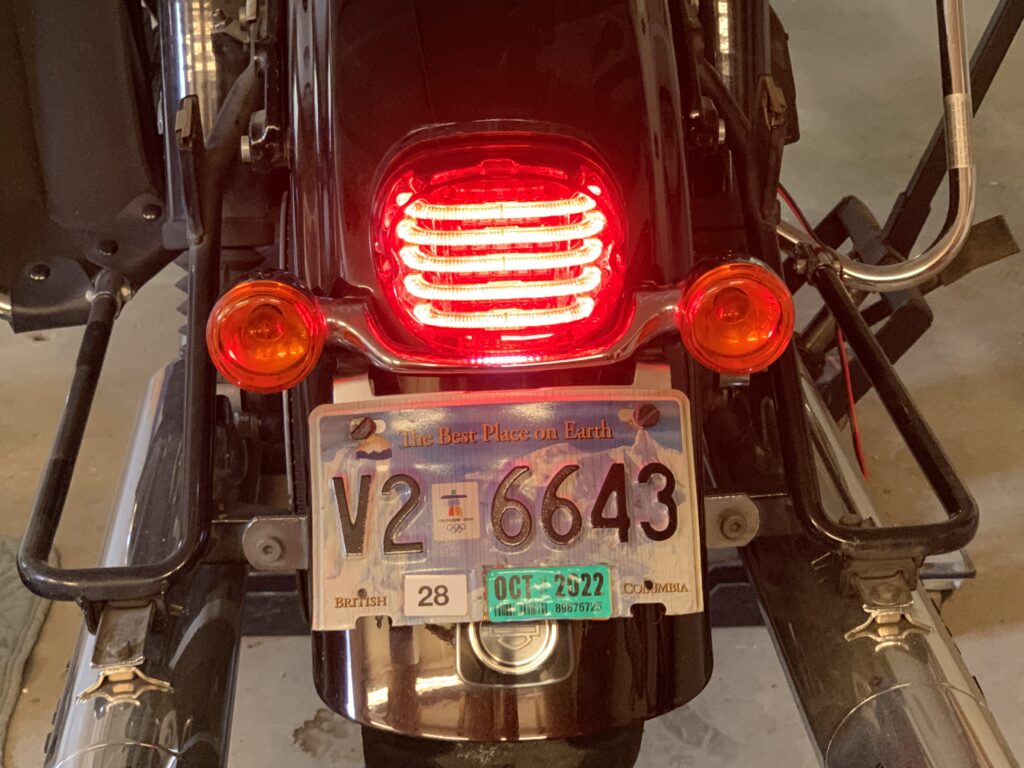
- Probeam low profile run & brake motorcycle LED taillight (PB-TL-LP)
- Make sure to specify the downward facing license plate illumination window
I referenced the instructions that were provided to me by Cheryl at Custom Dynamics during replacement.
Pictures
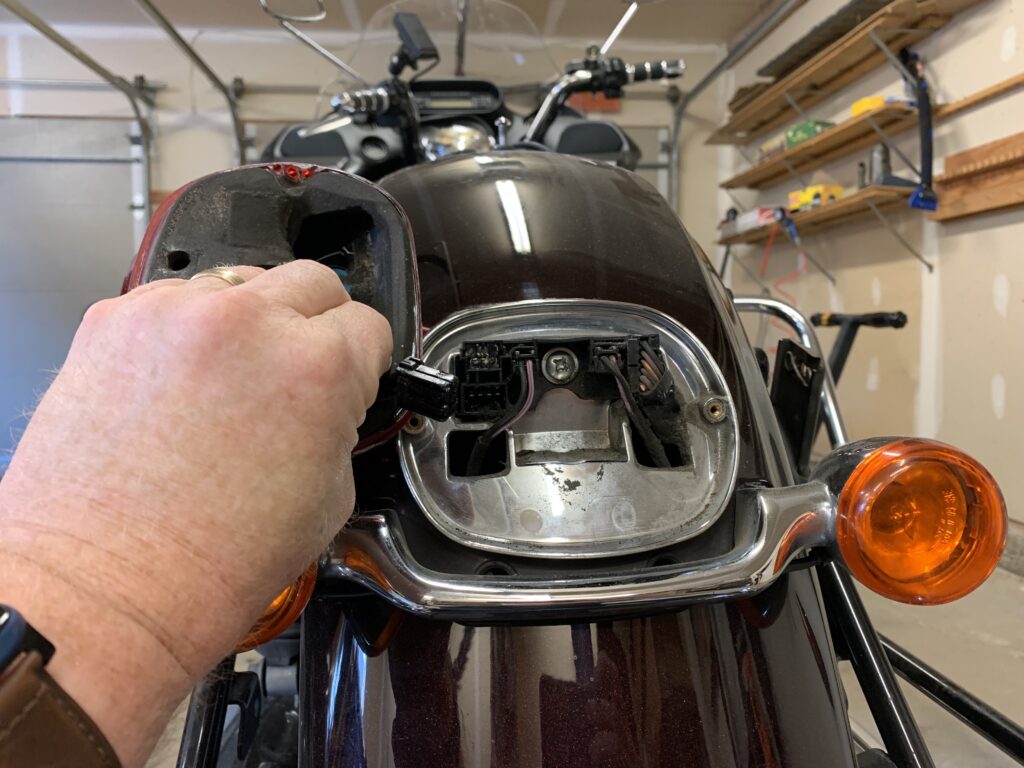
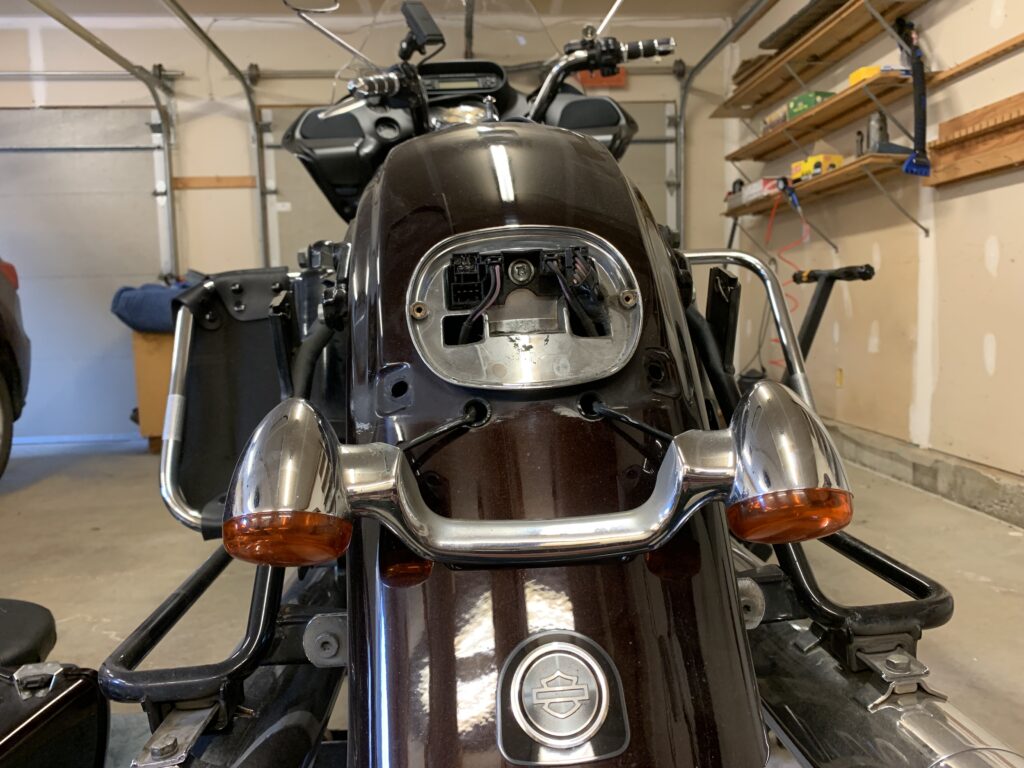
Remove the old light

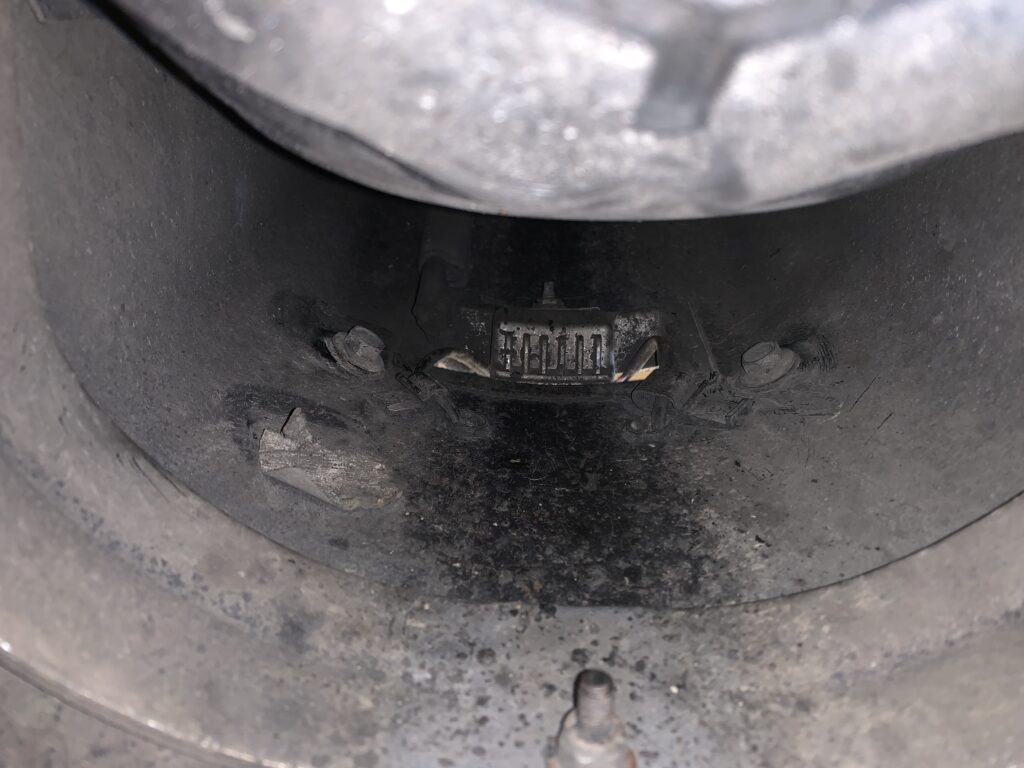
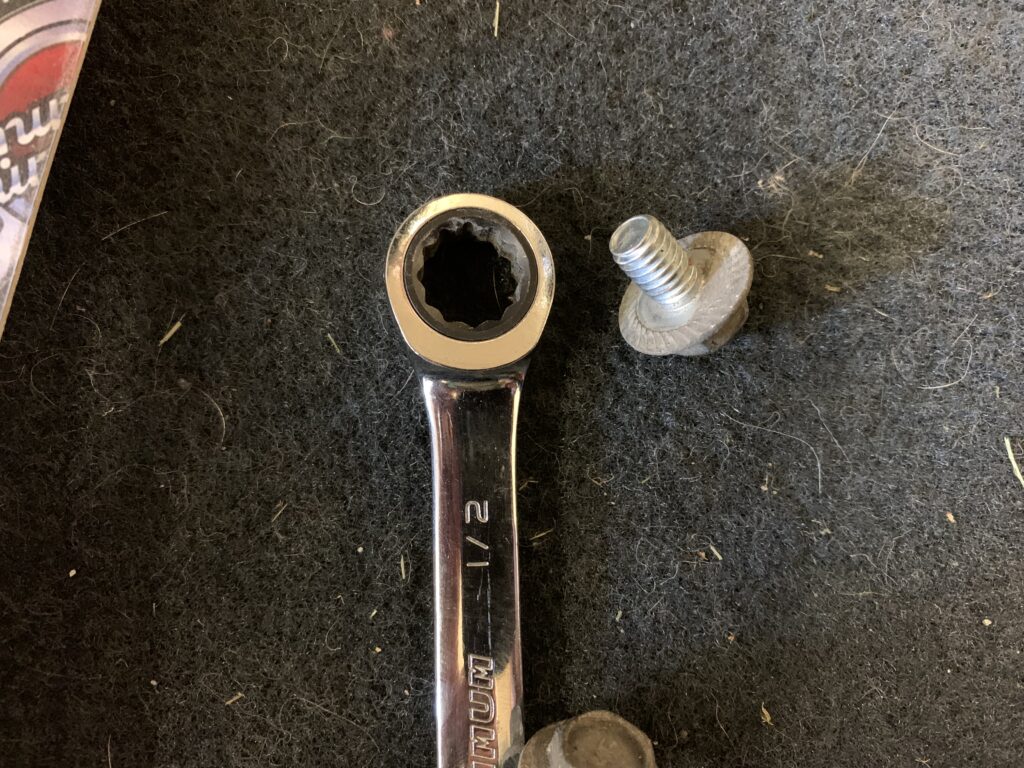
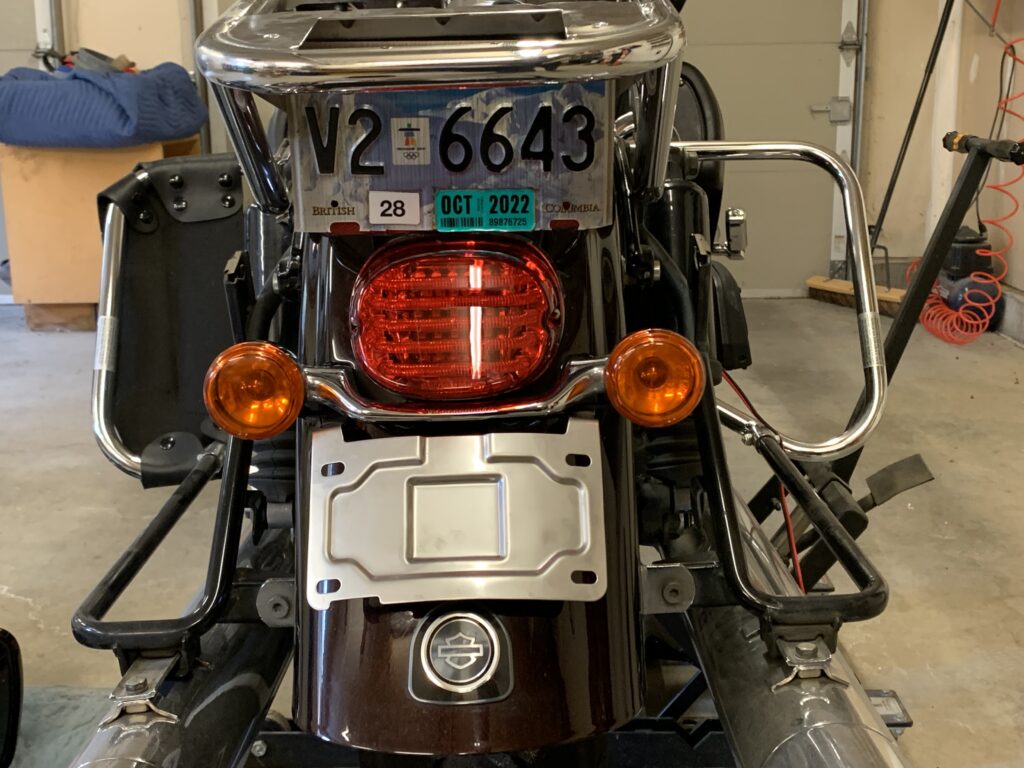
Remove the bolts on the signal light bar
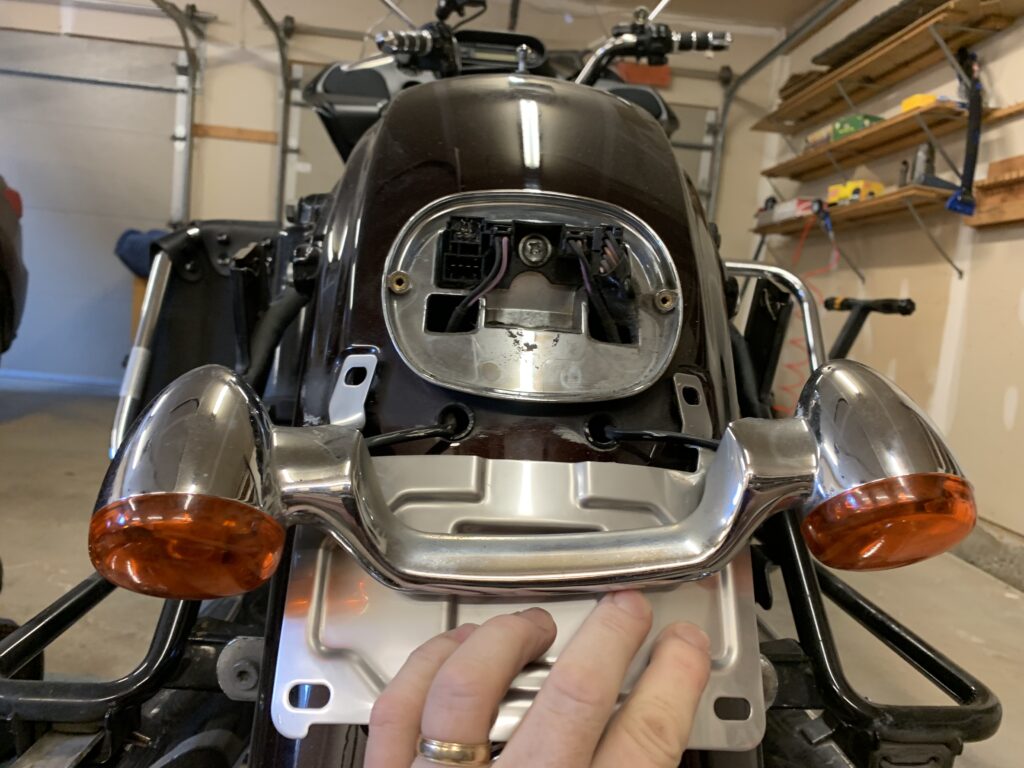
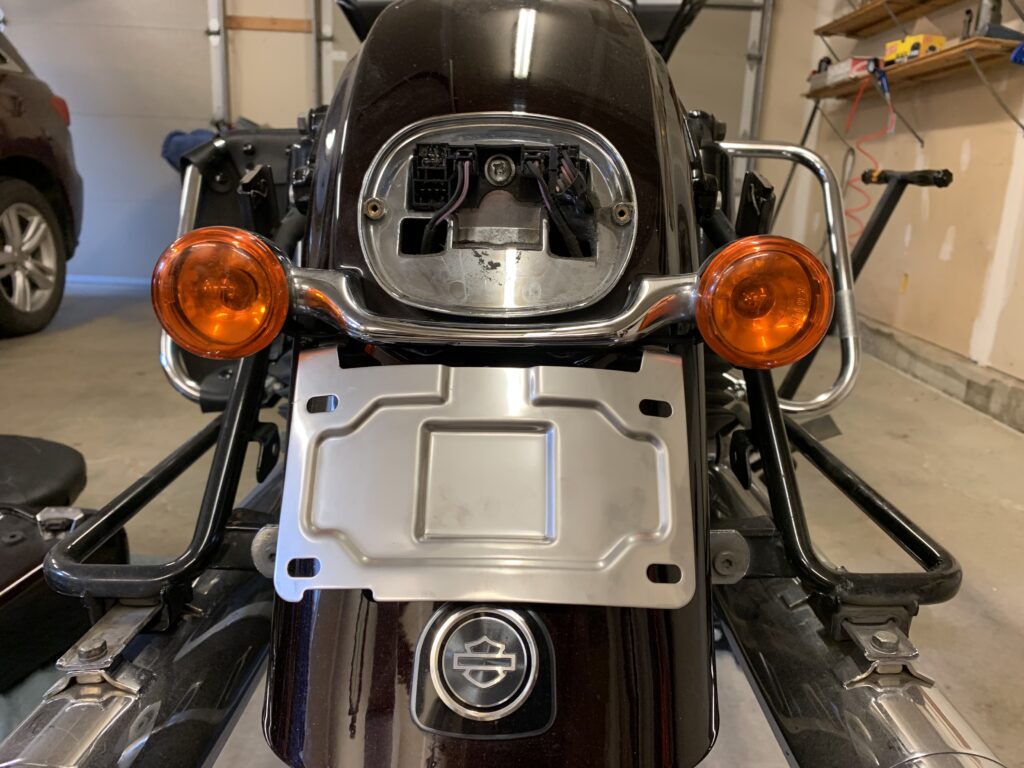
Install the license plate mount
Install the LED tail light
Conclusion
Relocating the license plate and installing a new LED tail light were probably the easiest part of the whole process of replacing my tour pack. I can strongly recommend Custom Dynamics as a vendor for lighting and similar accessories, and I found their support team to be first rate.
I’ll be diving into the details of the full tour pack replacement in a later post… or possibly several posts. As I write this on August 23 the tour pack is installed but I’ have a bunch of extra steps like hooking up the electrical for the lighting to complete. I am getting there…


Leave a Reply