My 2011 Road Glide has served me well over fourteen years and 130,000+ km without major complaints. But something fairly major broke in 2023: the tour pack. The tour pack is what Harley-Davidson calls the full-dress touring bike’s ‘trunk’. Mine had not been babied, occasionally being overloaded and mis-treated a bit more than it should have been, so the largish crack that developed near the hinge probably shouldn’t have been a surprise.
I happened to be taking the bike in for service in Chilliwack while on a road trip just after I noticed the crack. They took a look at the damage and told me that they could not fix it. Furthermore, the age of my bike meant that they could not get replacement parts: the design of the tour pack had changed significantly in 2014 and all the mounting hardware was different now. They suggested that maybe a body shop could fix it.
I completed my road trip, babying the badly cracked tour pack, and then had to decide what to do. After calling around and finding no easily locatable repair options I decided to remove the tour pack and deal with it later.
My rationale for removal
I could have left the pack in place but I was concerned about the crack getting worse while riding and possibly causing something more serious to happen. In my imagination I pictured the crack causing the whole hinge to come loose while riding causing the entire lid to break free. Large objects flying off my bike at highway speed is a scary prospect.
I also thought that having the tour pack off the bike would facilitate getting it repaired. I could take leave the broken part at a body shop, for example, without having to involve my bike in the process. Keeping my bike available to ride seemed like a good idea given that I expected any service to take several days. And regardless how the pack was going to be fixed it would have to be removed at some point.
The removal process
I did some research before starting the task of removing the tour pack. I like to know what I’m getting myself into before I start, and thankfully the internet and Google have made this kind of research fairly easy.
After some googling I found a post in a Harley-Davidson discussion forum specific to my requirement. This post included a scanned page from the HD service manuals detailing the tour pack installation and removal process. A mere 10 steps, with an illustration!

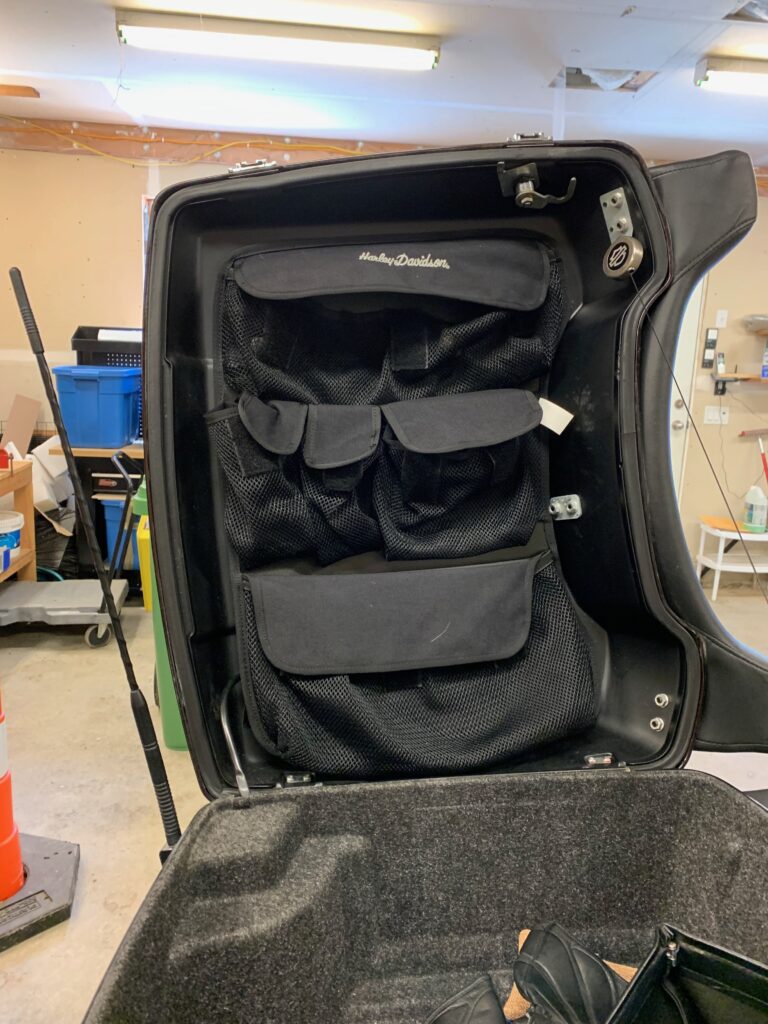
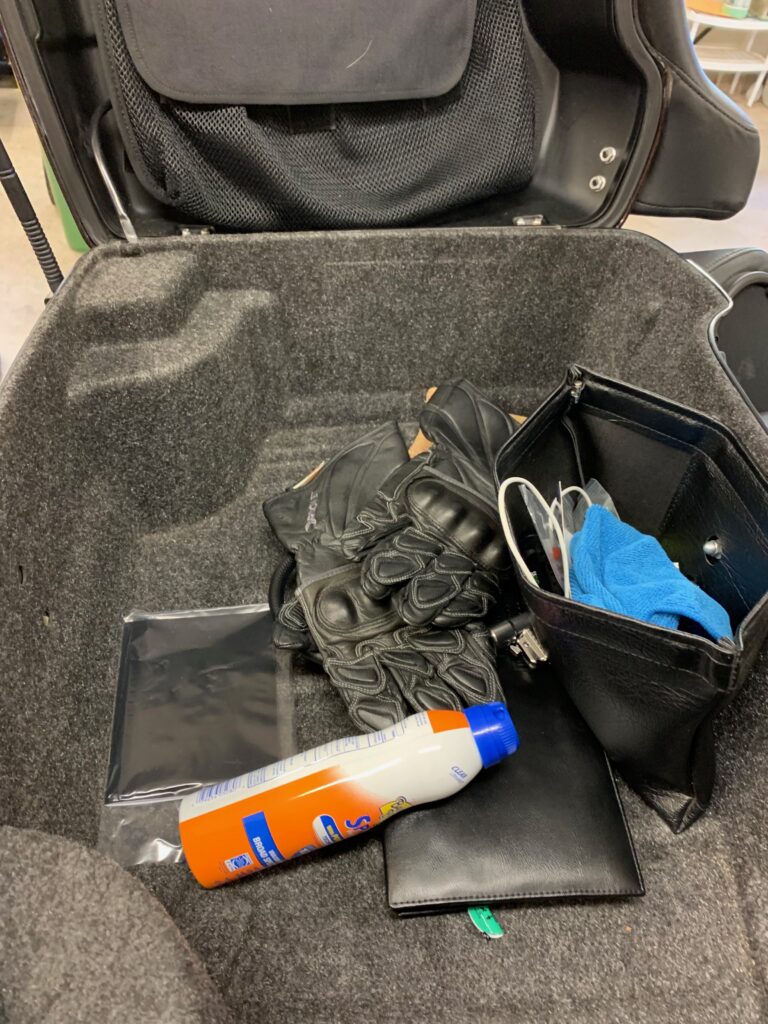
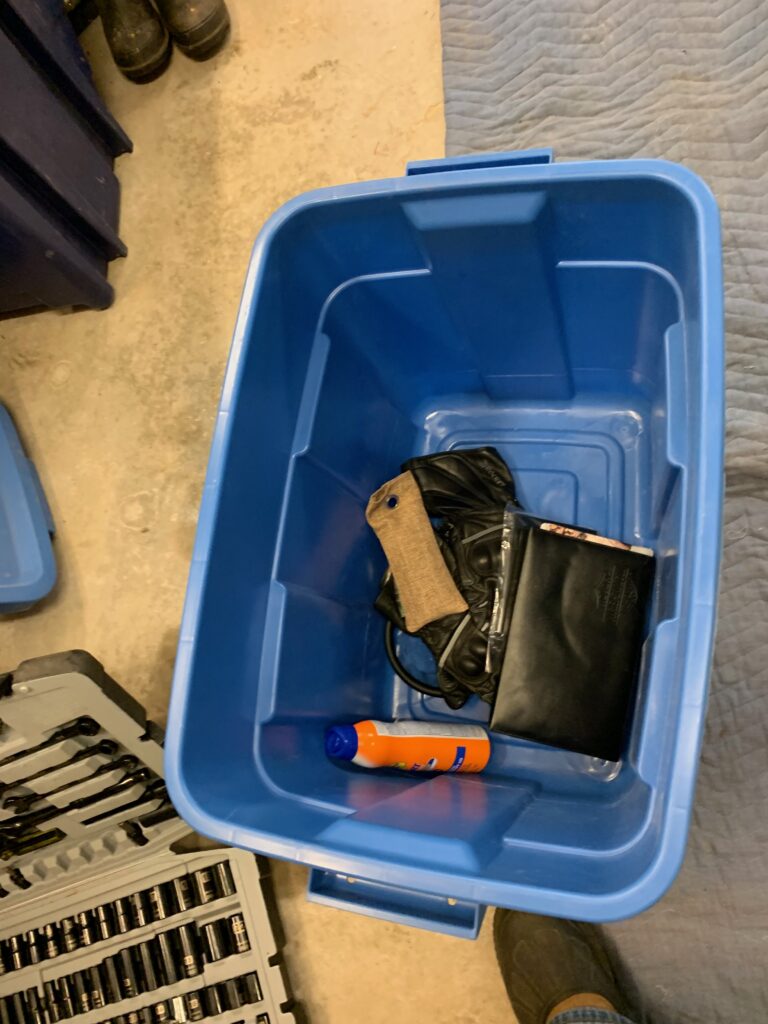
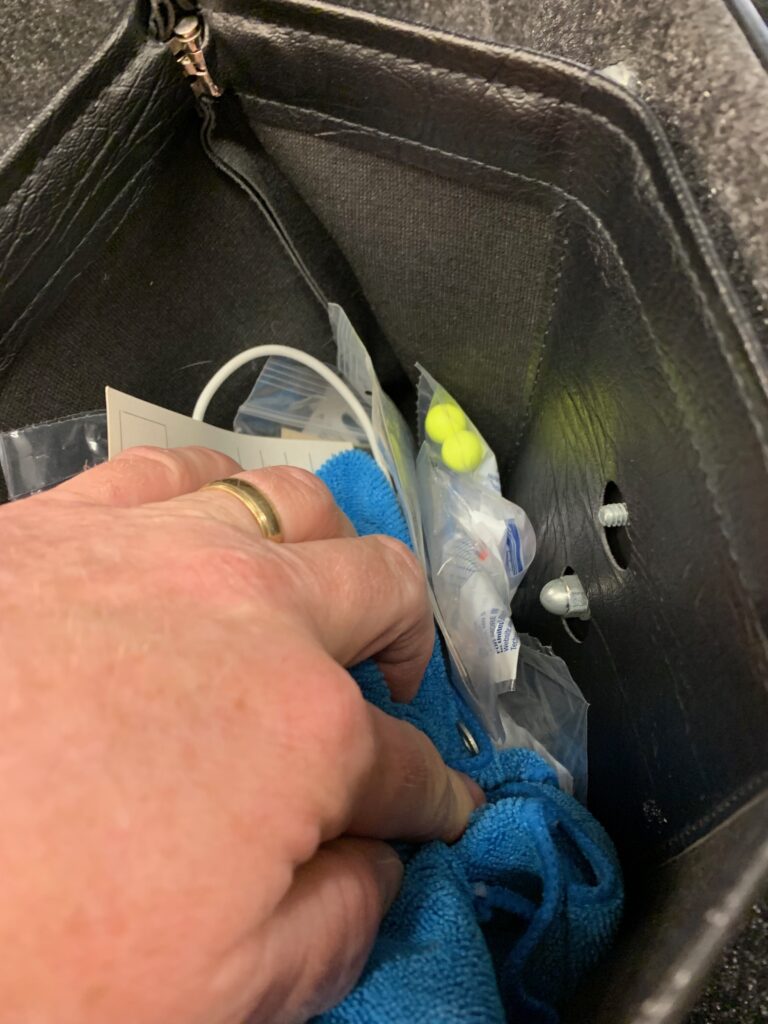
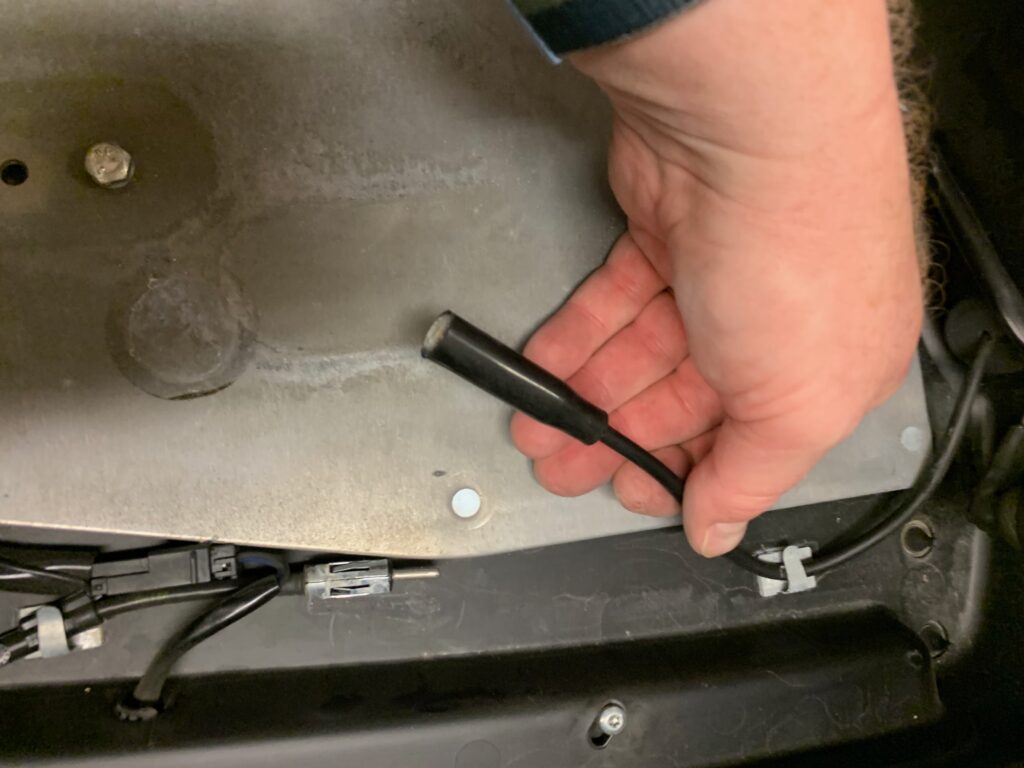
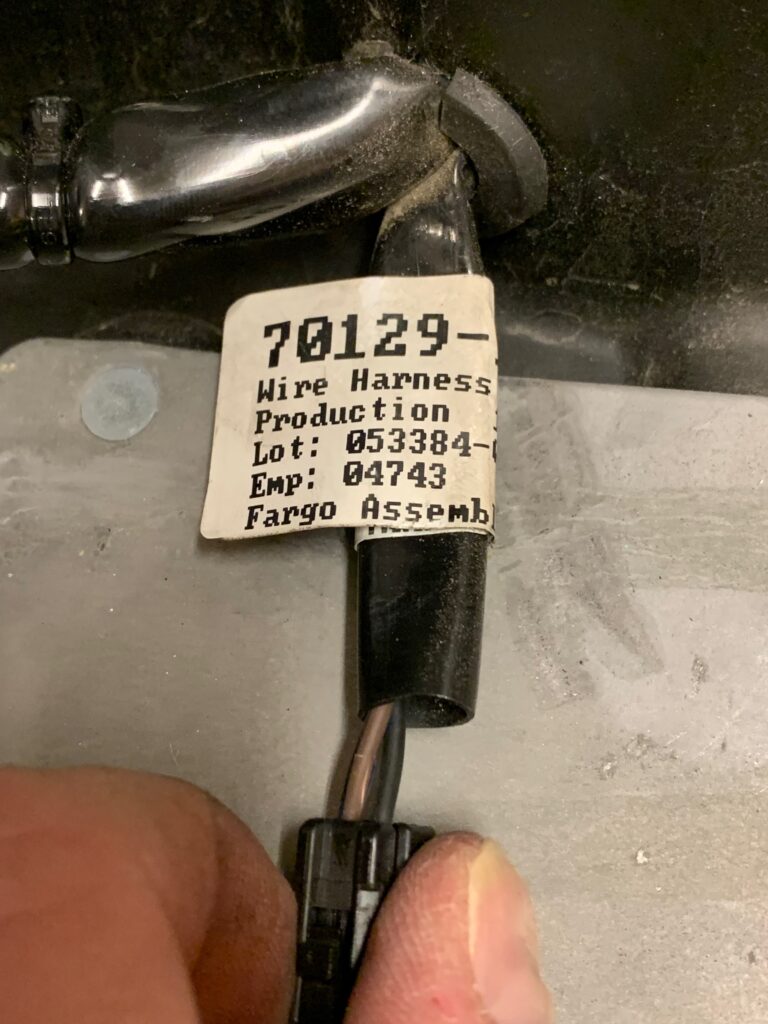
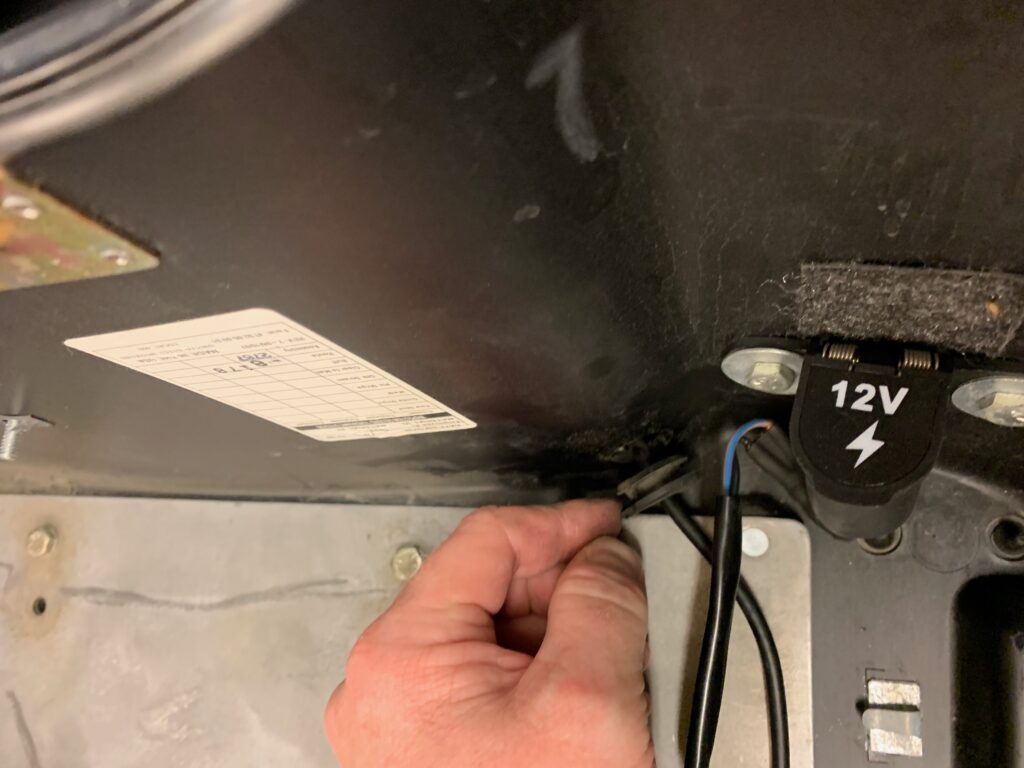
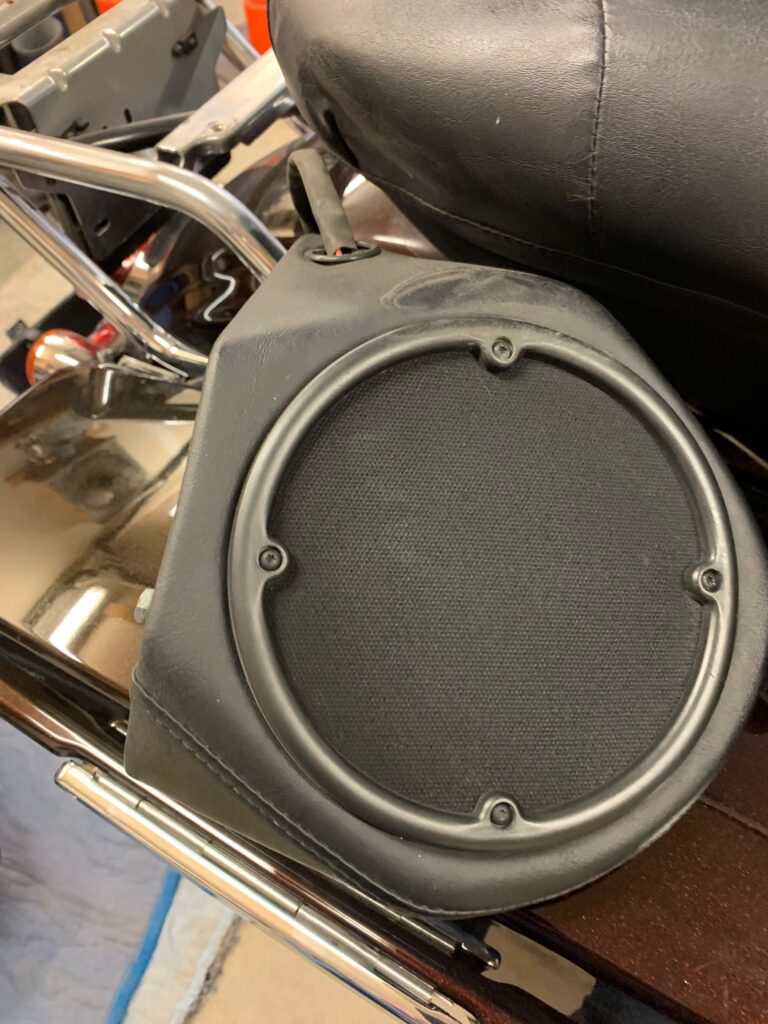
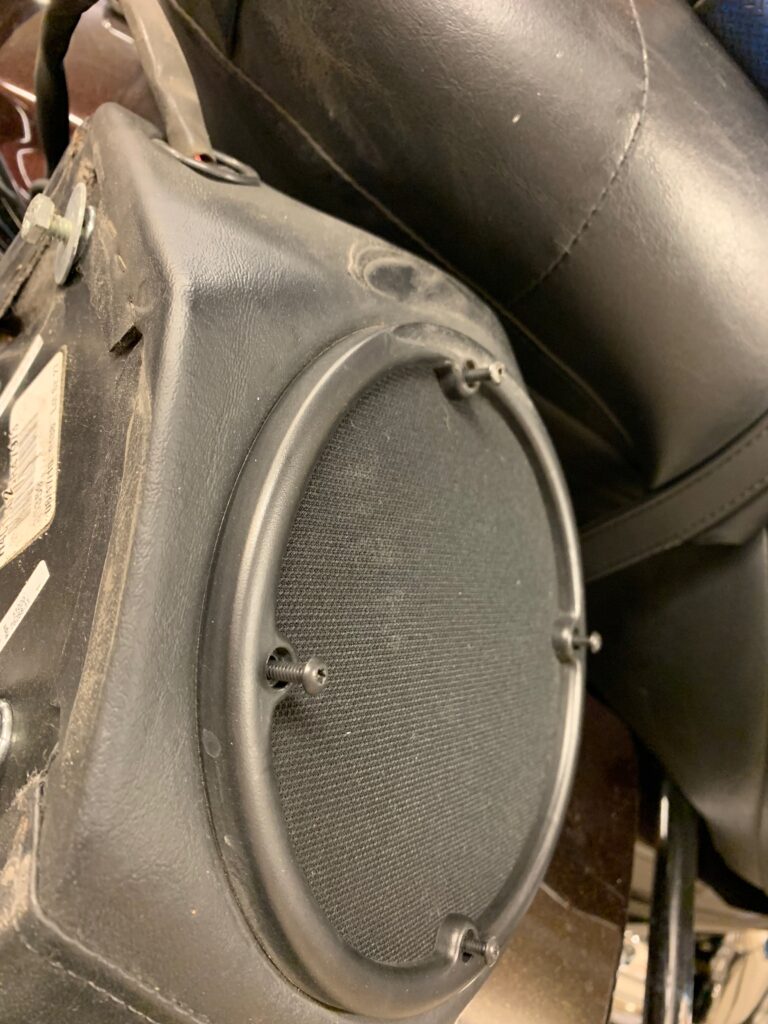
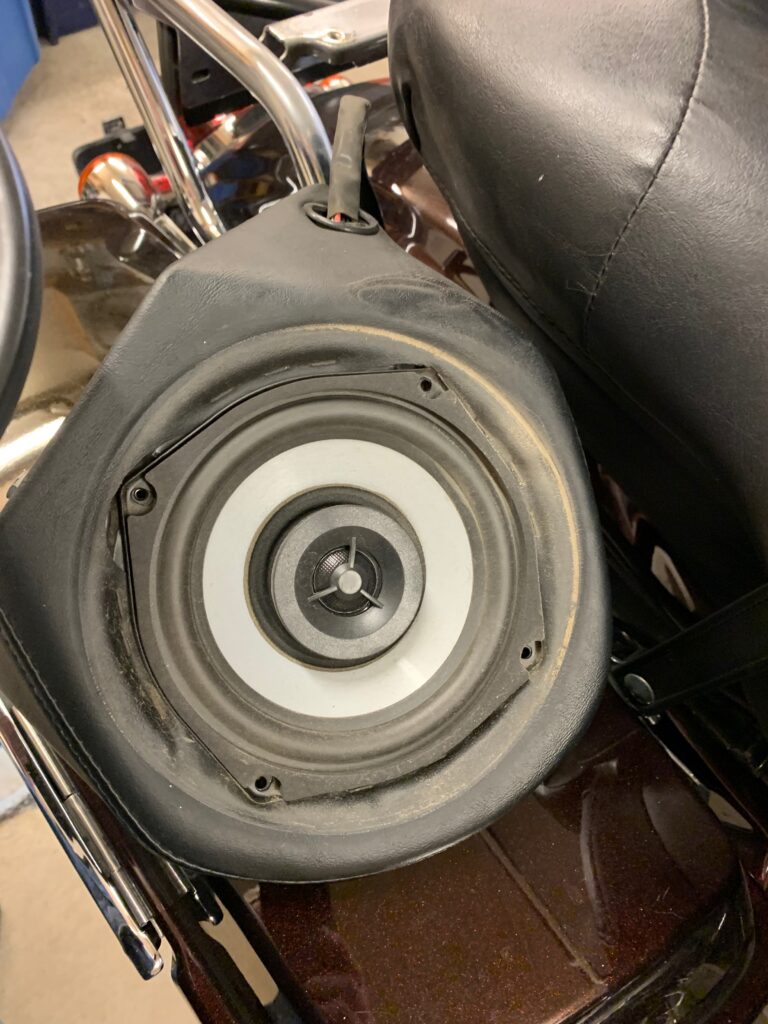
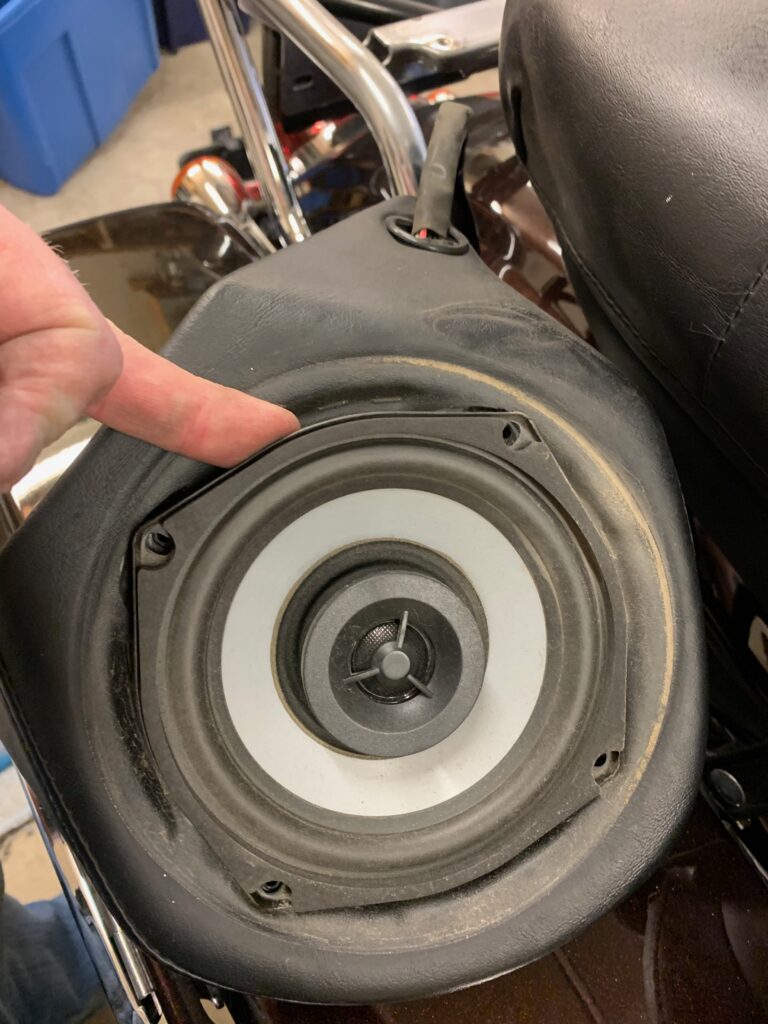
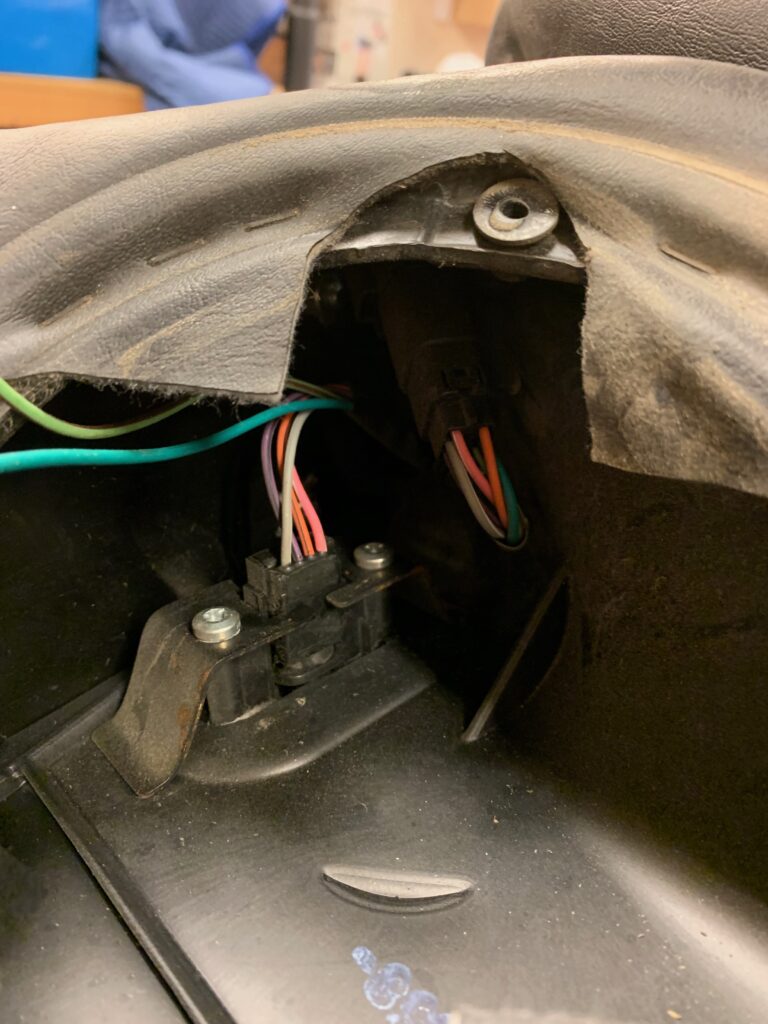
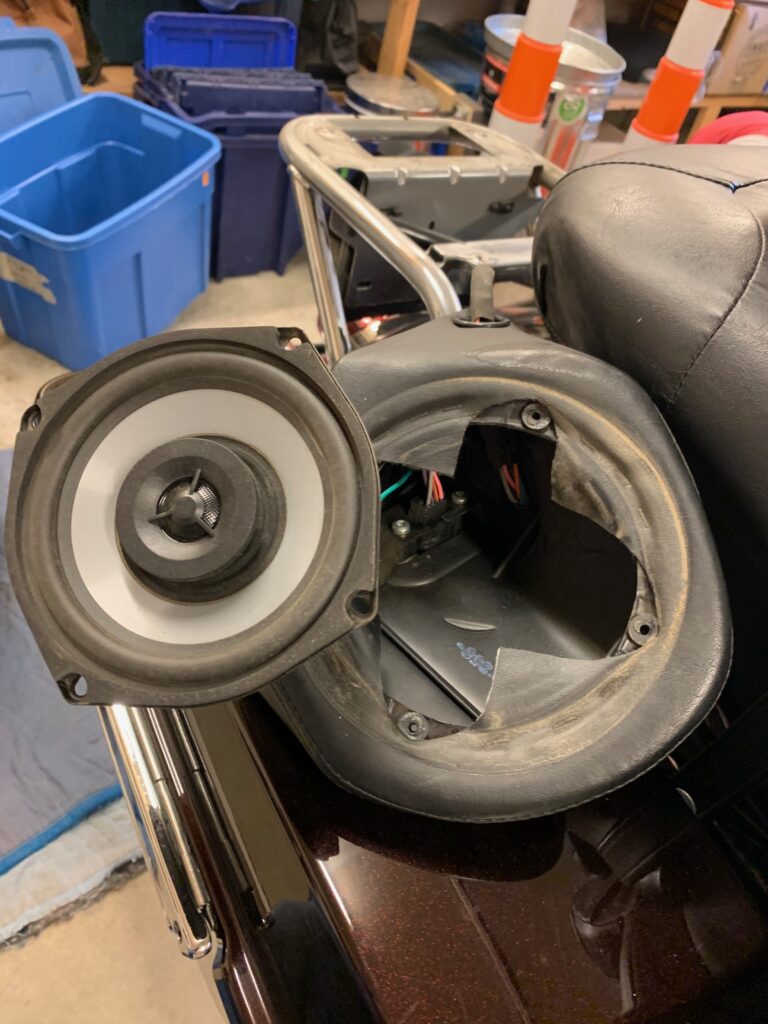
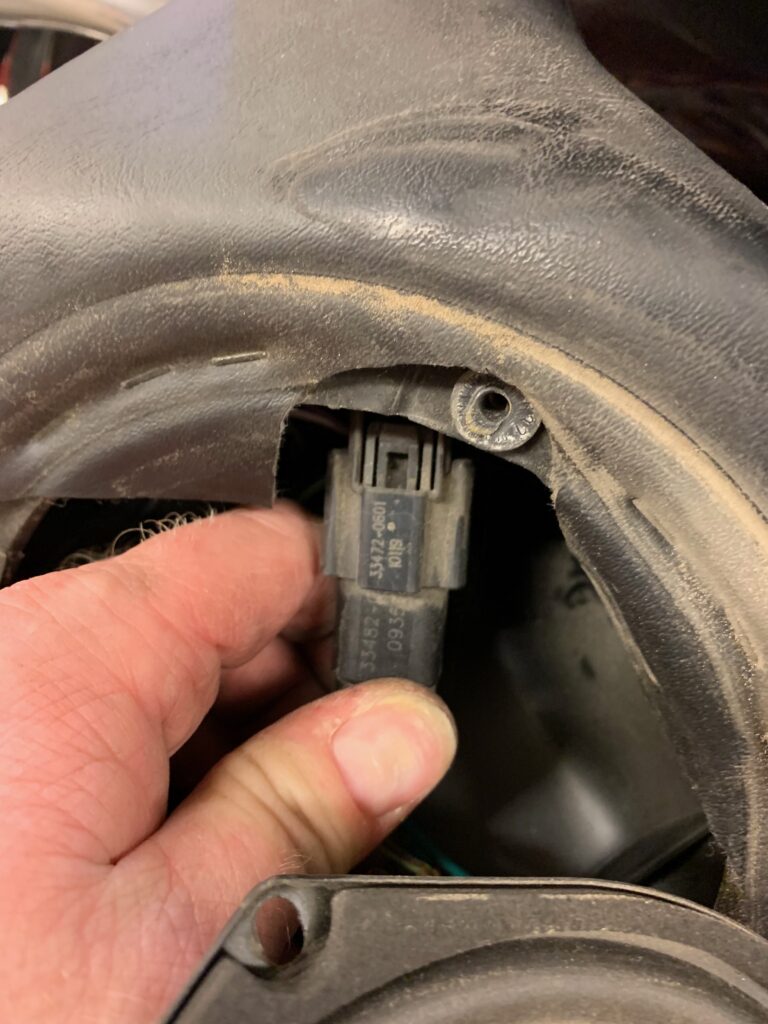
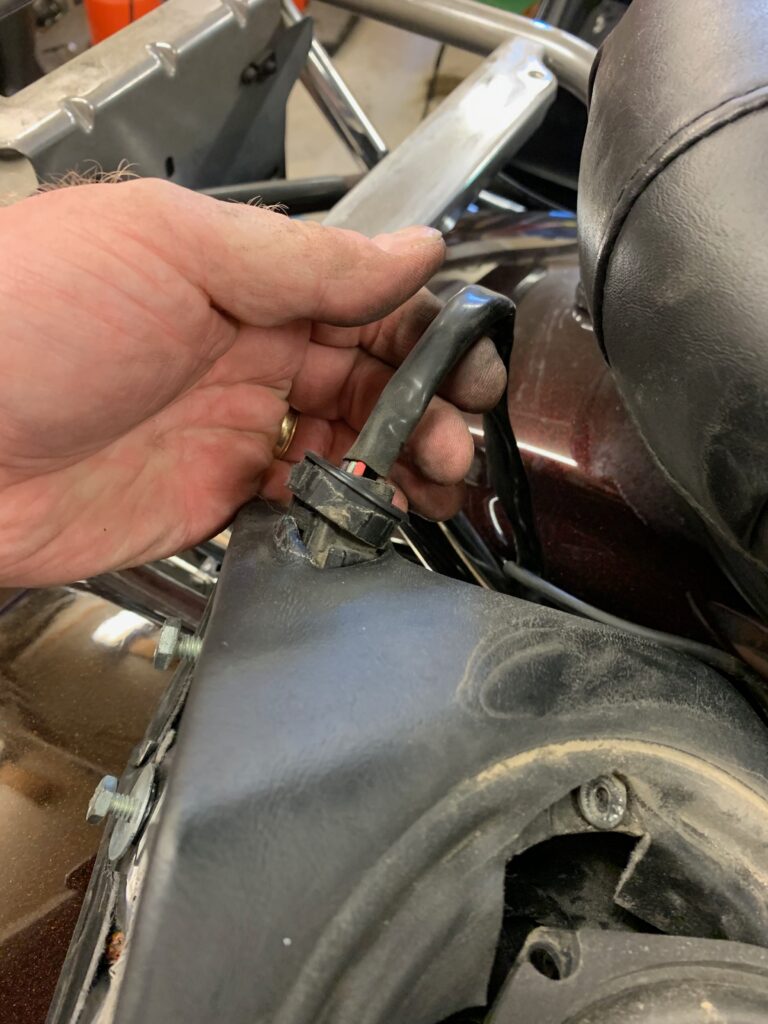
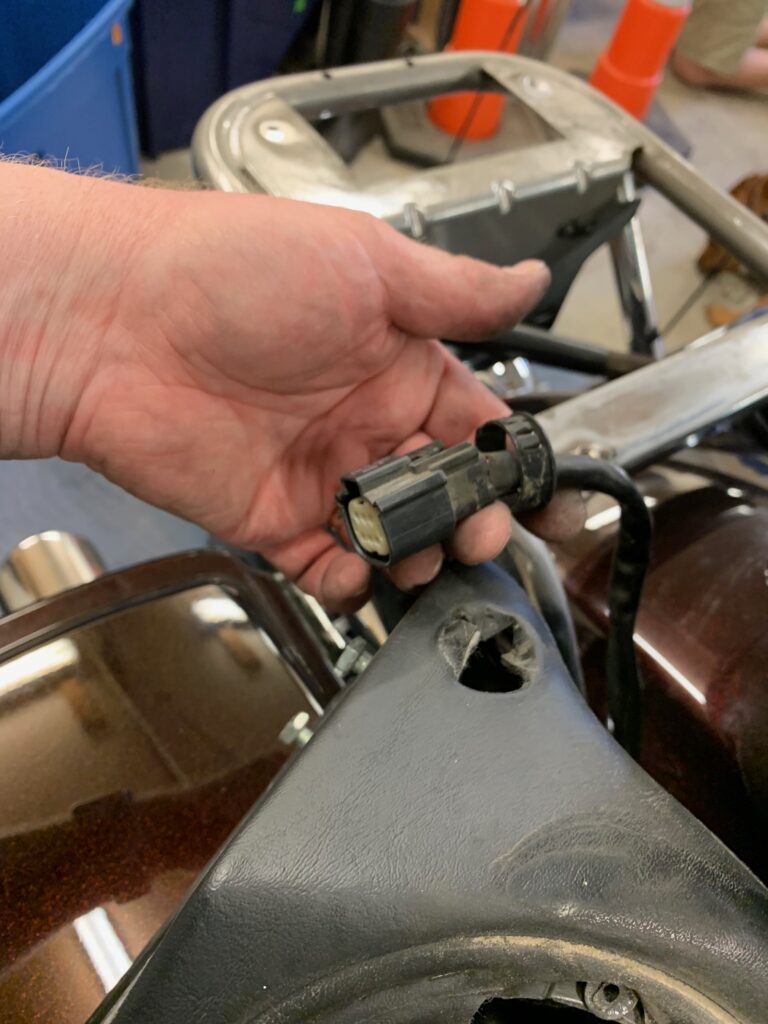
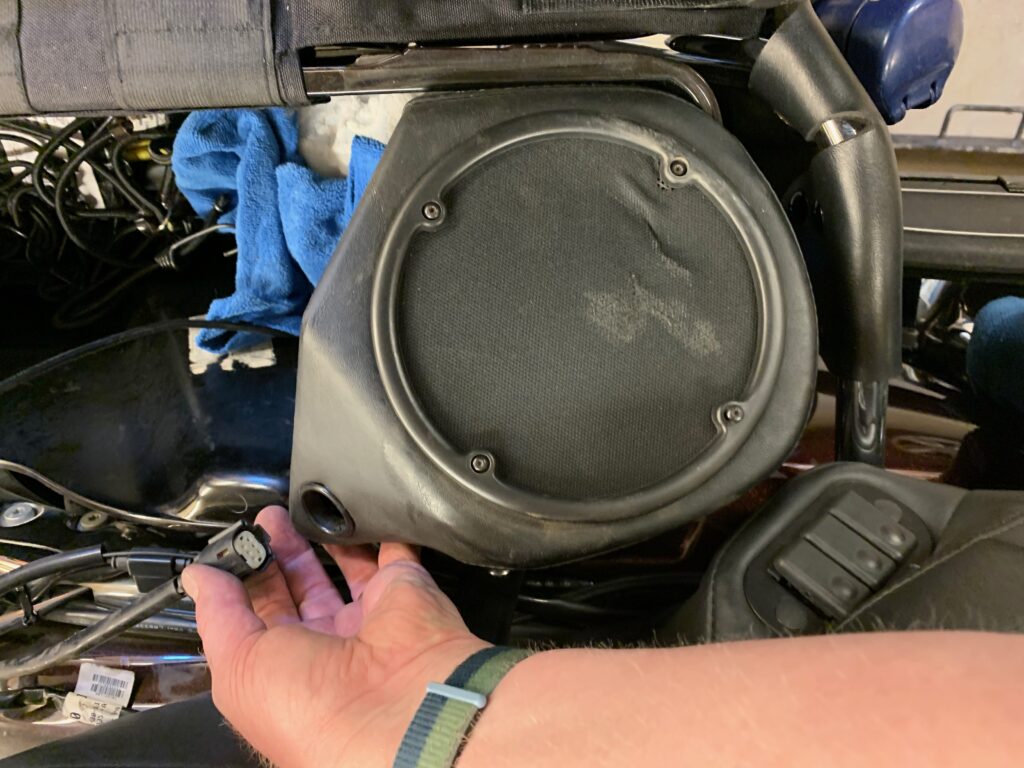
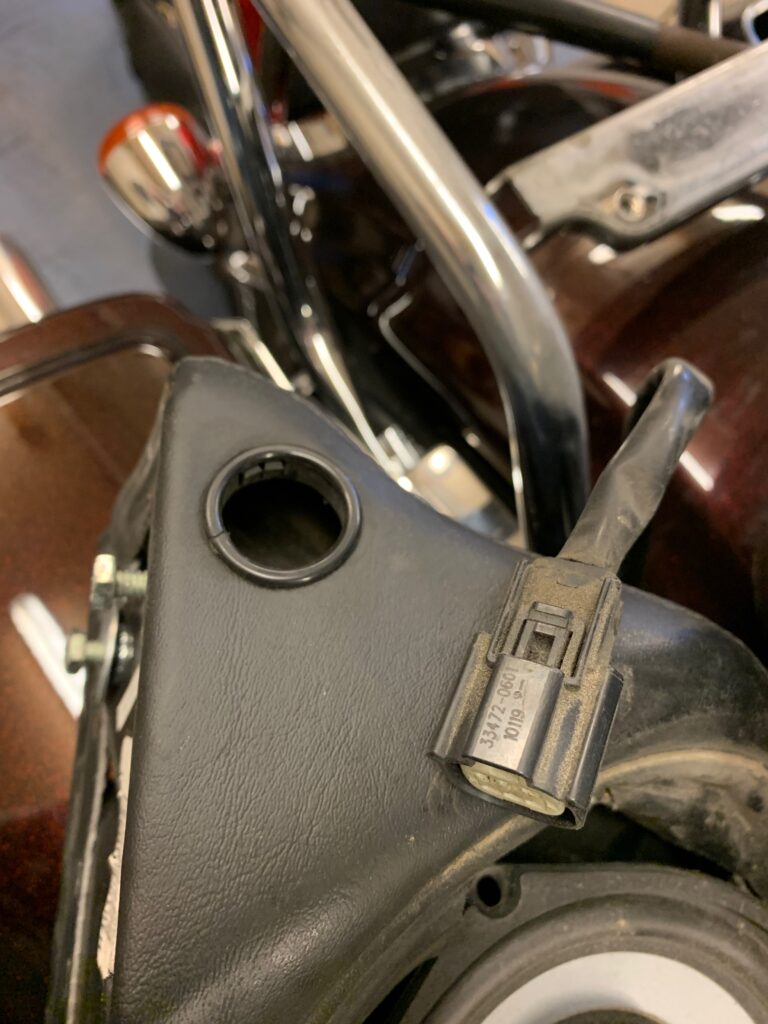
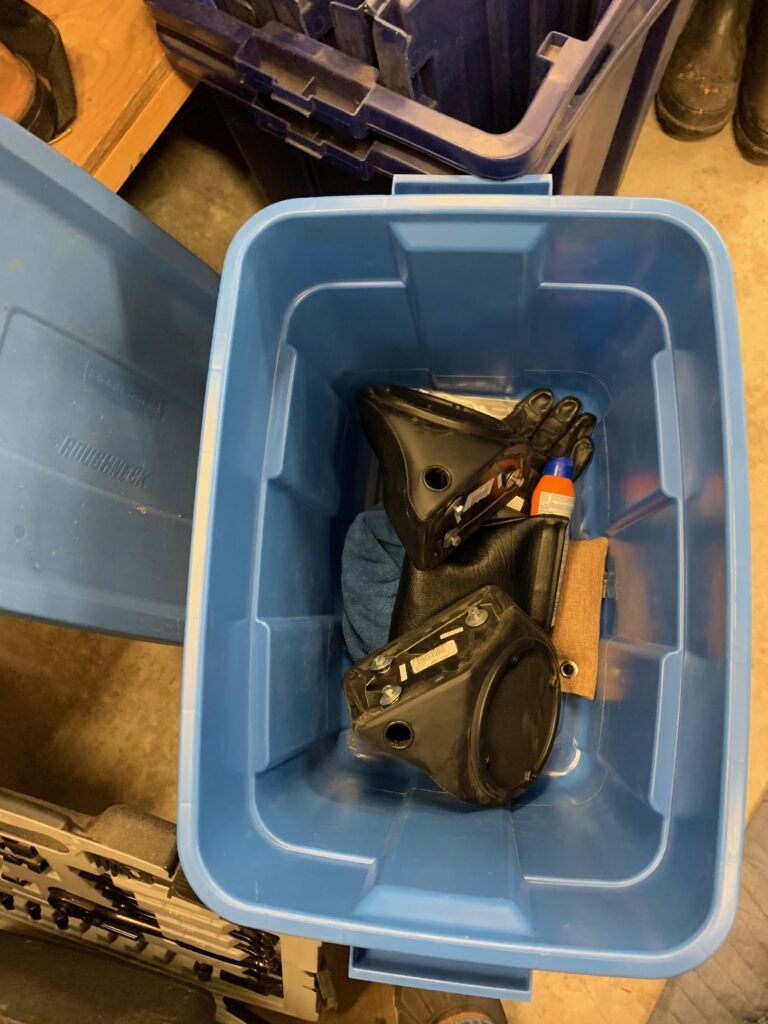
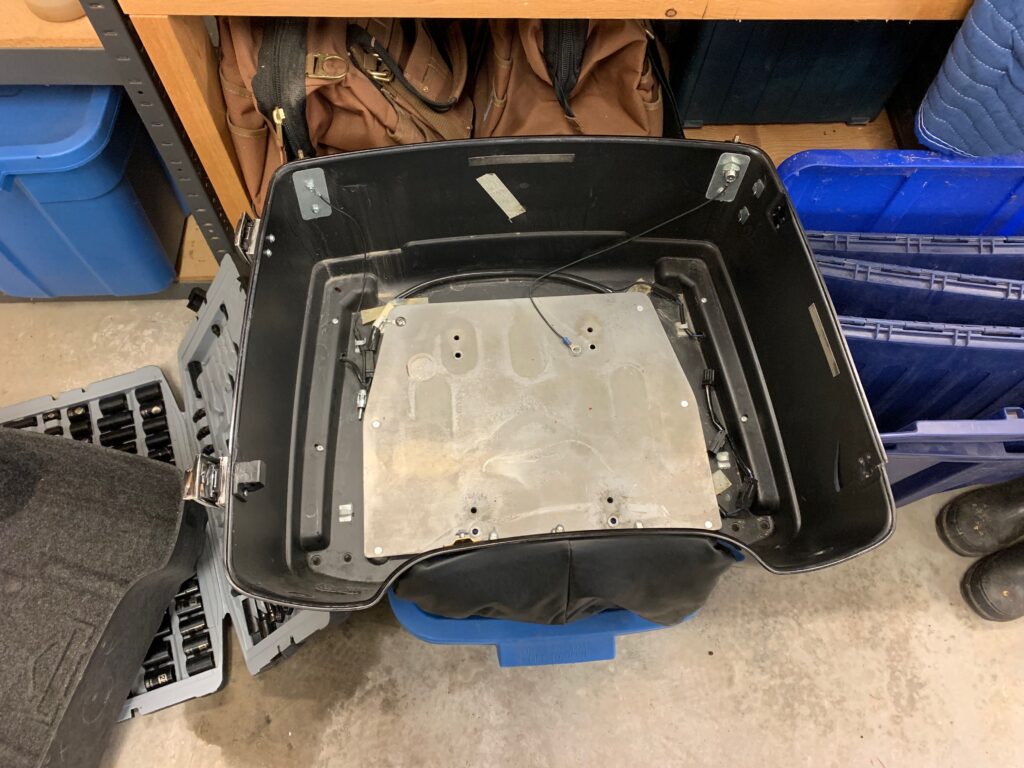
Armed with the instructions I found the process fairly straight-forward. I also detached the lid from the bottom of the trunk and the wiring from the speakers to leave the bottom free to be transported separately. The sets of attached pictures provide a bit more detail regarding how it actually worked out for me on a real-world bike.
Remove map pouch and inner liner
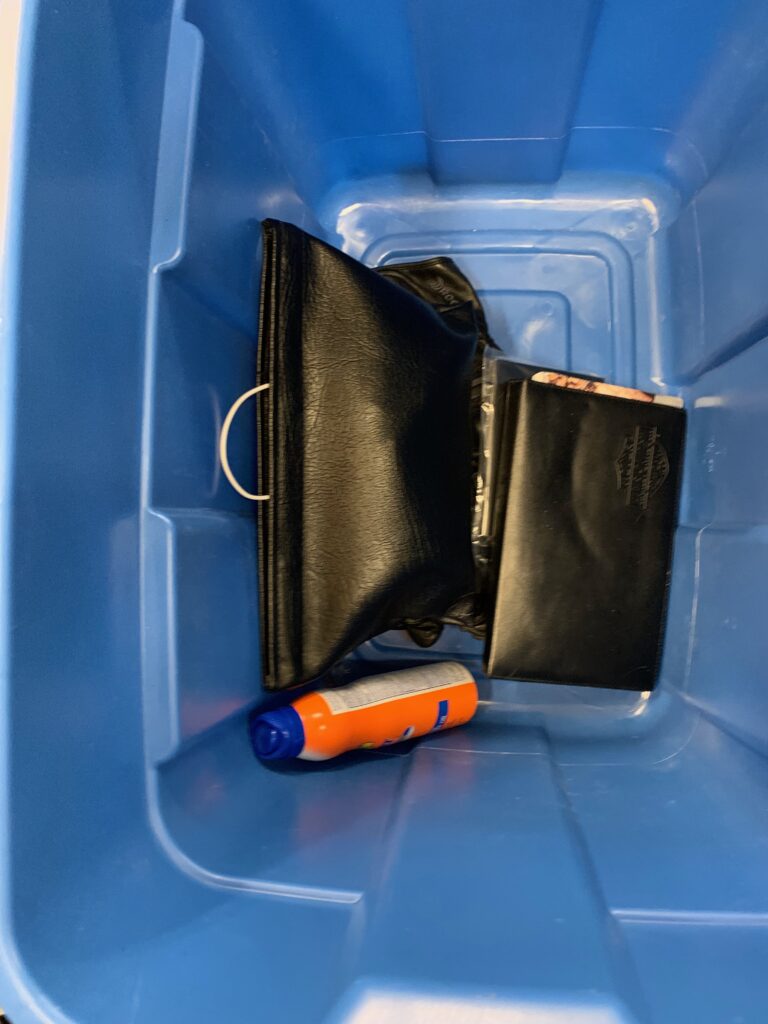
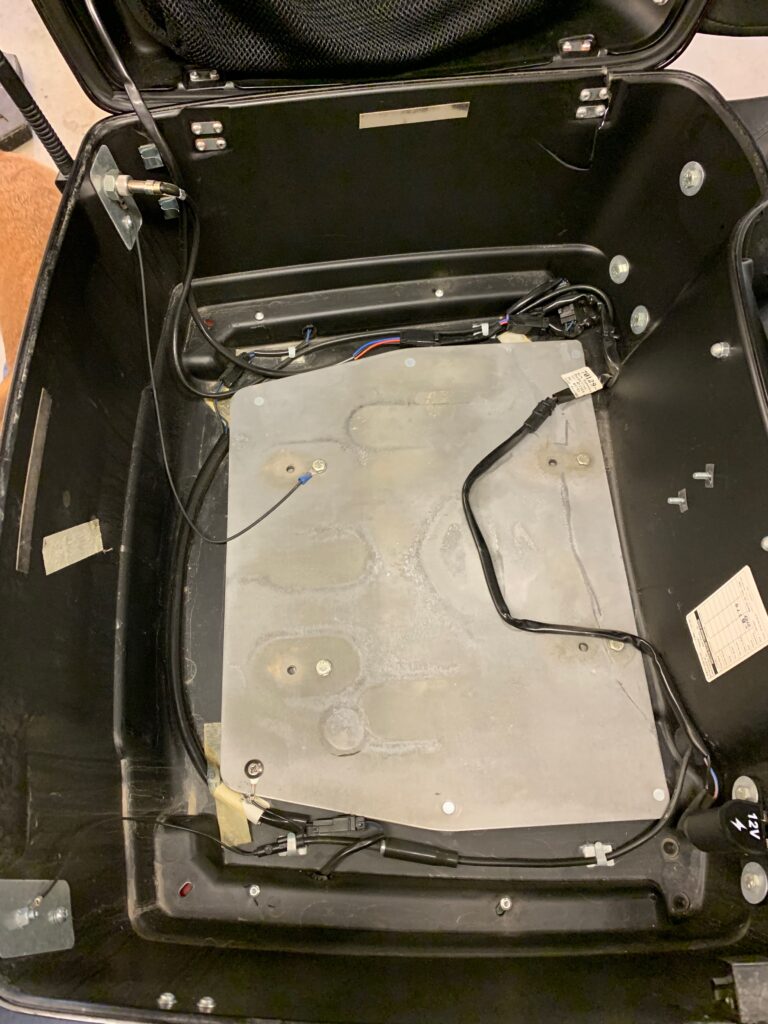
Disconnect wiring and speakers from tour pack
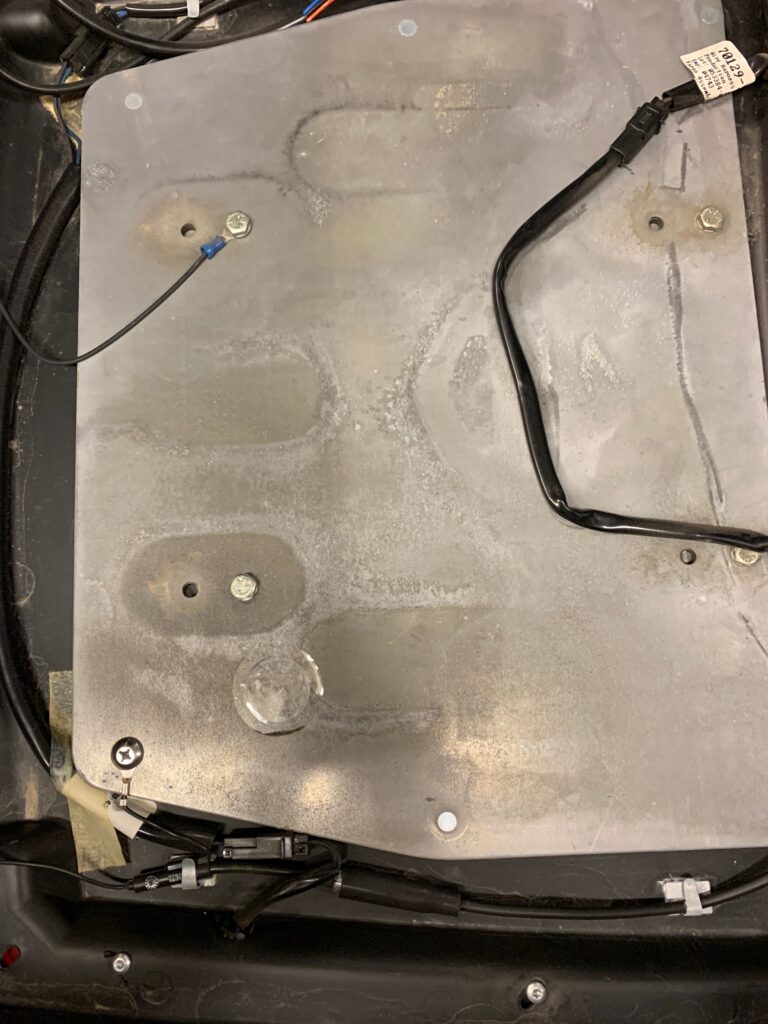
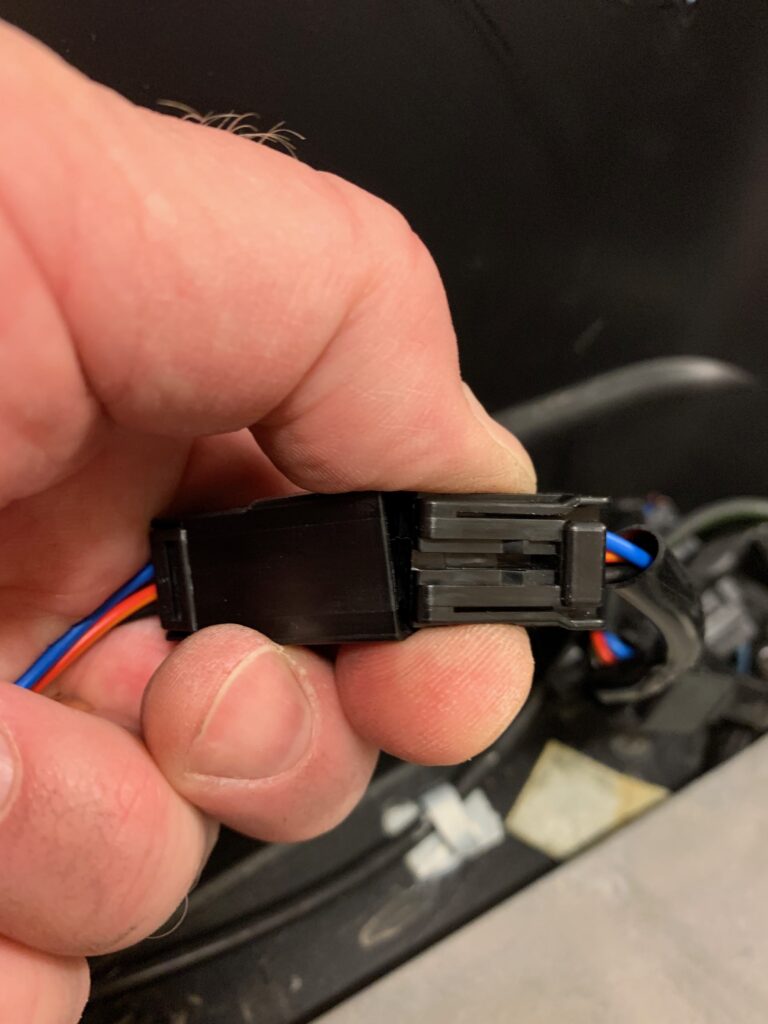
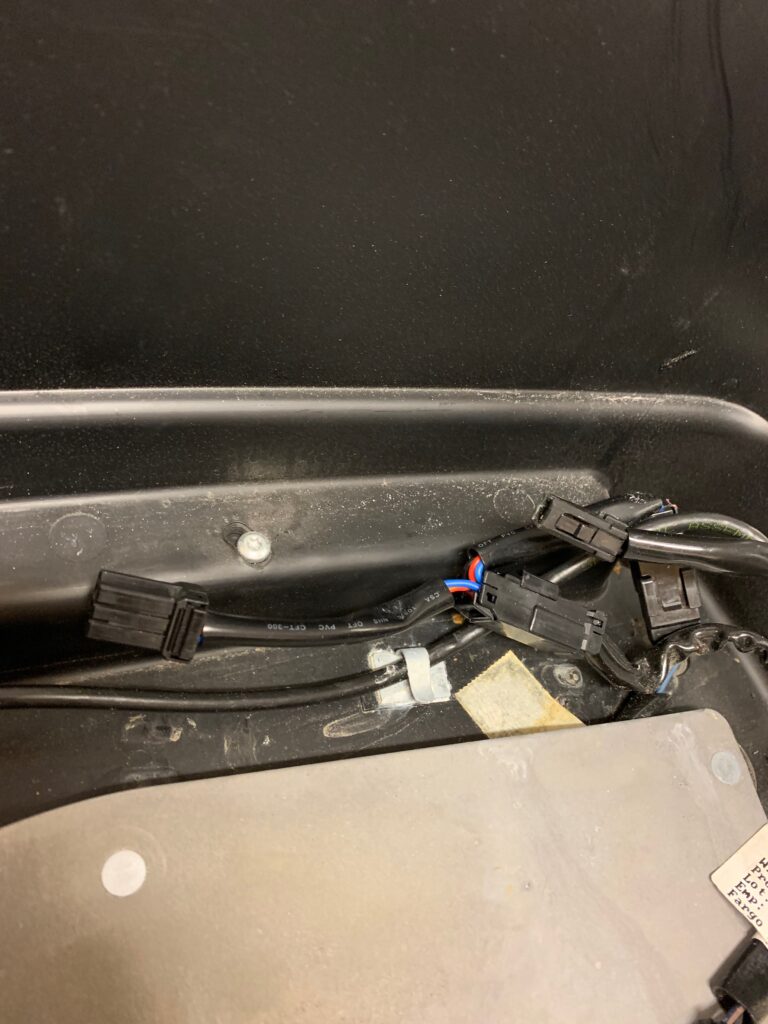
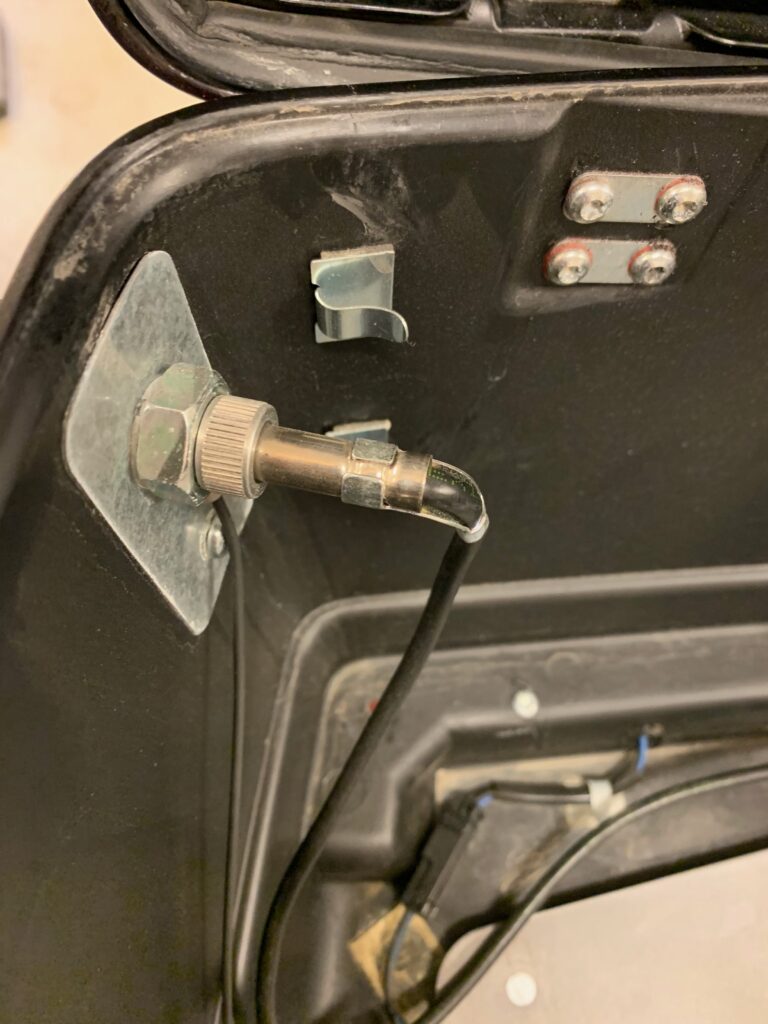
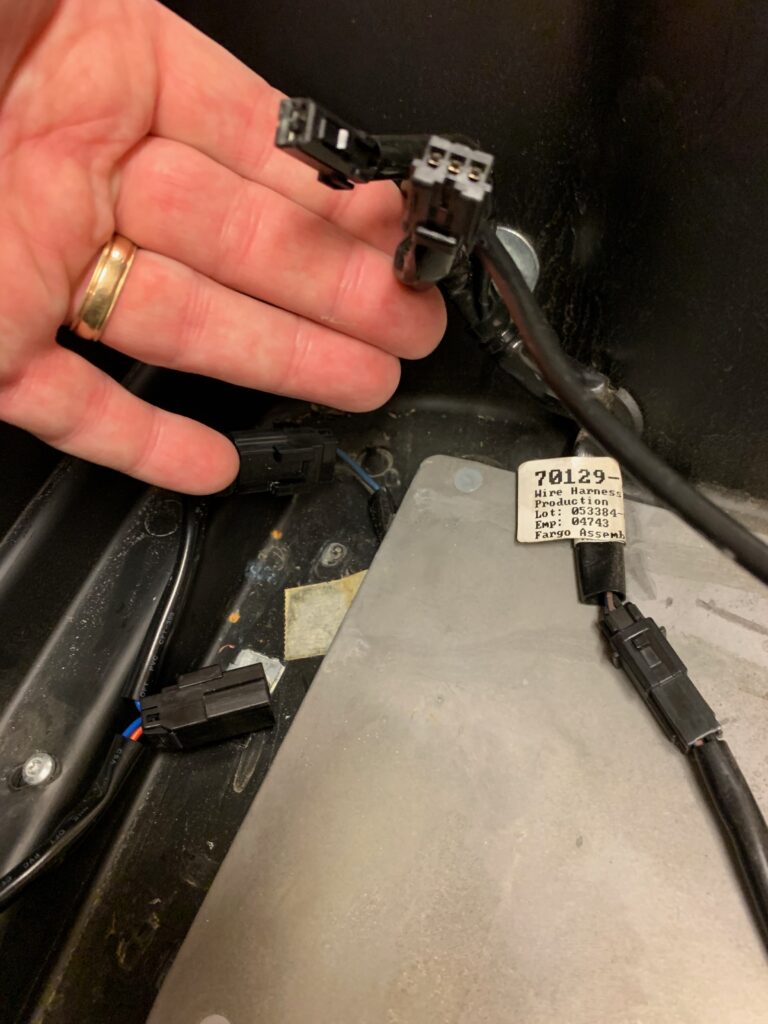
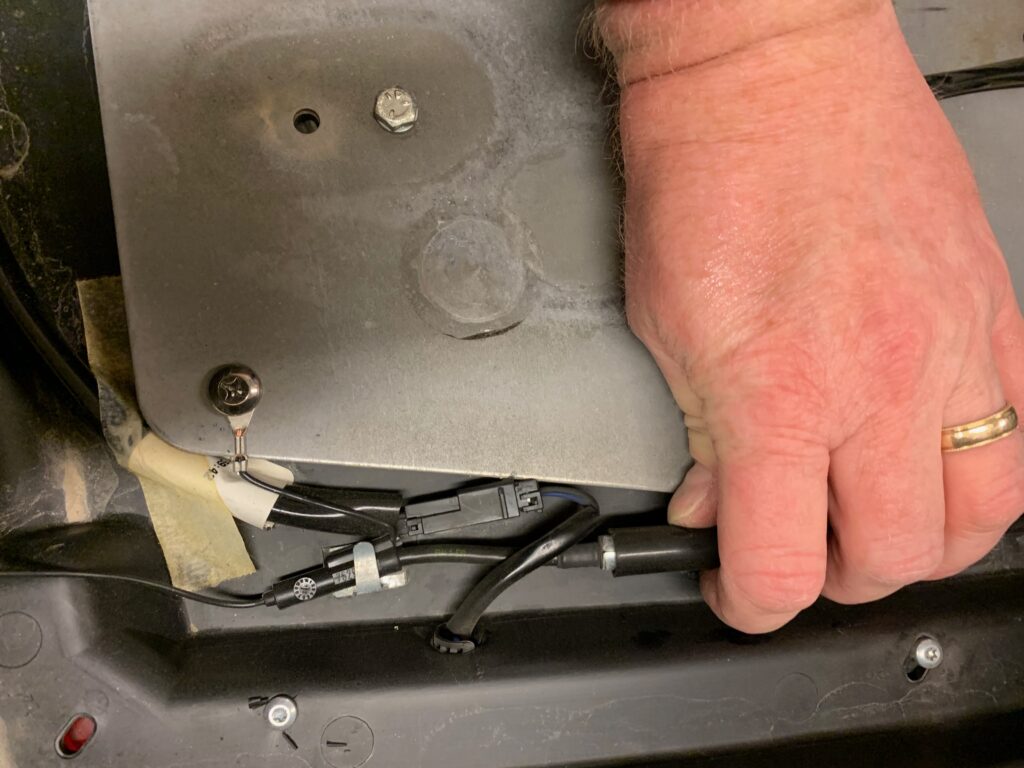
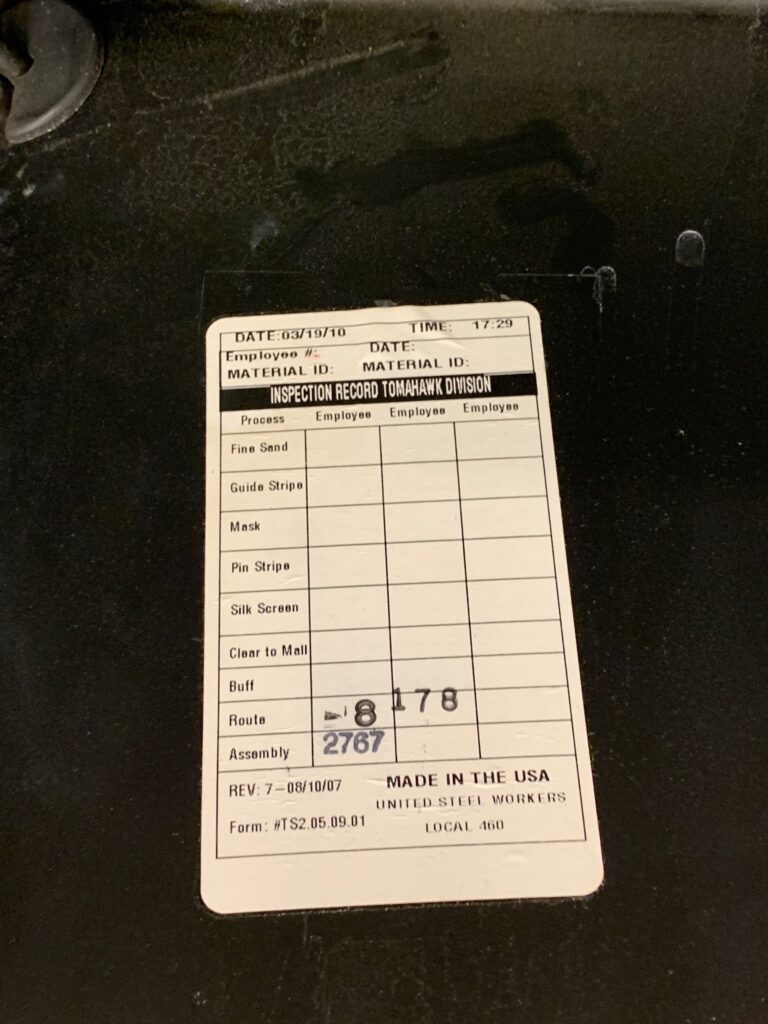
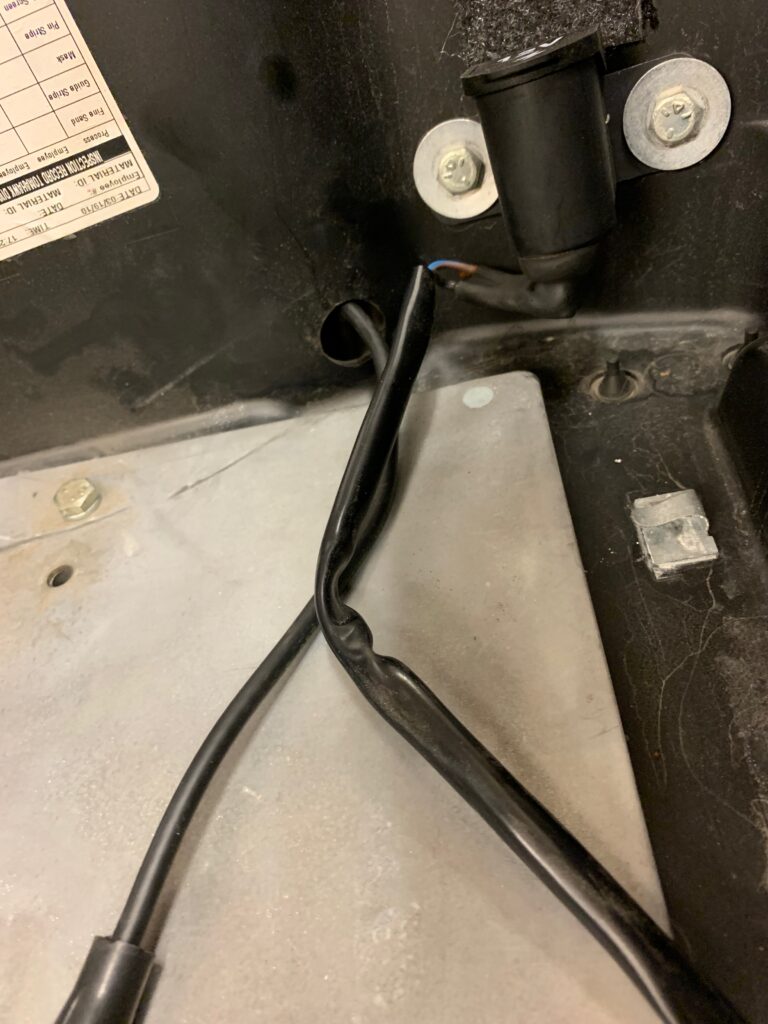
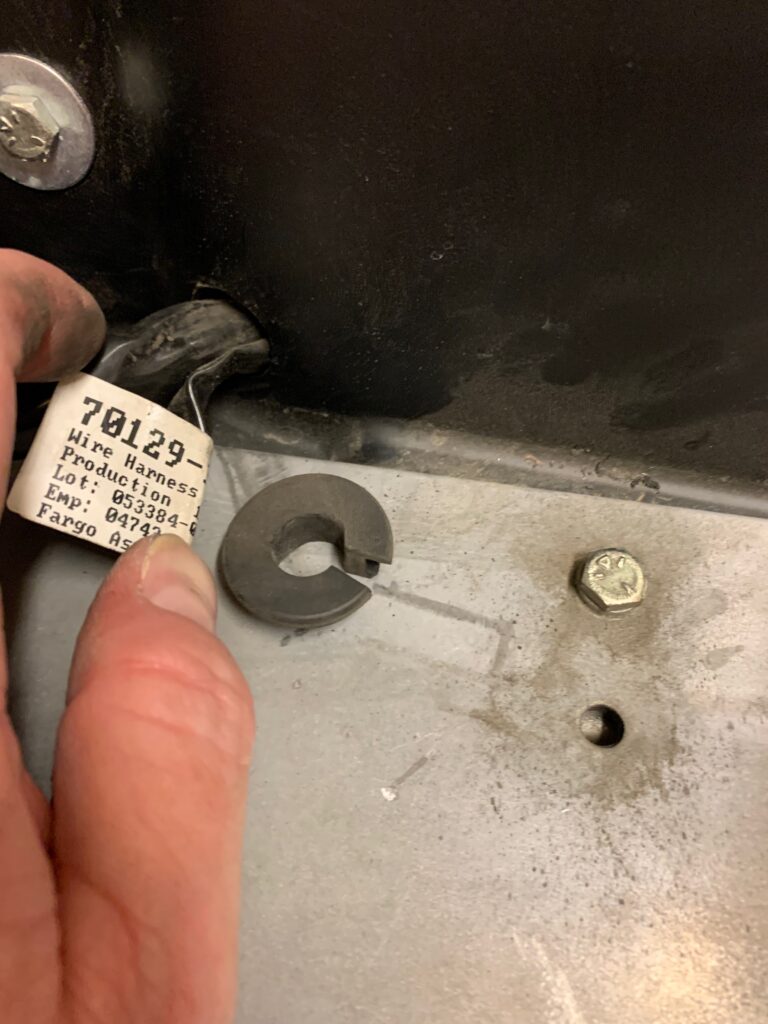
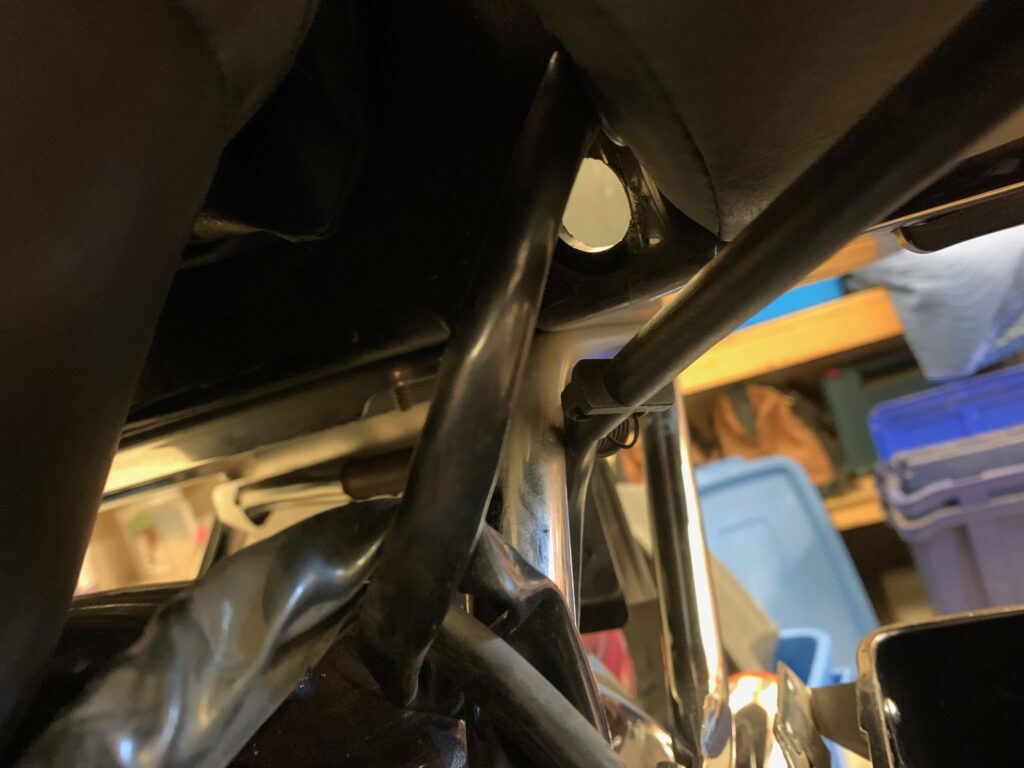
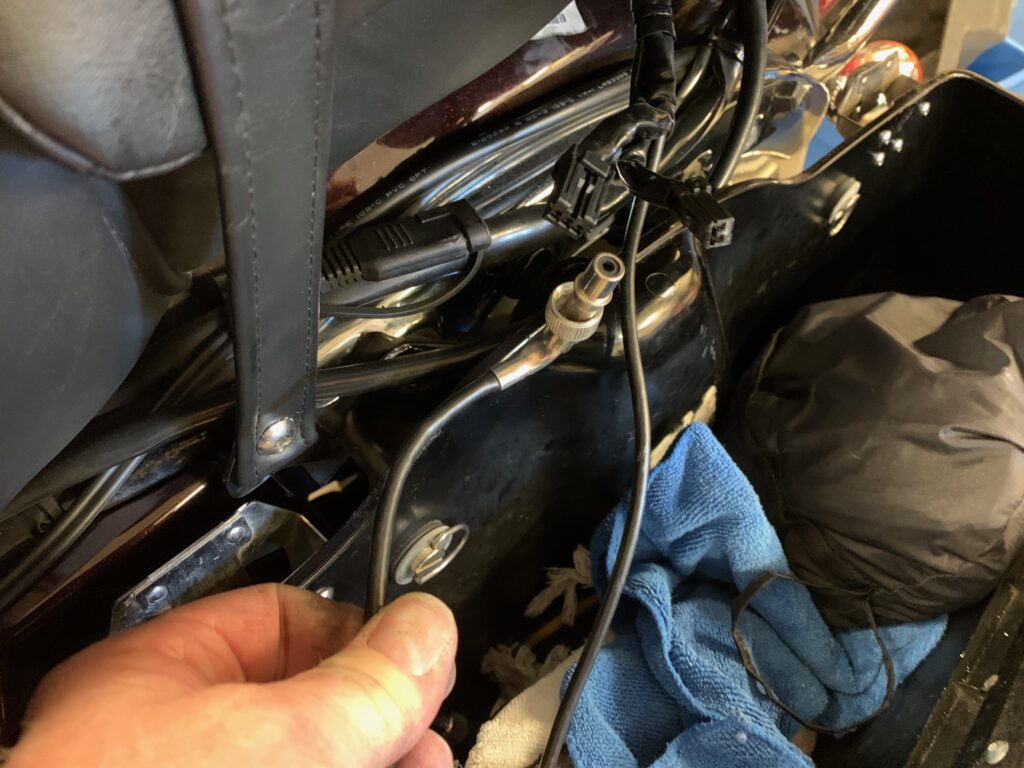
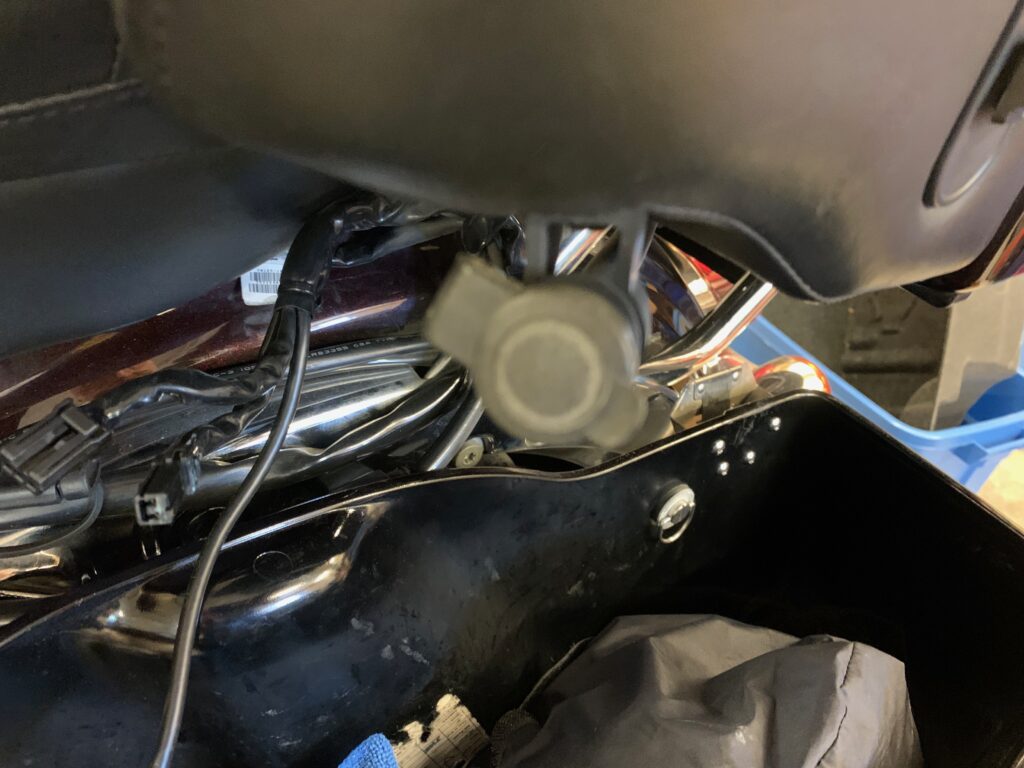
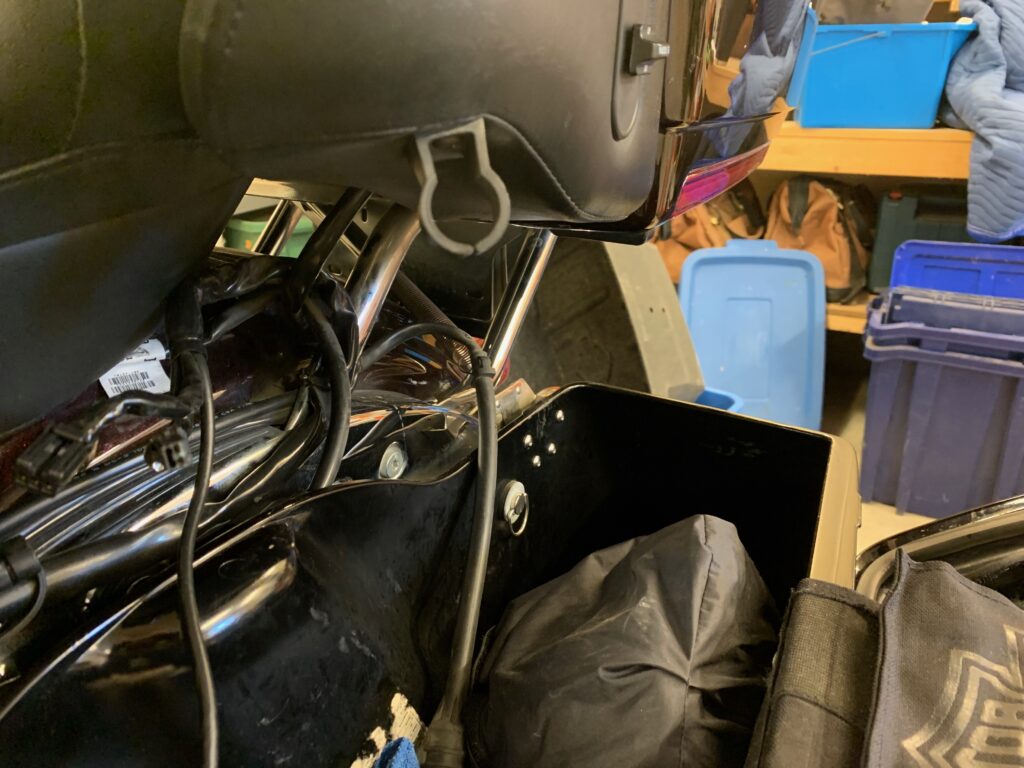
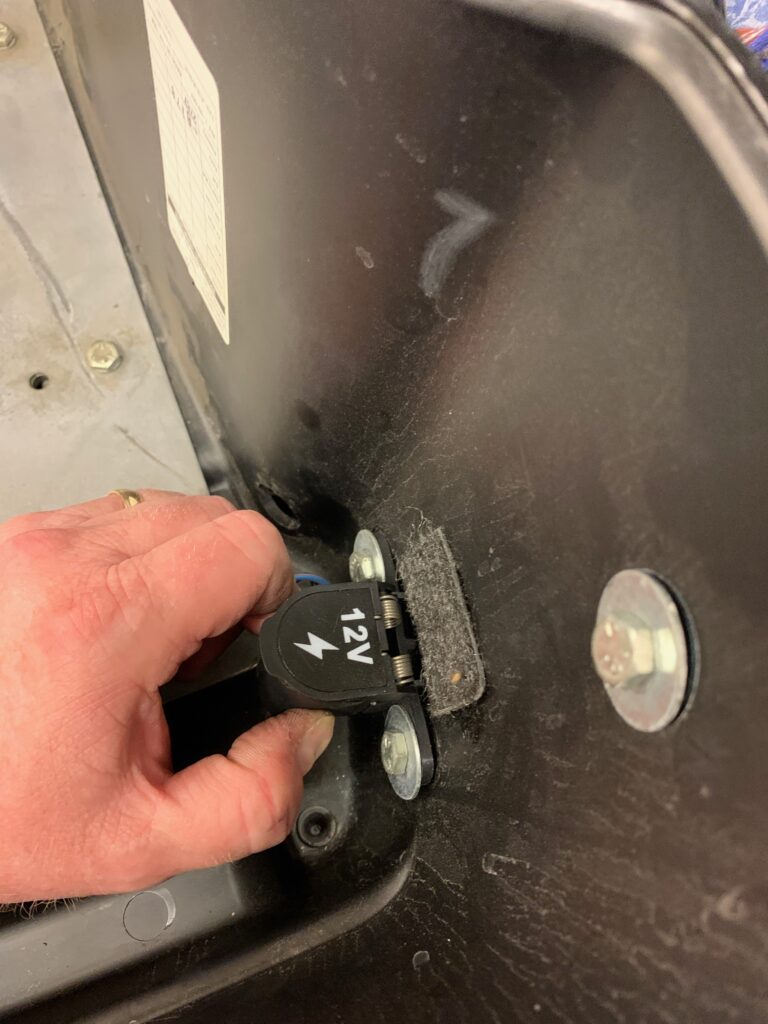
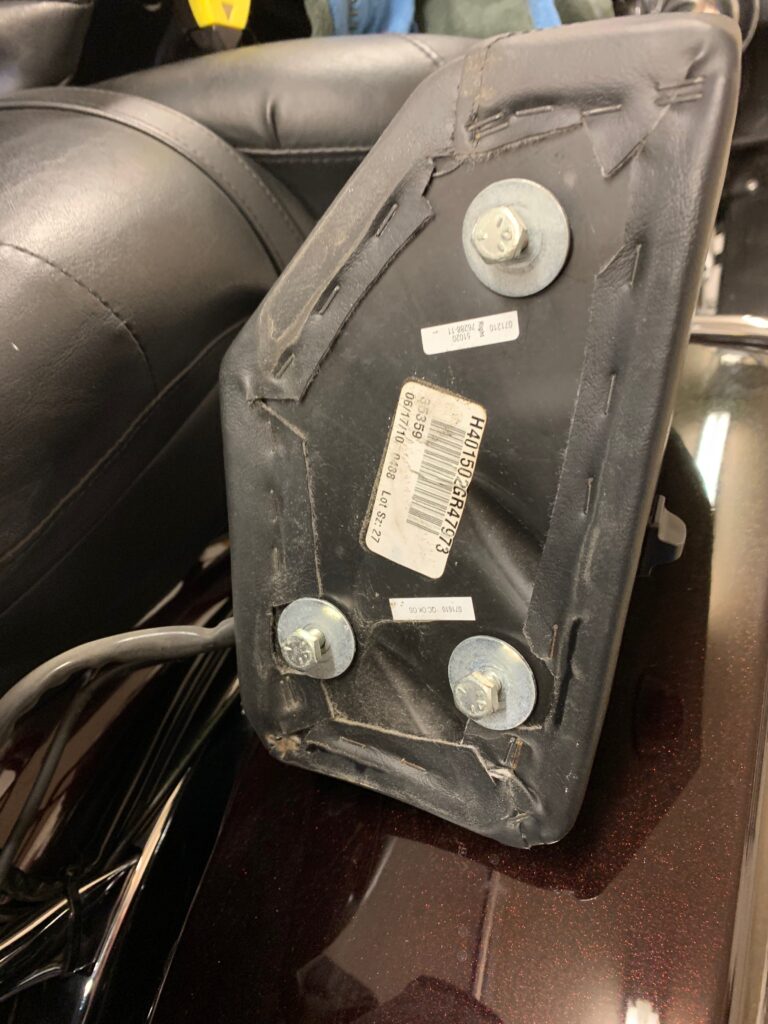
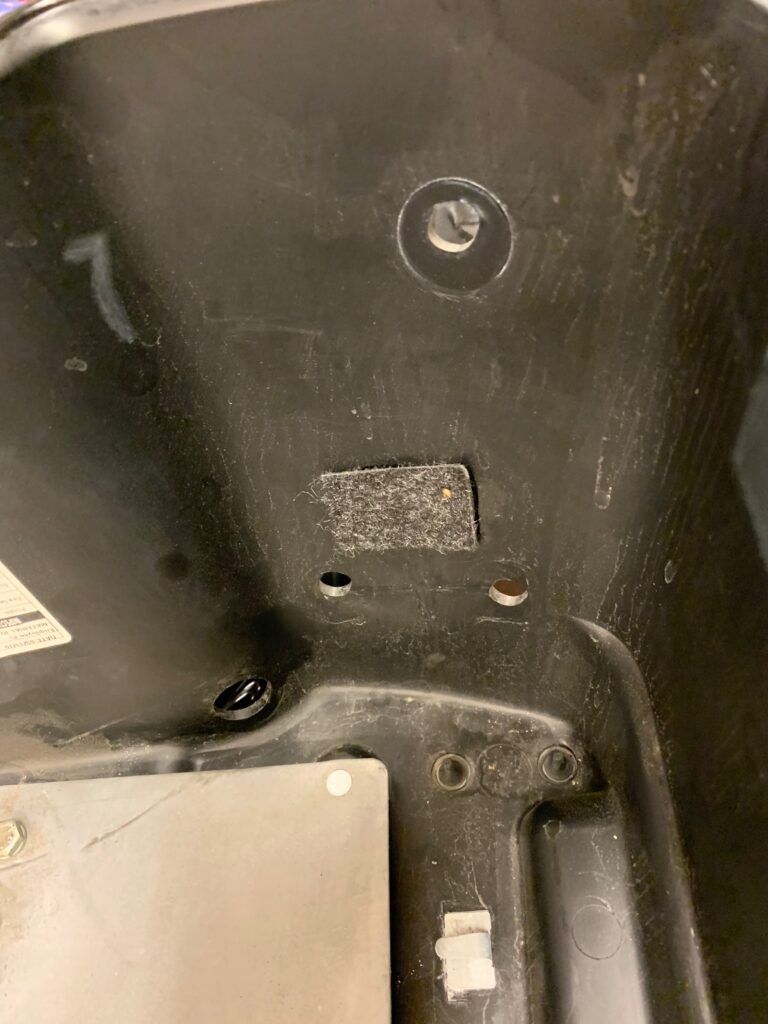
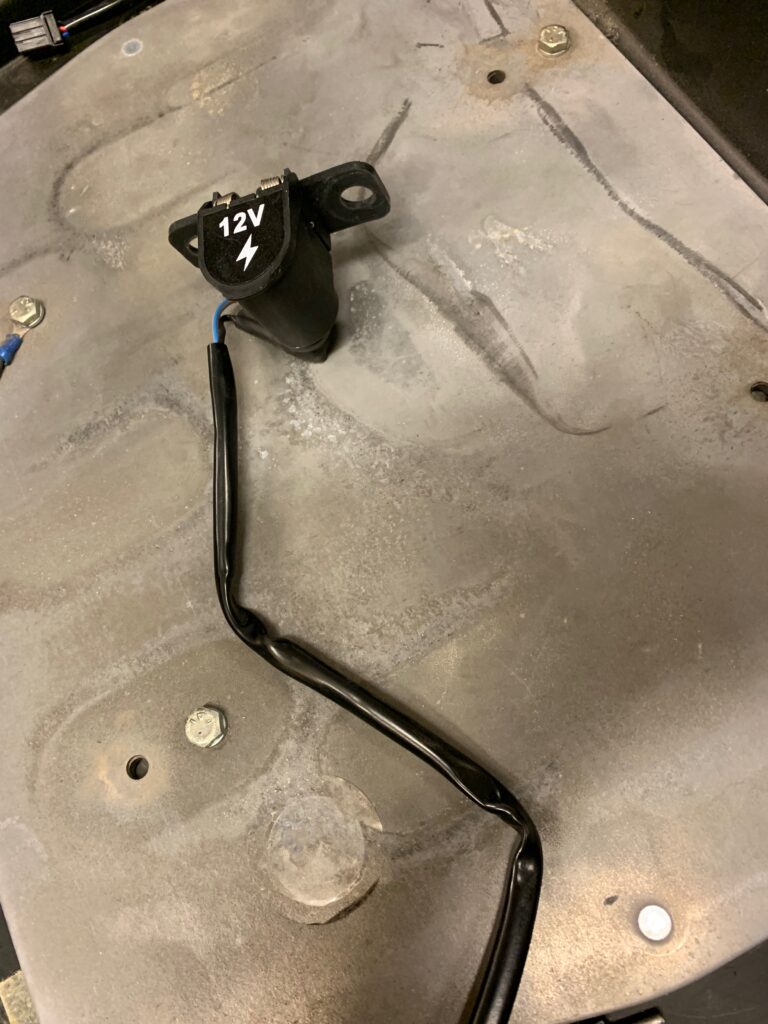
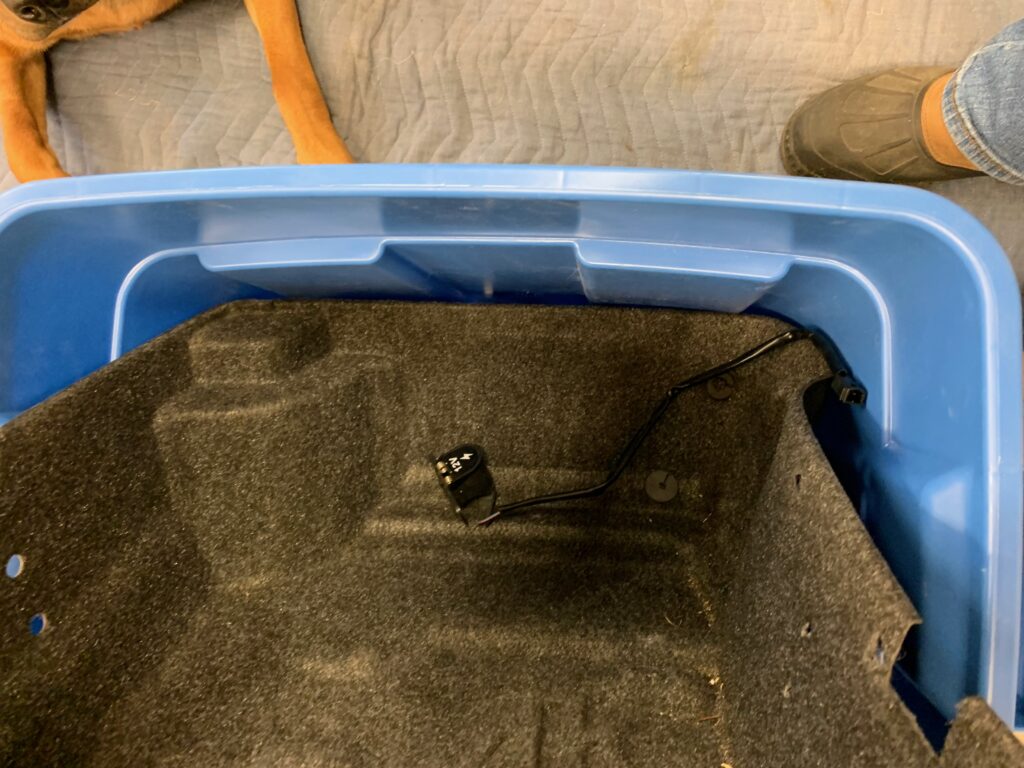
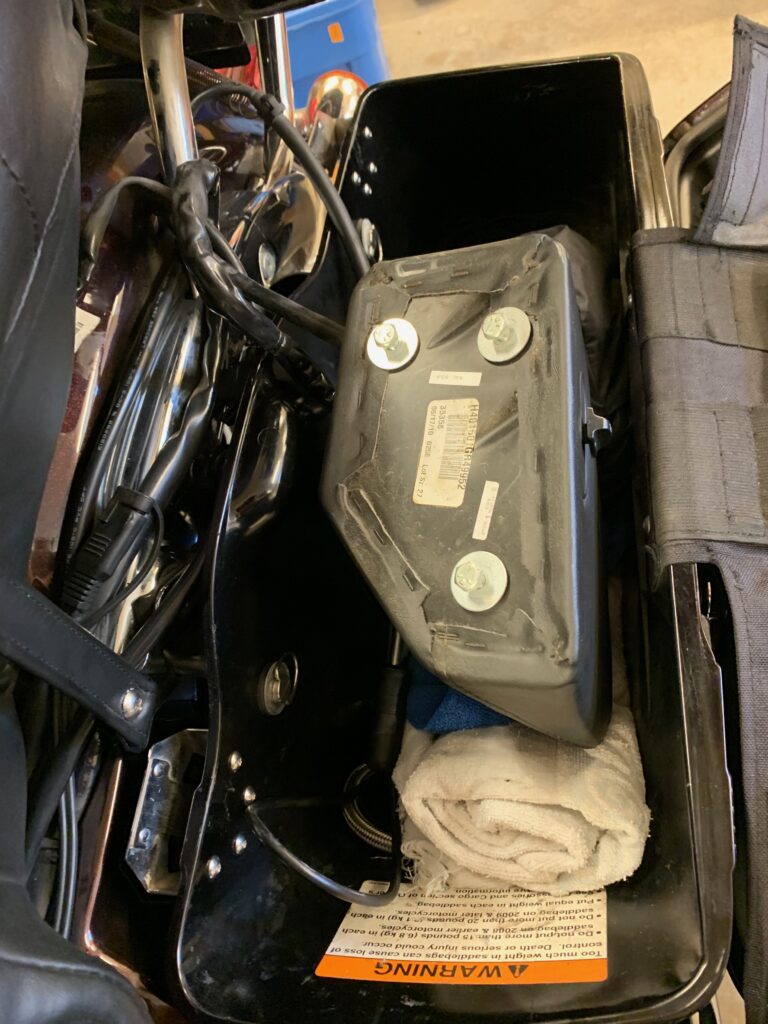
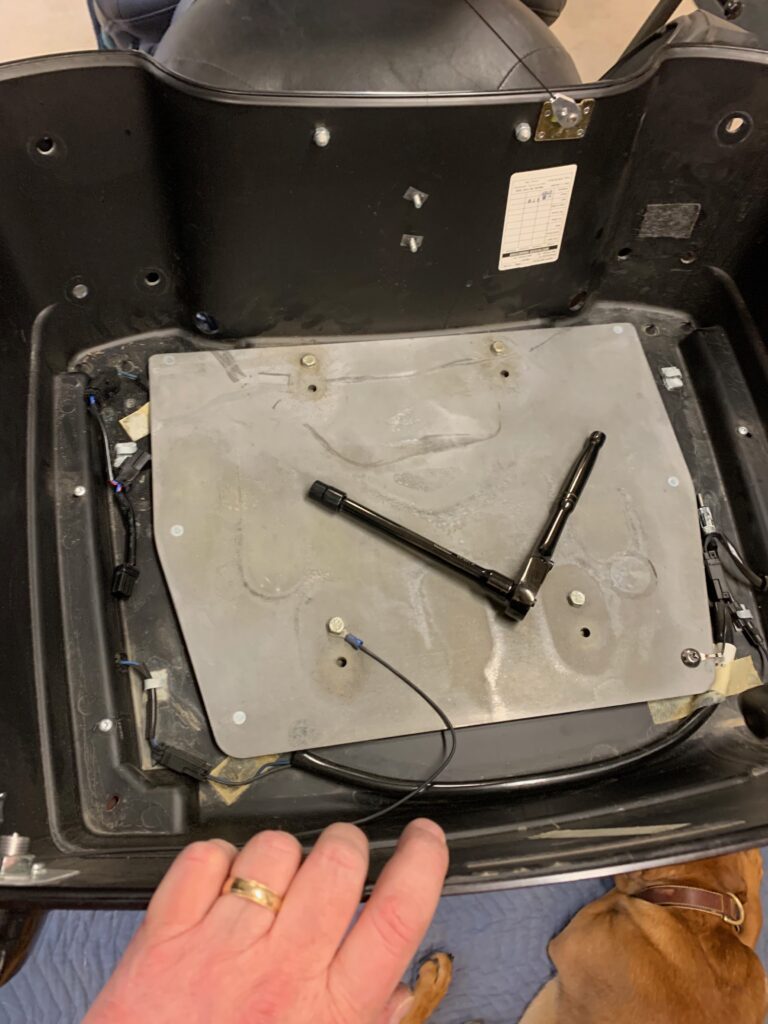
Remove the lid from the base
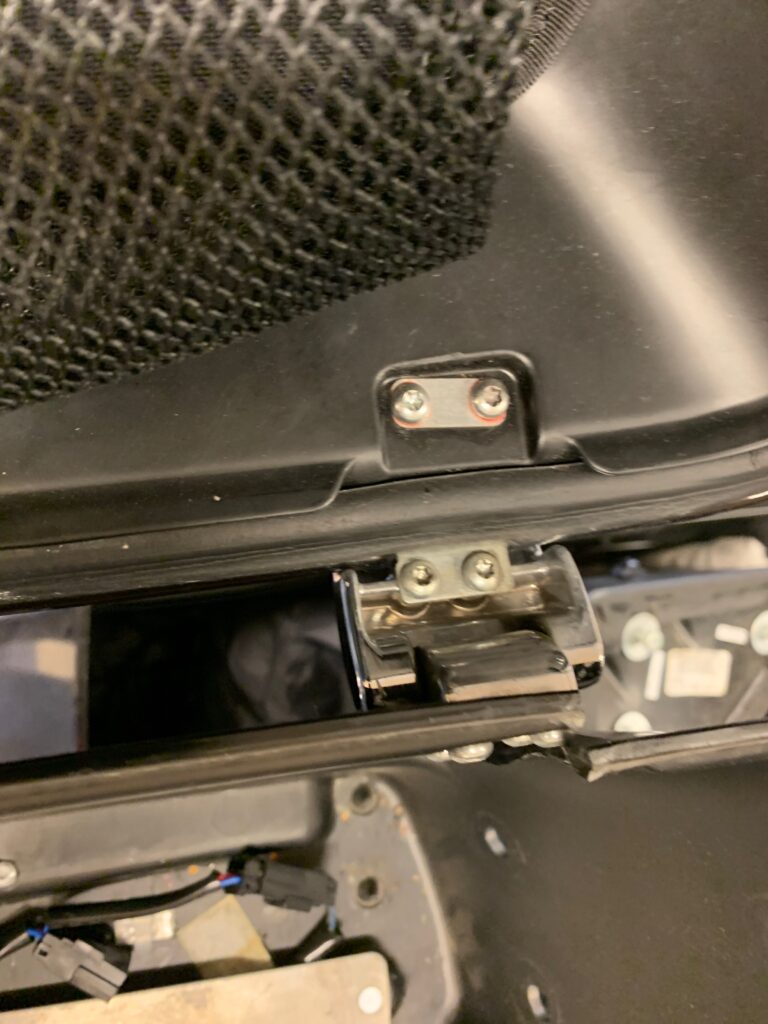
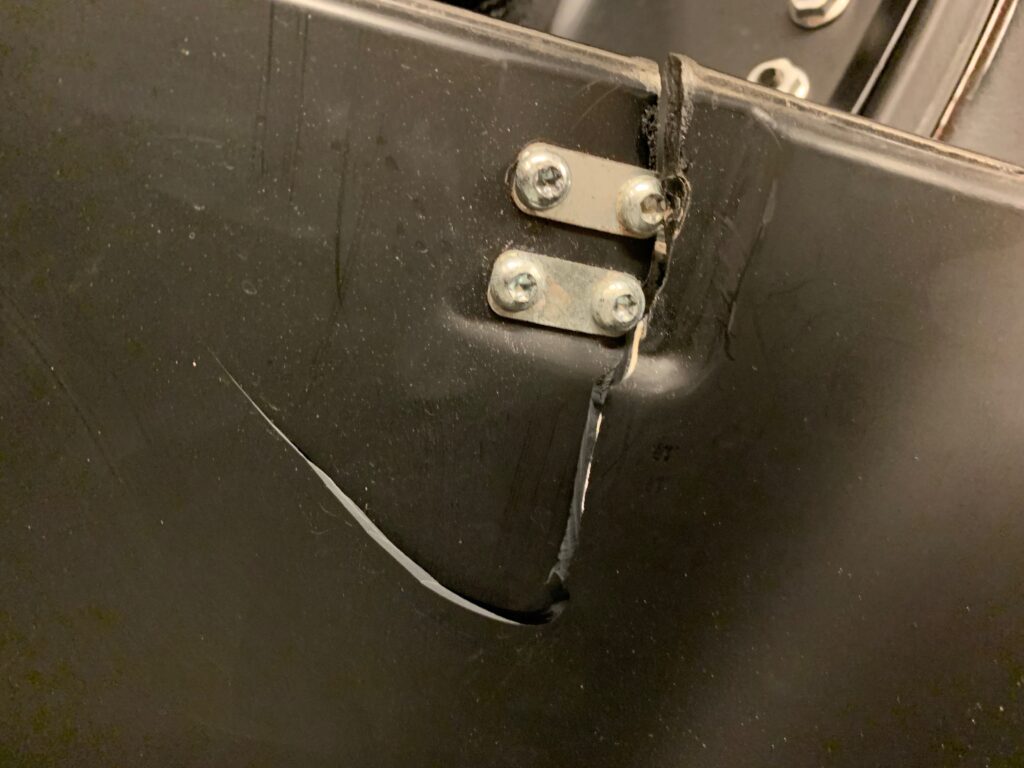
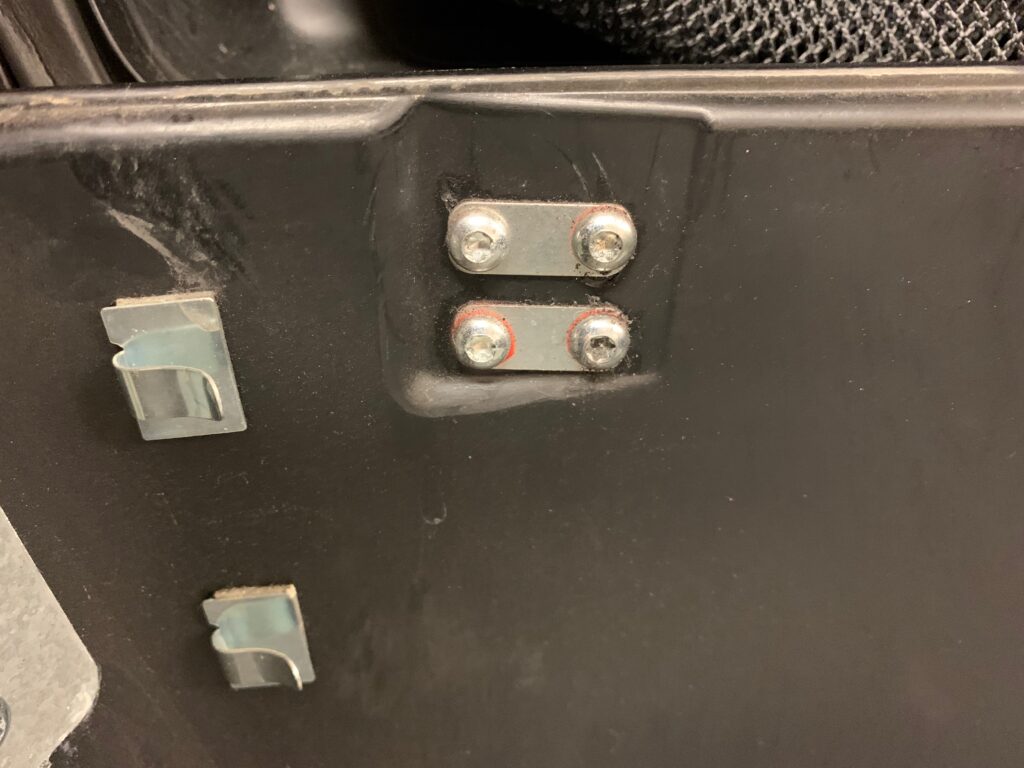
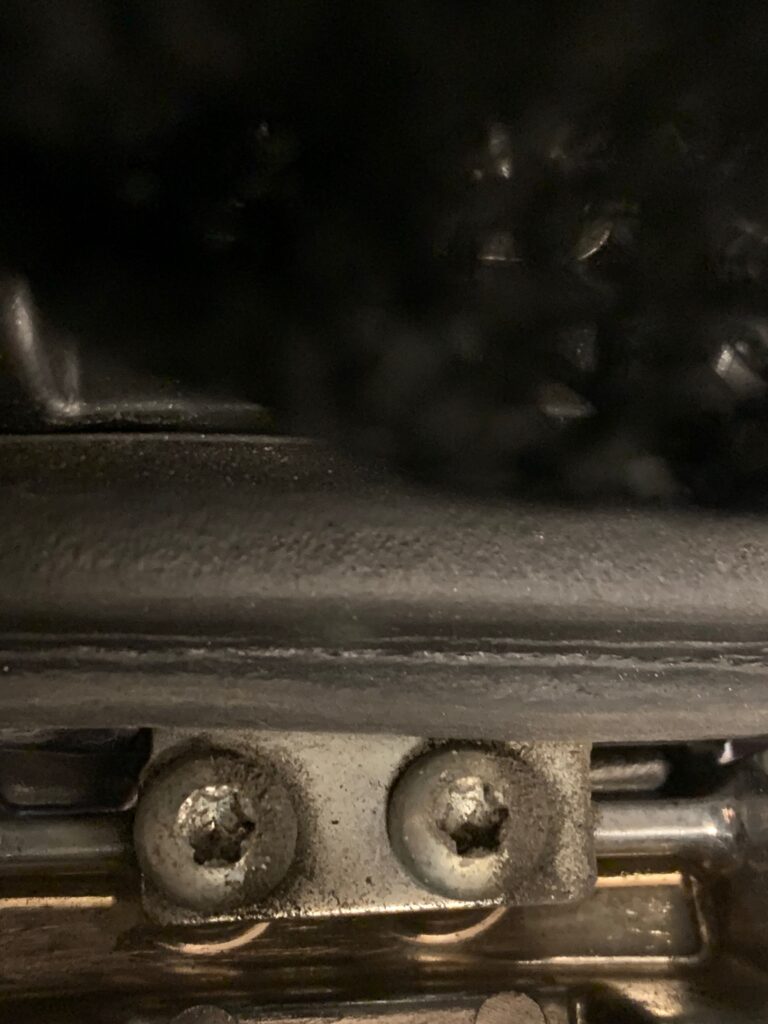
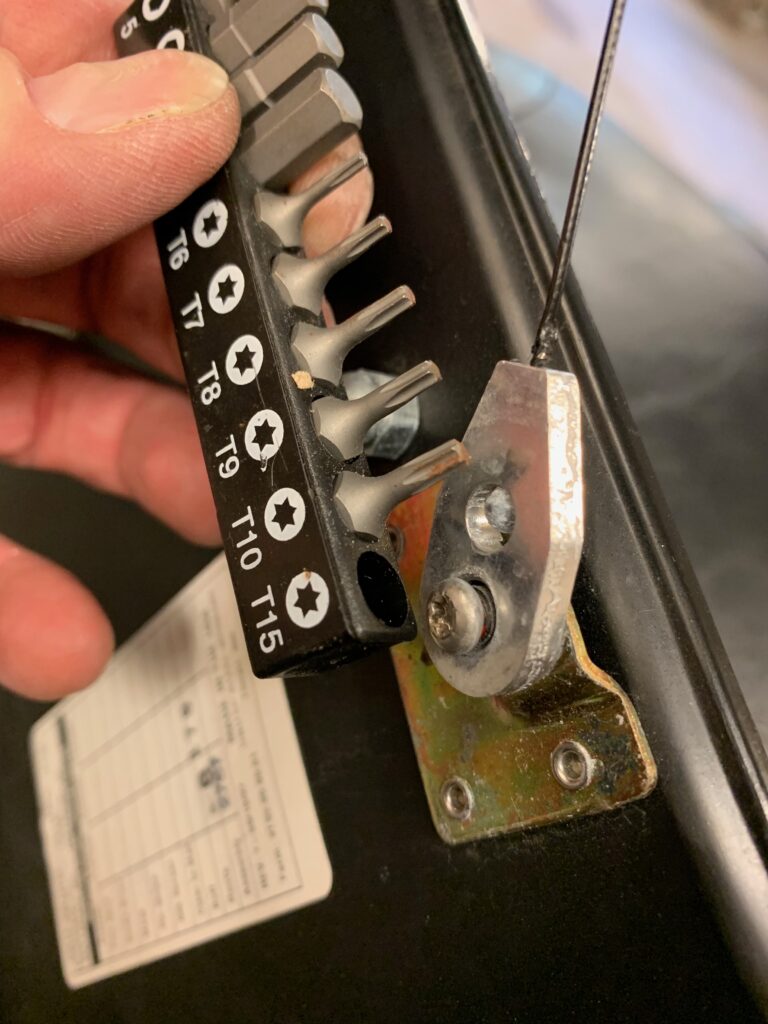
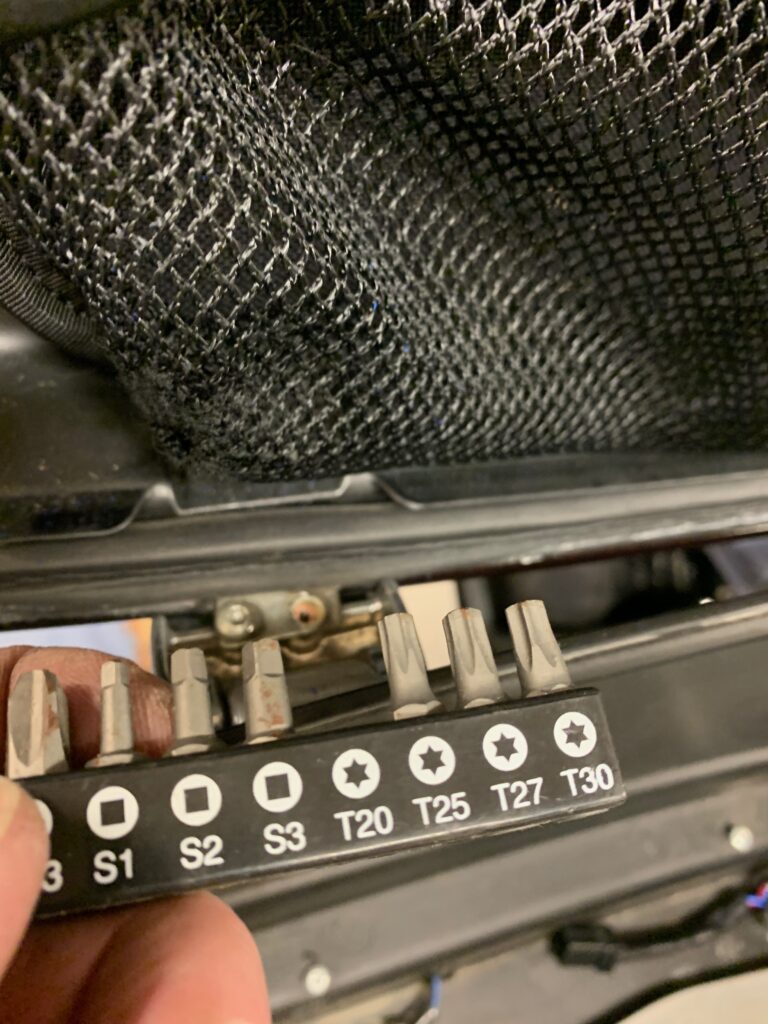
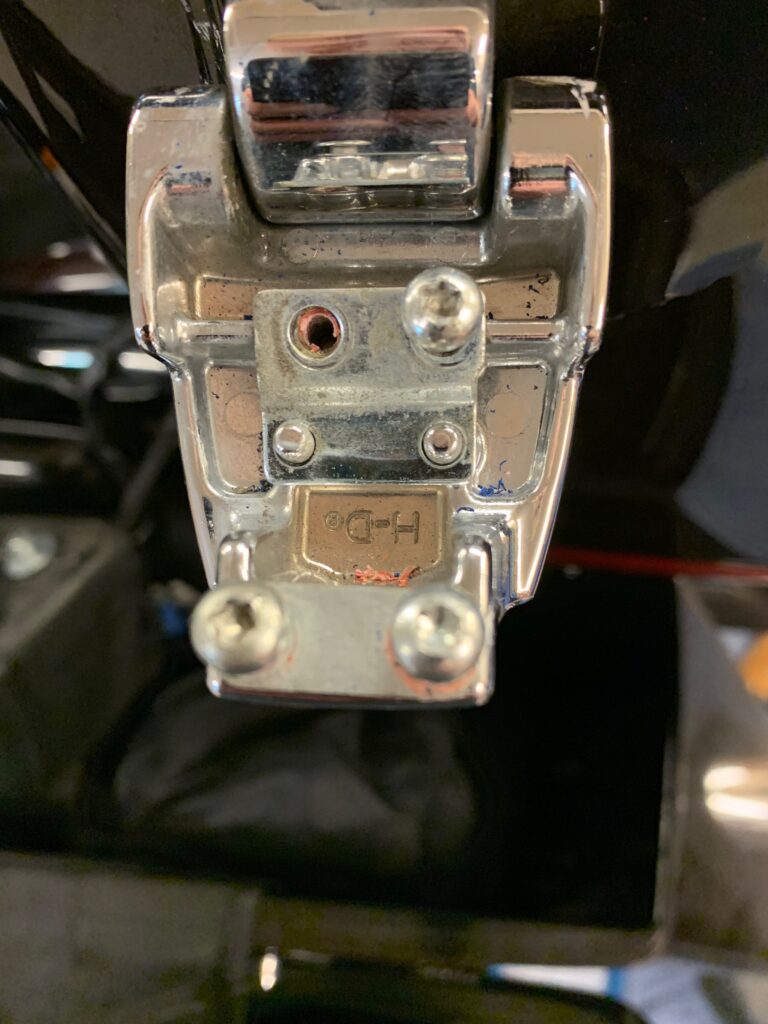
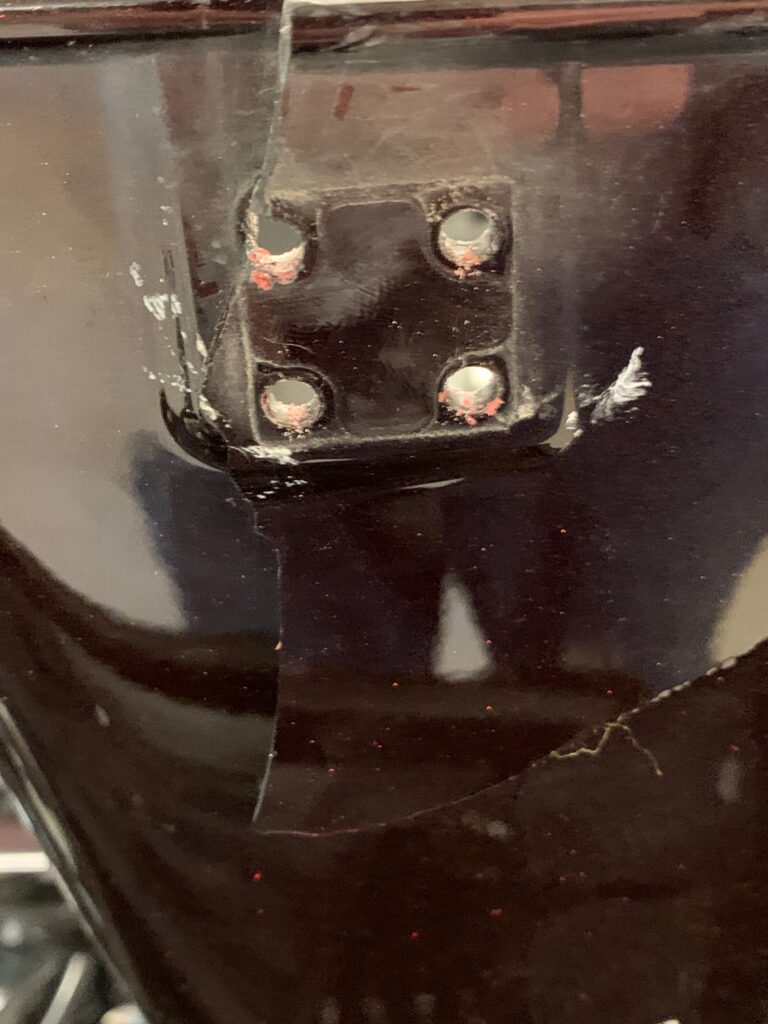
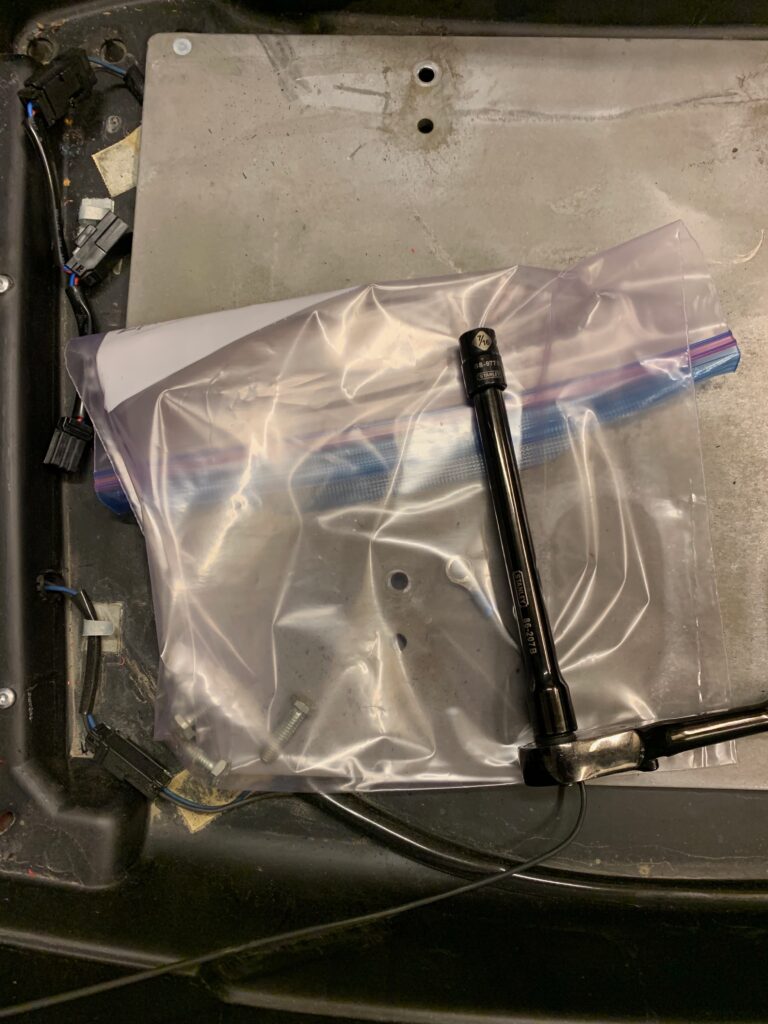
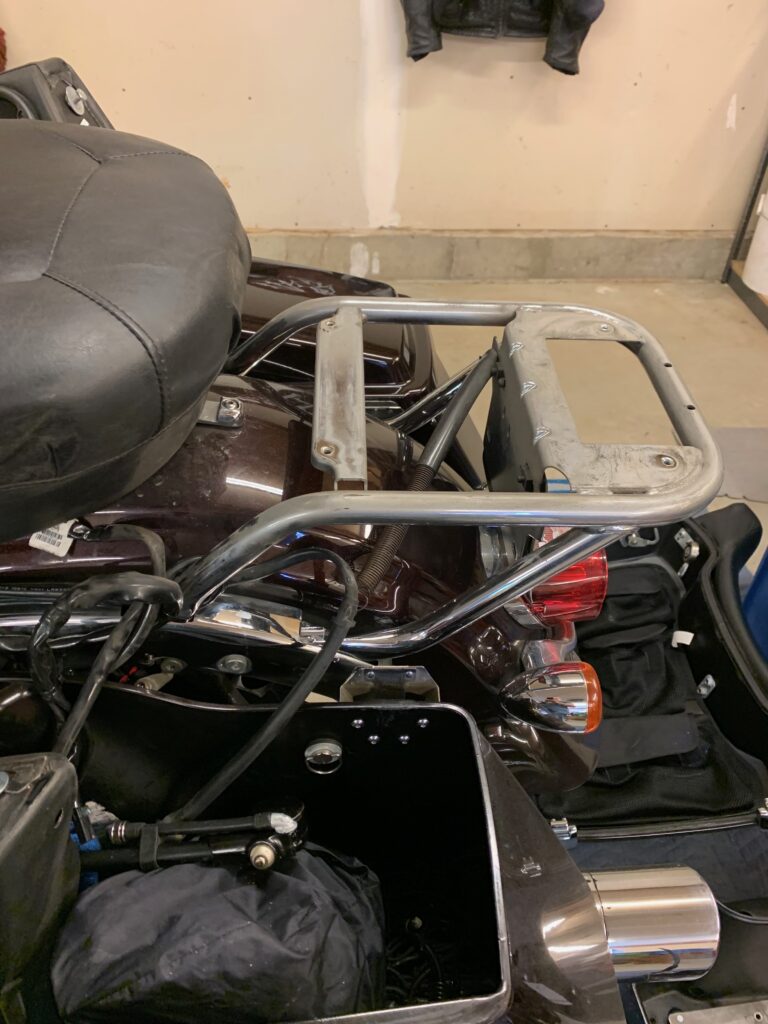
Remove wiring from speakers
Finishing up
Conclusion
Removing the tour pack with the correct Harley-Davidson service manual pages was pretty easy. It took me about three hours in total, working carefully with the aim of preserving all the parts and having a photographic record to complete possible future re-assembly. I only swore a few times and, as far as I can determine, I caused no additional damage to my bike or the tour pack.
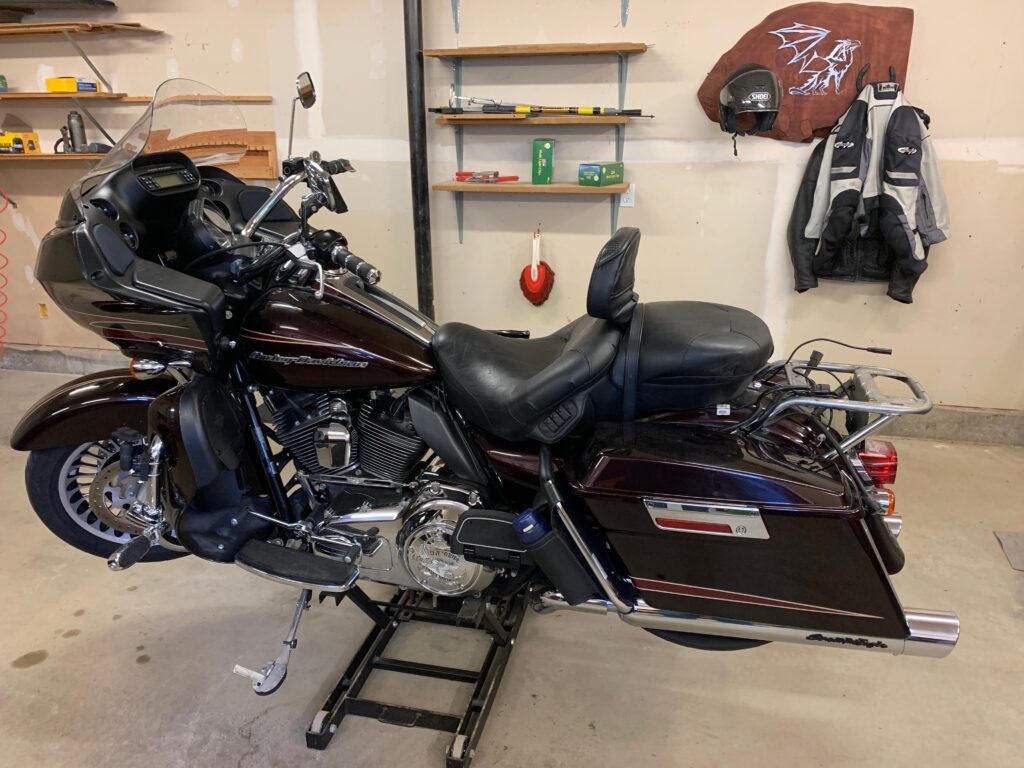
My bike was completely rideable after removing the pack and securing/weather sealing the cables. I personally am not fond of the appearance of my bike with the tour pack removed, but it is actually pretty much exactly how the ‘base’ model Road Glide you can buy straight from the dealer looks
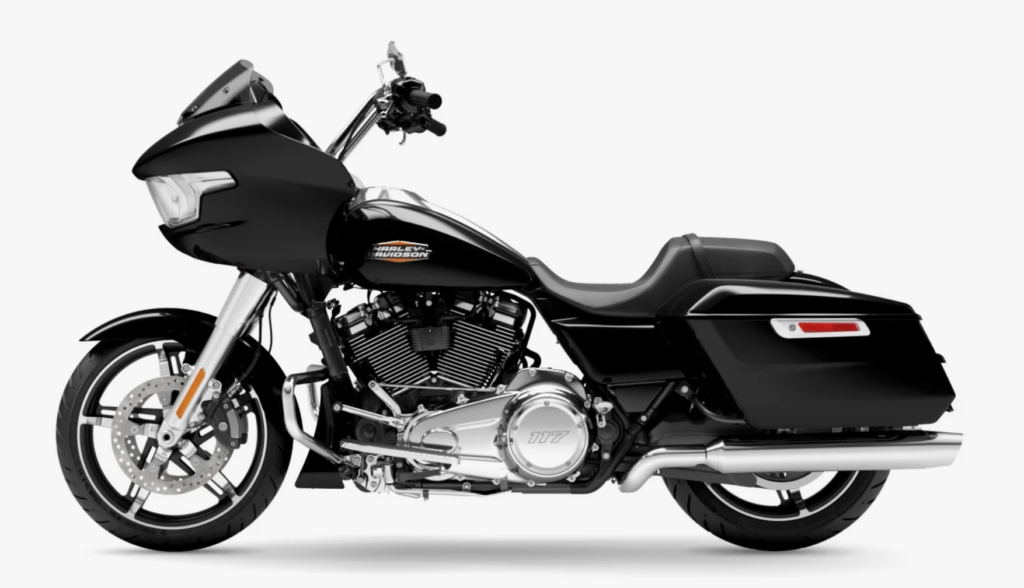
I was able to ride my bike happily for the rest of 2023 and into 2024 without any difficulties while I tried to find a solution for my broken tour pack. But that is a whole other story which I will hopefully write about here soon.



Leave a Reply