

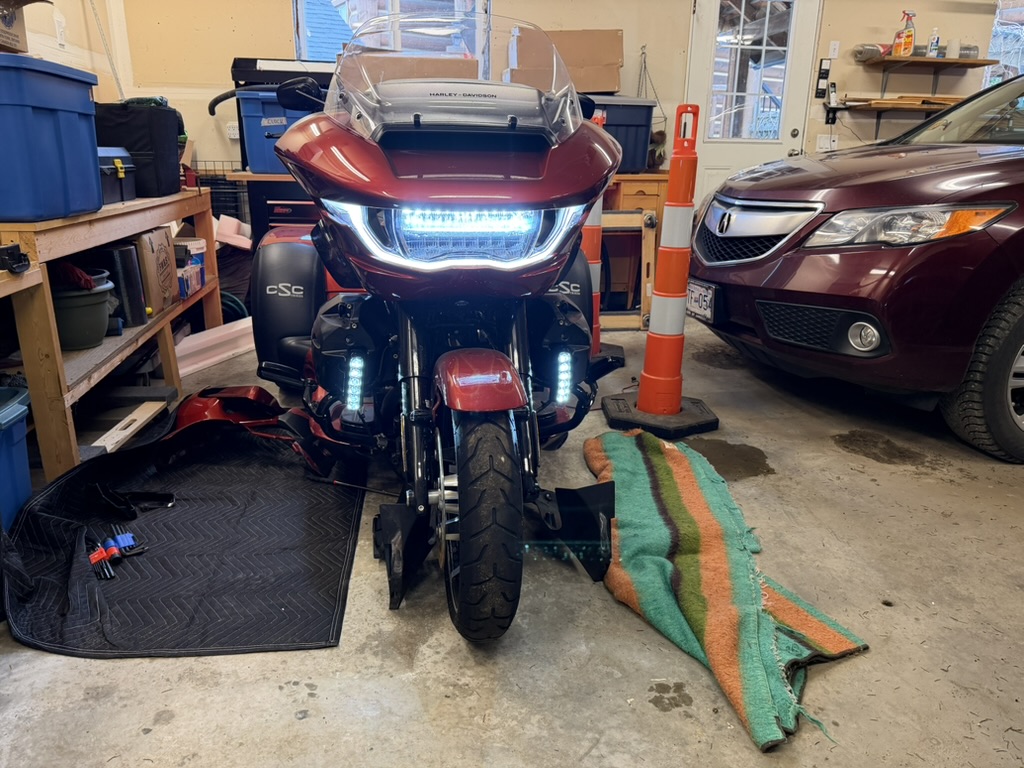
I’m over a year behind on updates so this post might seem out of left field. Last year I got my new 2025 Road Glide FLTRX and had it converted to a trike. Over the winter I’ve had a couple of little updates I wanted to get done, the largest of which was installing Harley OEM fog lamps in the lowers.
Removing the lowers
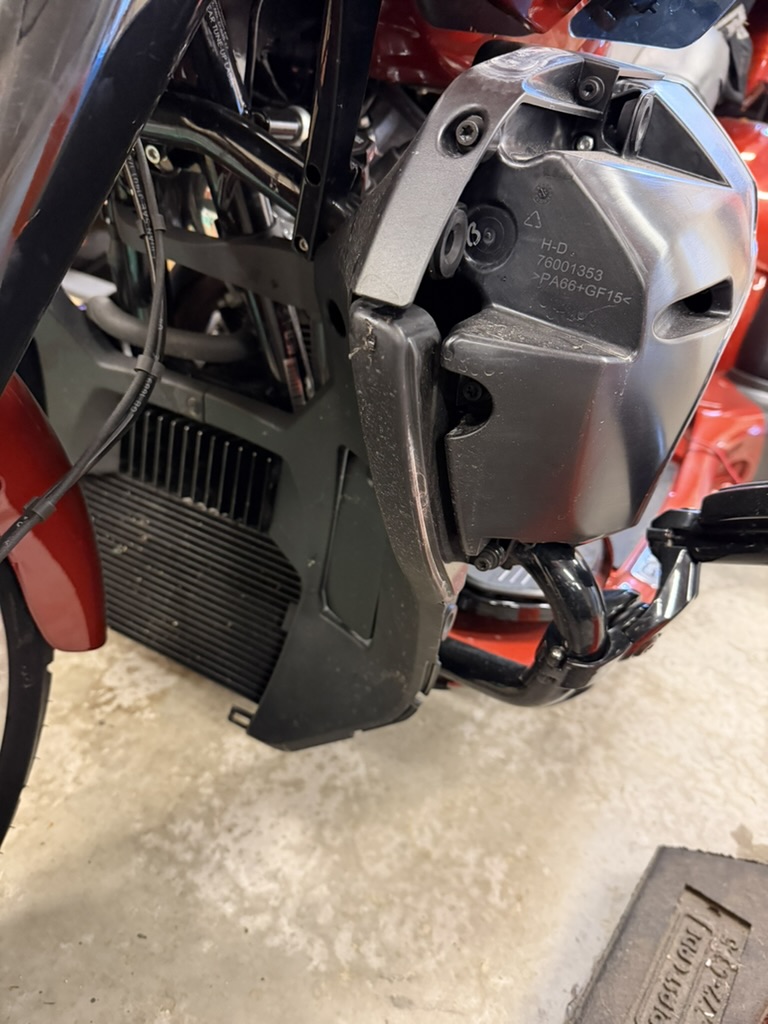
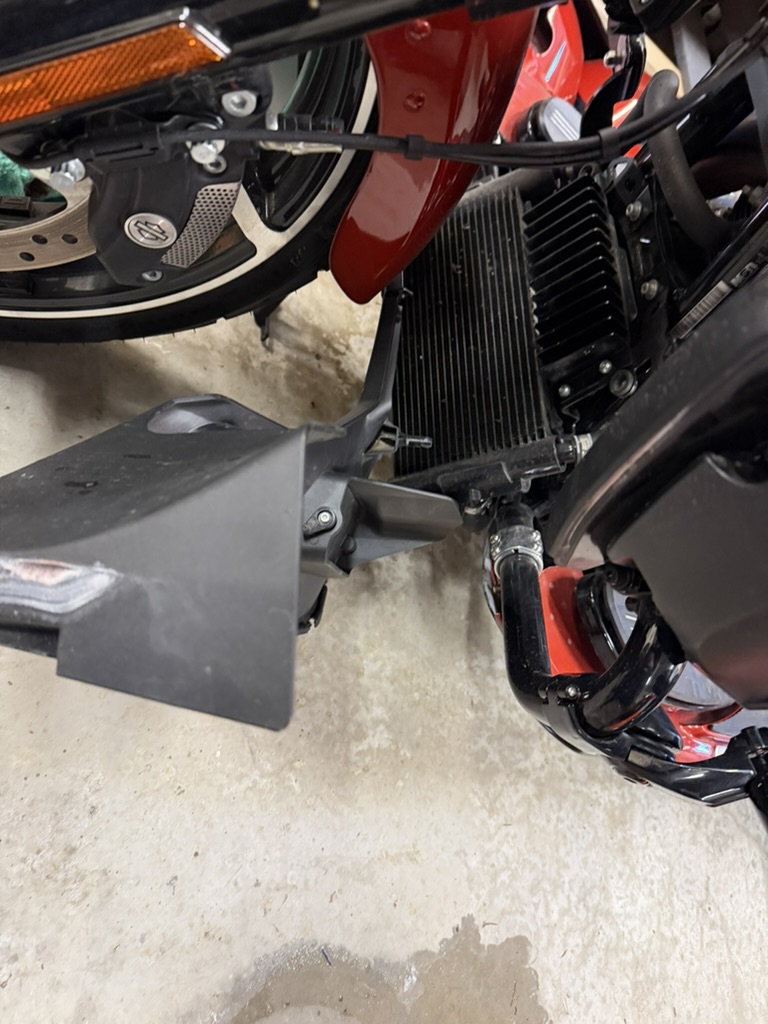
Removing the lowers on the newer Road Glides involves multiple parts: a shield for the radiator, exterior painted lowers, and interior (unpainted) lowers are the main bits. It is hard for me to say what part was ‘hardest’ to deal with, but probably the painted lowers were the most nerve wracking.
The paint on these things is worth hundreds of dollars, and my trike kit has ‘trapped’ the lowest part of the painted bits behind its aerodynamic floorboards. The painted lowers are held on entirely with friction-fitted rubber grommets into which plastic pegs from the painted bit are inserted. Basically, it is a tug of war with the lower’s grommets and the compression applied by the aero kit, with fear about breaking the lowers or gouging the paint worse than it already being my constant companion.
I managed to get both left and right painted lower out without causing significant new damage then moved on to the interior lowers.

The interior lowers are held on with three bolts and a couple of grommets each, and they are attached to each other with a connection screw. The centre ‘screw’ in these lowers is over the radiator and seems to be plastic. I ultimately just left the two halves together after removing them as I stripped the screw drive slot trying to remove it despite being very careful.
This arrangement ‘worked’, but having the two interior lower halves still attached meant I had to work around them continuously under the front end of the bike. I am sure there is a better way to remove the centre screw, but I didn’t want to chance breaking it.
The interior lowers are black ABS and attach to the other piece of the lowers- the assembly where the storage box on the lowers resides. Thankfully that box remains attached to the highway bars so that’s at least one thing we can leave alone.
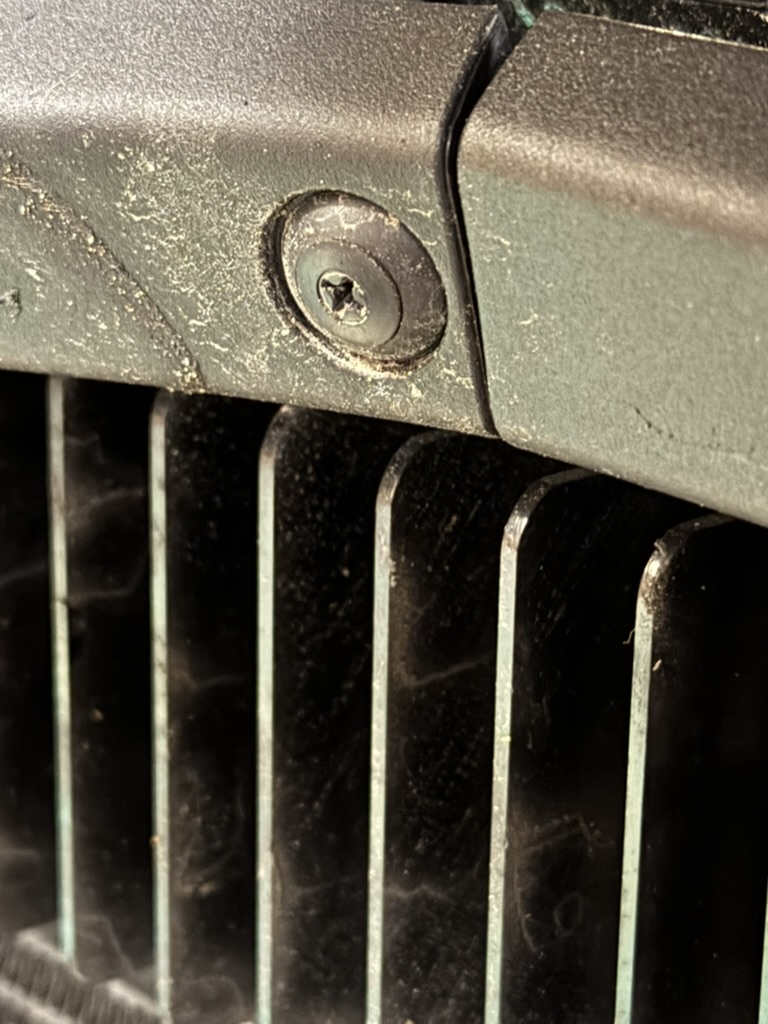
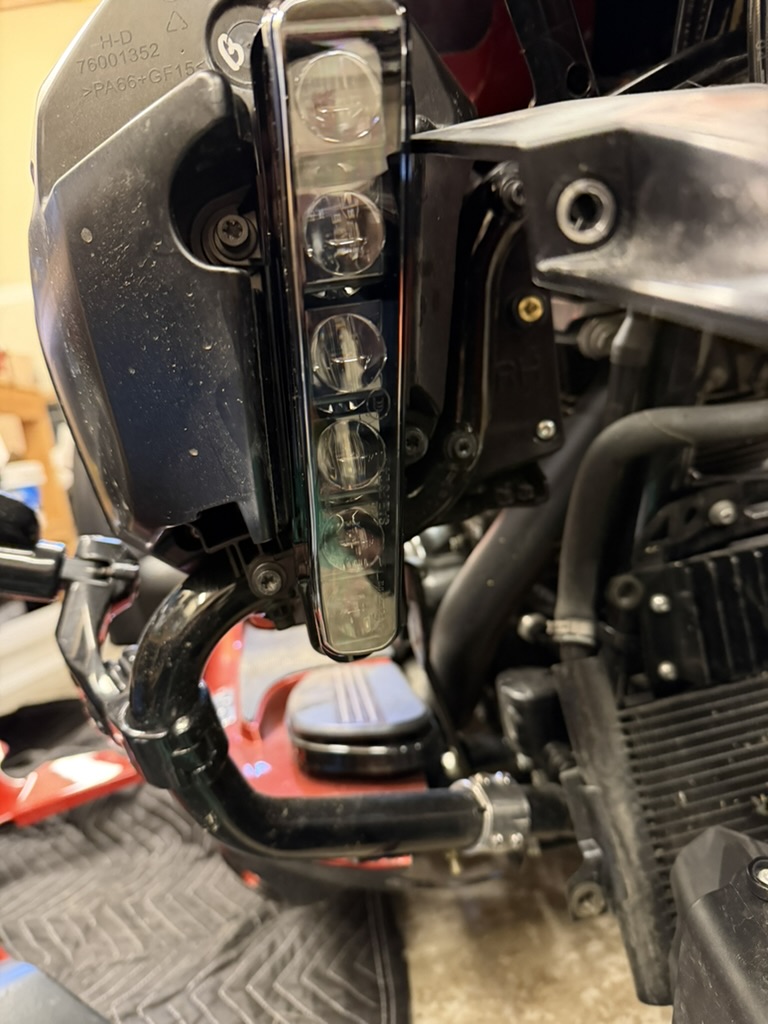
There are dummy / spacer inserts bolted in where the fog lamps are to be installed. Two of their three screws are accessible as soon as the exterior lowers are removed, but the third screw is behind the interior lowers so there is no choice but to remove them.
Three bolts hold the interior lowers on, plus a couple of grommets if my memory is serving me correctly. As I mentioned above, I didn’t remove the centre screw attaching the left and right interior lowers together. Instead I just laid the joined parts down under the front of my bike between the wheel and the radiator and worked around them.
Installing the lights
The ‘dummy’ fog lamp inserts are easily removed with three bolts- identical to the bolts used with the interior lowers. The actual lamps install equally easily, but then the question is: how the heck does the lamps connect to power?
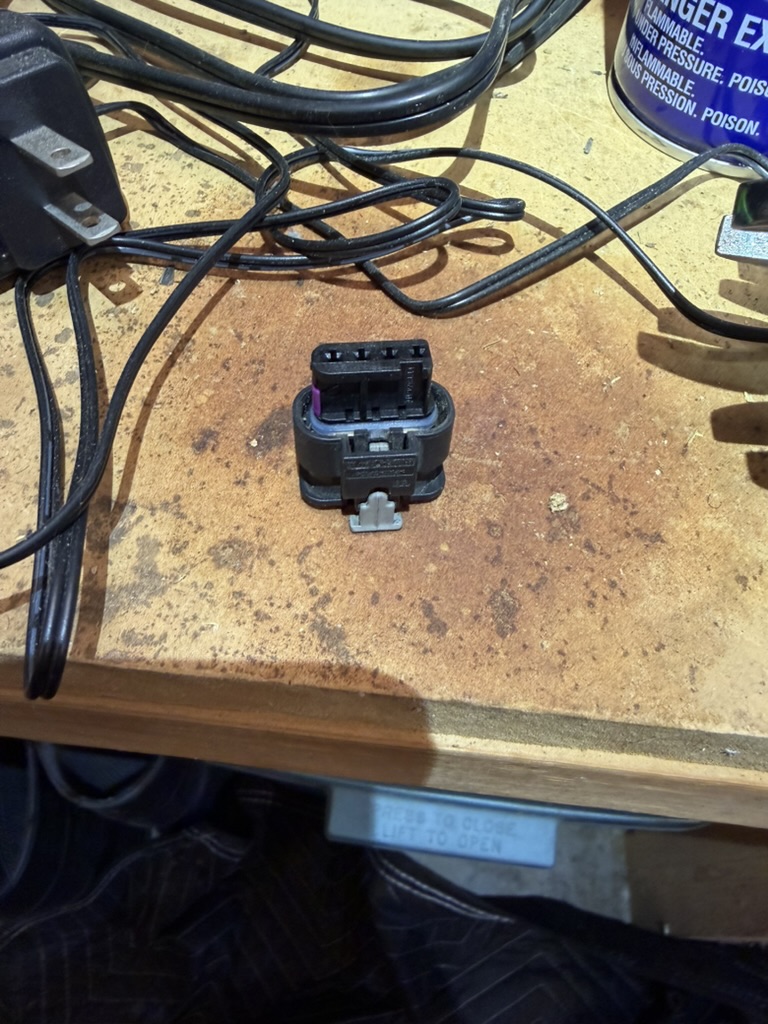
The instructions talk about connecting to connector 73A which is…. somewhere on the lower front end of the bike. Resolving the location and access to connector 73A turned out to be the most time-consuming part of the install.
The mysterious connector 73a
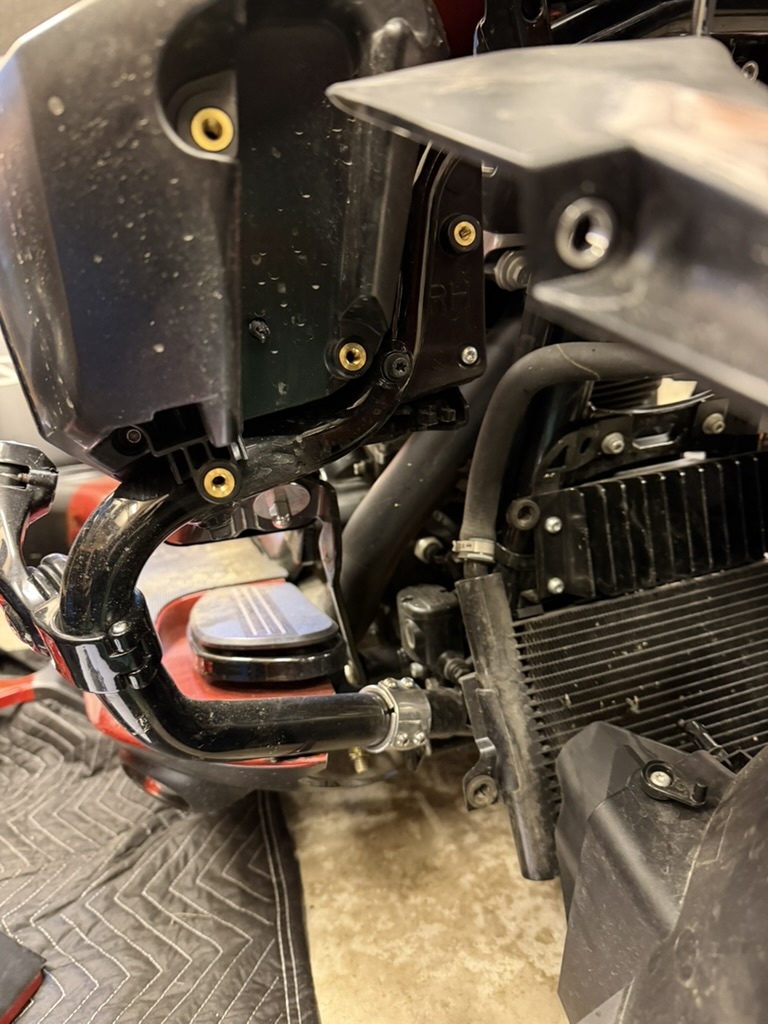
There was no obvious power connector under the front end of the bike, so I started googling. I found a reference to C73A on a Harley Street Glide install document that showed a location behind the water pump- this was a good clue.
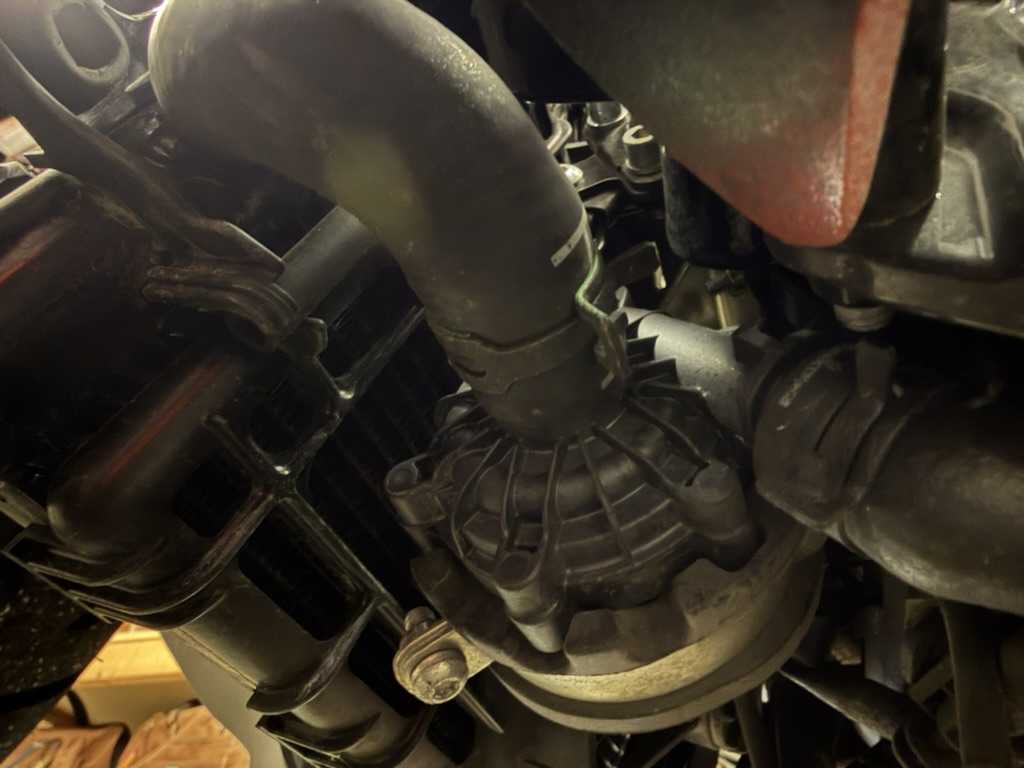
Lying on my side and working mostly by feel I managed to find the mysterious connector. I got a lot of help from the folks in the Harley Davidson forums I belong to- many thanks to them! It was tucked up behind (towards the back of the bike) and somewhat above the water pump, and I gently teased it down so I could get a look at it.
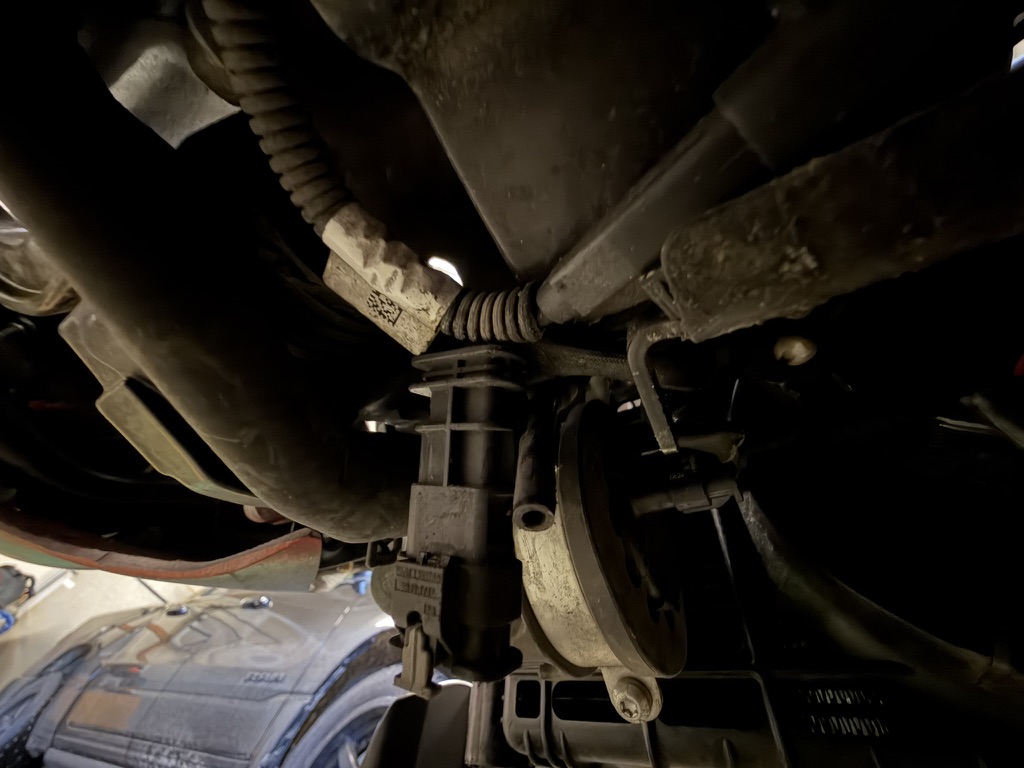
The next problem was getting the ‘dummy’ cap off of the connector. But the instructions said to remove the maxi-fuse before fiddling with the electrical, and so that is what I did. I found a helpful video going through the process that prevented me from triggering the bike’s alarm system while removing the fuse.
With the master fuse removed I felt safe to see if I could get the dummy cap off of C73A. It took some fiddling, but the key thing is to make sure that the grey tab is fully pulled out before attempting to remove the dummy.
Putting it back together
The inside lowers went on with no trouble, with easy and obvious spots to route the newly-added power wires for the lights. But the outer lowers… all I can say is- I hate grommets for attaching parts.
There are five grommets on each of the lowers. One of them is behind where the trike aero kit ‘interferes’ with the configuration. The grommets themselves are rubbery things that want to pop out/push through on every attempt to install if there is even the tiniest of variations in alignment. And because of the trike aero kit it is hard to get the alignment perfect.
It took me a good dozen tries, seating and unseating the pegs from the lowers into a recalcitrant grommet then having to pull it apart and ‘fix’ the grommet which would get pushed through its holding place. In each such case the lower would be ‘loose’ in its final position, telling me I had to start again.
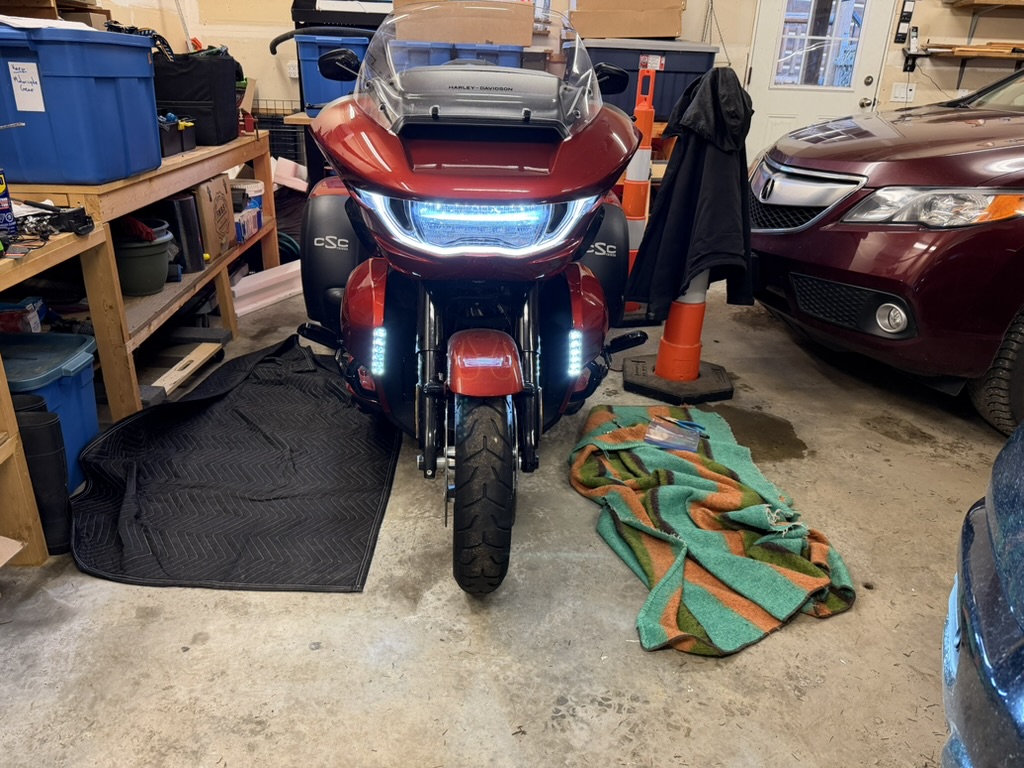
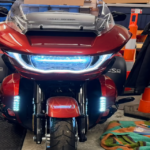
I finally got it to work, and the lights still light: hurray!
Totalling things up is a bit hard as I did this work over several weeks. I’d guess I expended over eight hours of effort during a four week span, probably at least four times the hours that a professional would have charged me for the same job. But the pros at Barnes HD in Kamloops said they didn’t want to do the work because of the aero kit, so I did what I had to do,
I really like the aero kit floorboards on my trike. But I hate all the extra hassle these same parts add to general service. I’m hoping to learn some more from the trike customizers this year e.g.: how to remove the floorboards if necessary to access the primary cover for oil changes.


Leave a Reply